 English
 Español
Welcome to my new Crochet for Beginners Series! I decided to create this collection of crochet basics because I know at the beginning of every new hobby, craft, or activity, it can be a little overwhelming, and sometimes even getting started is hard so, I want to do it the easiest way possible for you.
Let’s get started!
How to Hold your Crochet Hook
Before showing you some ways to hold your hook I have to tell you some advice about this.
- It doesn’t exist a wrong way to hold your hook. You can do it as you want! I know some people think differently, but it doesn’t matter because the result of the crochet project is always the same, it doesn’t change because of your hand position so, don’t worry.
- Usually, the people hold the crochet hook with their dominant hand. I mean, if you write or do everything with your right hand, that is the hand for your hook, and the left hand will be for your yarn. For left-handed, it’ll be the opposite way, crochet hook in the left hand and the yarn in the right hand. BUT! Be aware a lot of left-handed use the hook in their right hand, so I’d recommend you to try both hands and choose what’s best for you.
- Sometimes after being crocheting for a while you can feel some pain in the hands and that is not unusual. The reason for the pain, in general, is because you are holding your hook in a bad position for you OR you are holding it too tight and that is normal. The first time we do something we are stressed because we want to do it right and that mixed with the frustration of failure at the beginning is commonly expressed in a hard and tight grip. My advice, take it slow and practice.
- Practice. What else can I say about this? Crochet is a lot of practice and repetition and, of course, a LOT of redos. Don’t be afraid to unravel your work and start again. Even crochet experts have to do it (frequently).
There are two main ways to hold the crochet hook: “like a pencil” or “like a knife” but this is just the starting point. I’ve seen a lot of variations of these positions because you can adjust your fingers until you are comfortable with them so, don’t be afraid to change them if you need it.
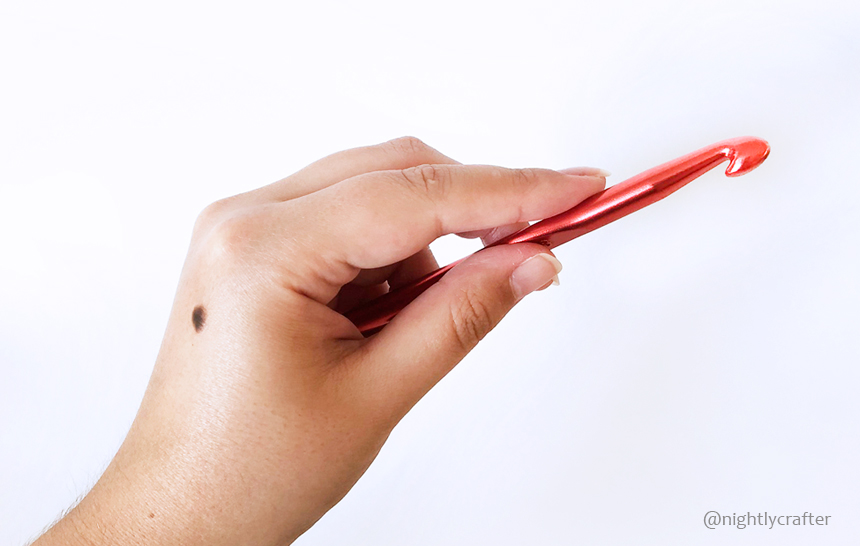
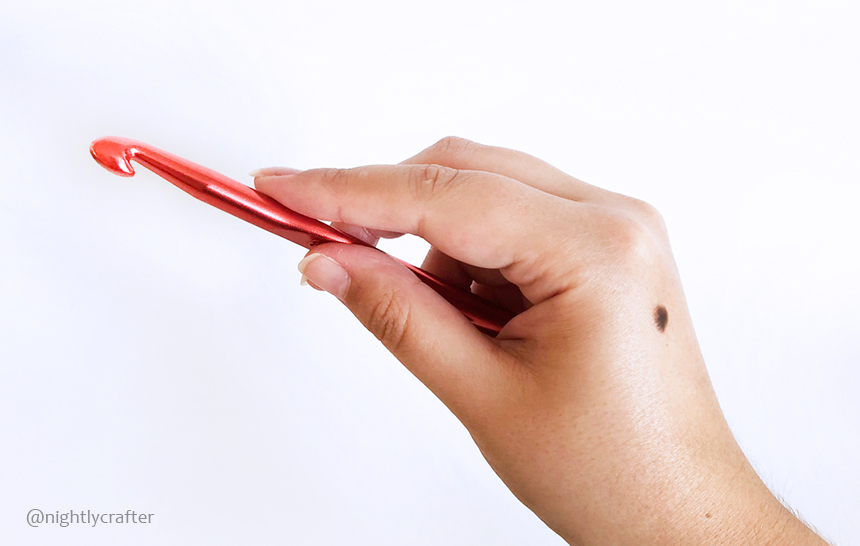
Like a Pencil: As you can guest for the name, this position is similar to grip a pencil. To do it, you have to hold the crochet hook between your index finger and your thumb and use the middle finger in the back for support. The rest of the hook will be resting on the side of your hand.
* Left-handed version:
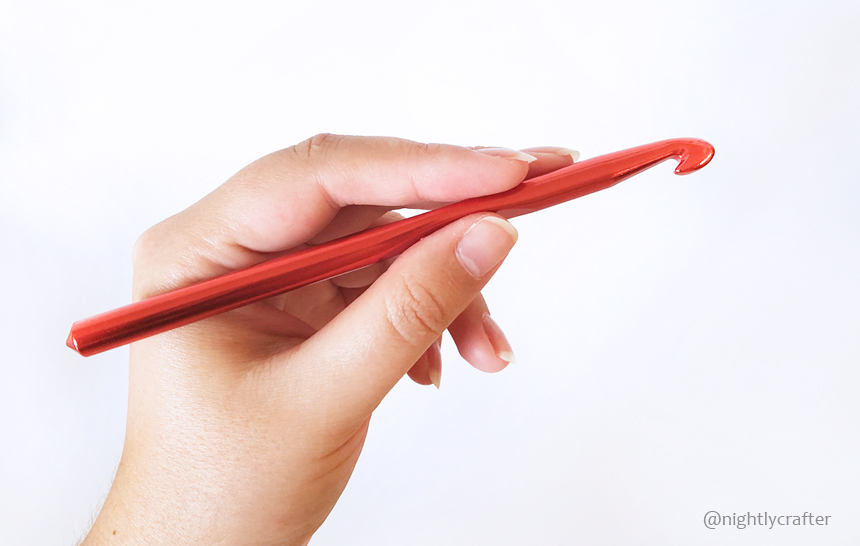
* Right-handed version:

Like a Knife: For this position, you have to hold your crochet hook as you do with your knife when you are ready to cut your food. To do it, put all your fingers around the hook and rest the hook inside of your palm then extend your index finger and your thumb.
* Left-handed version:
* Right-handed version:
How to Hold your Yarn
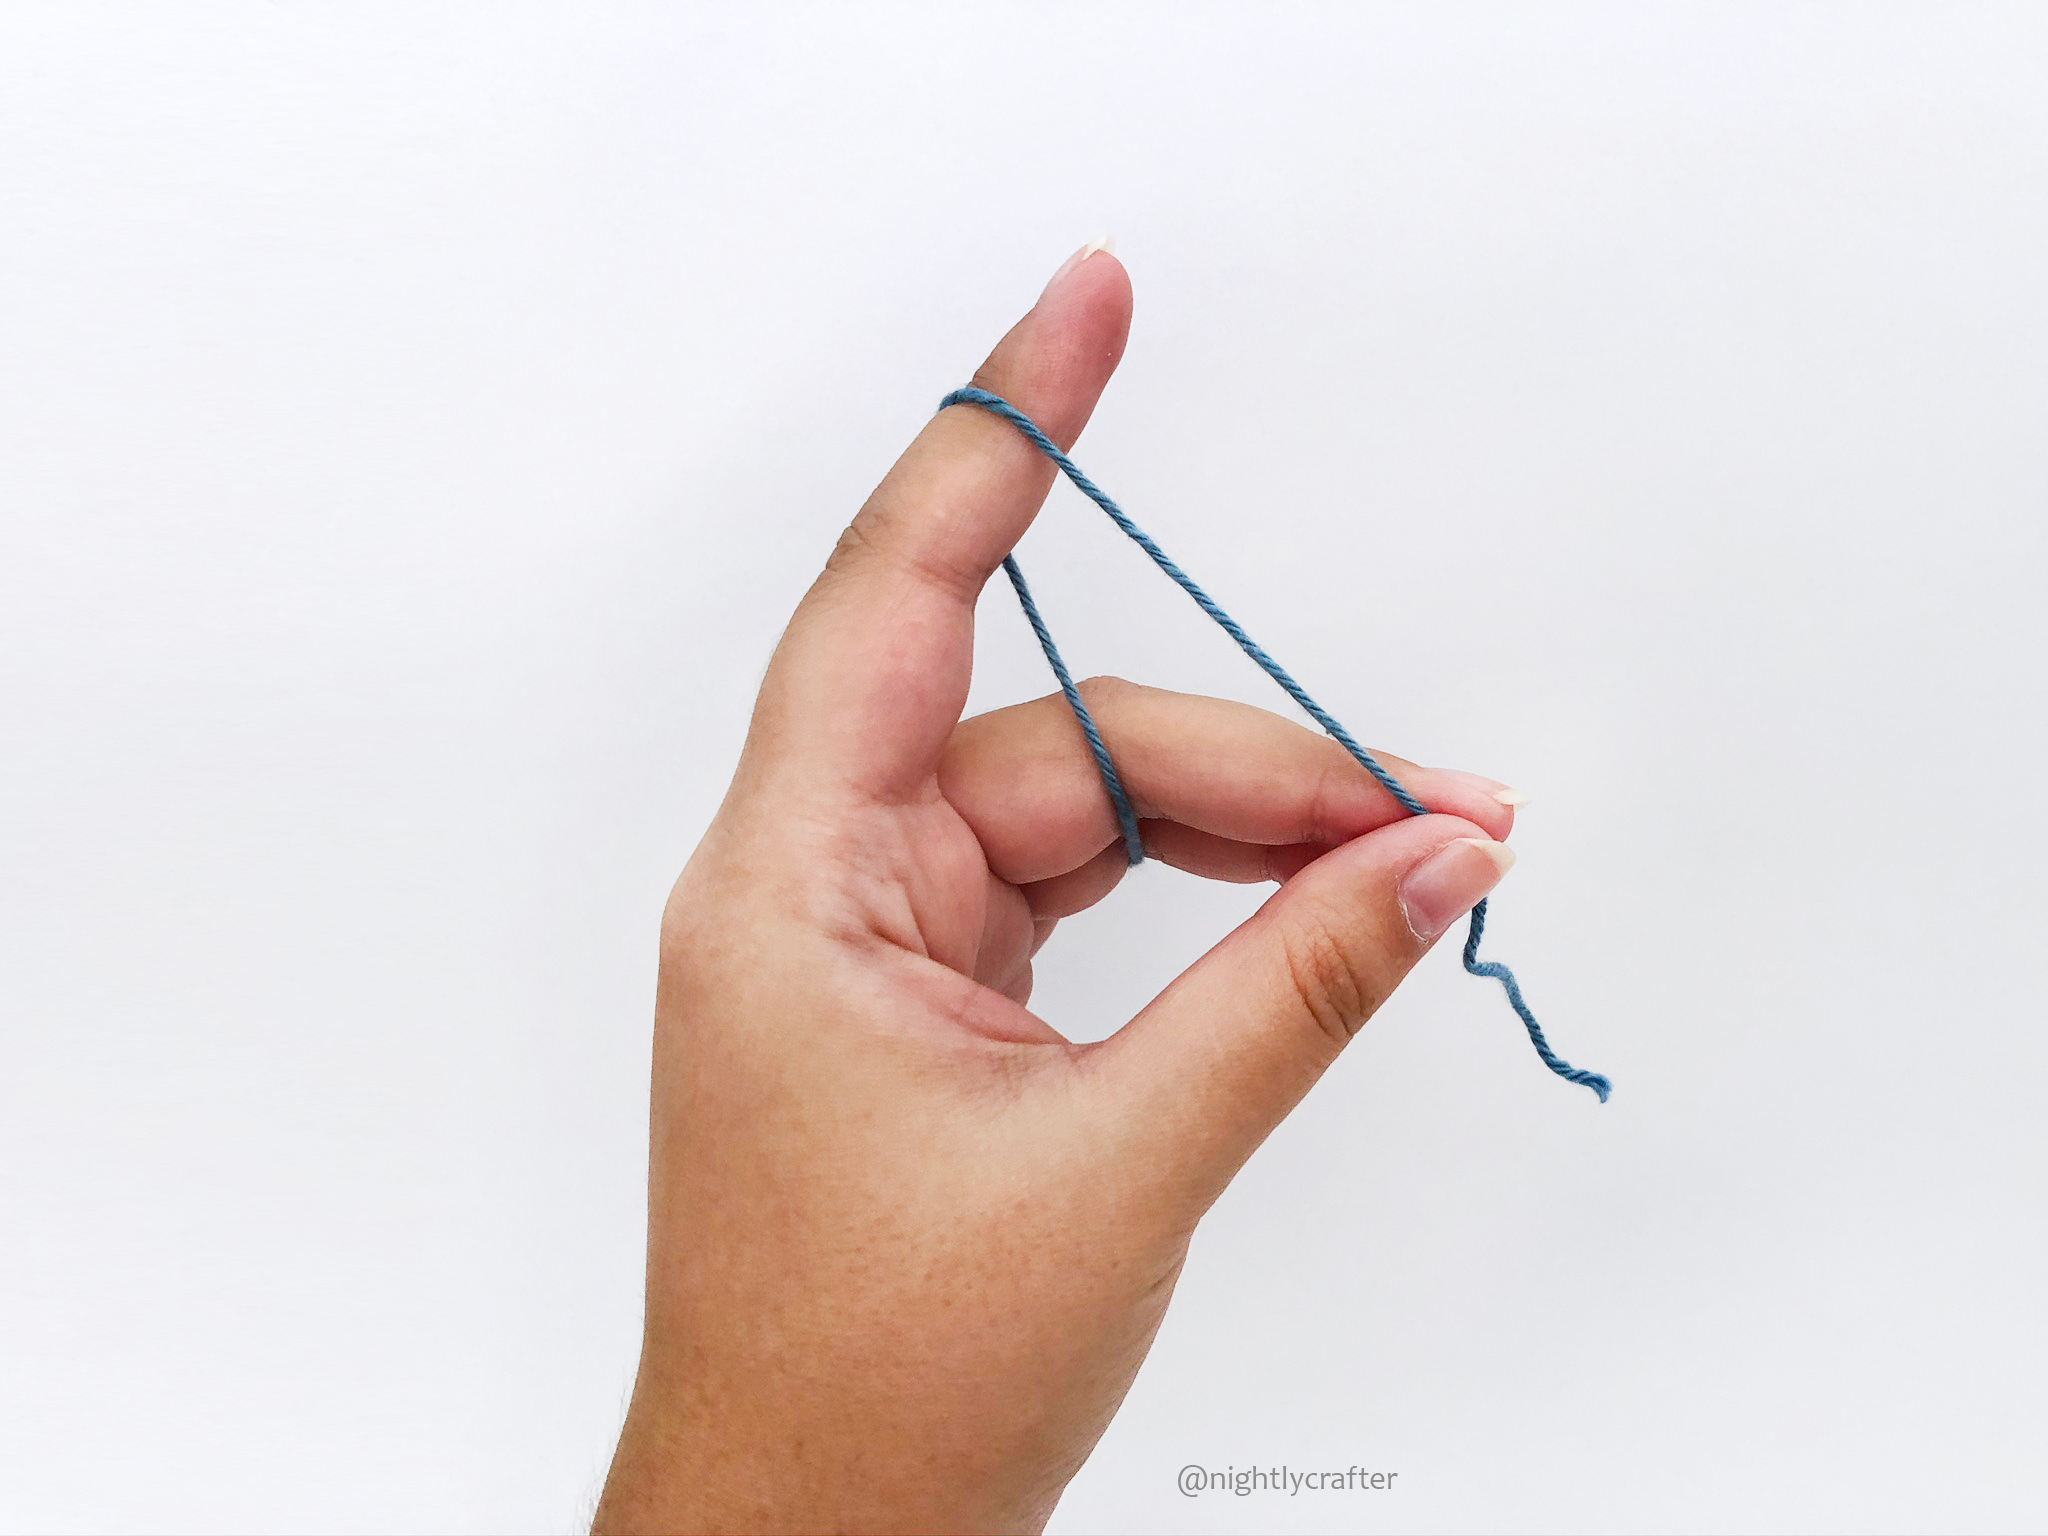
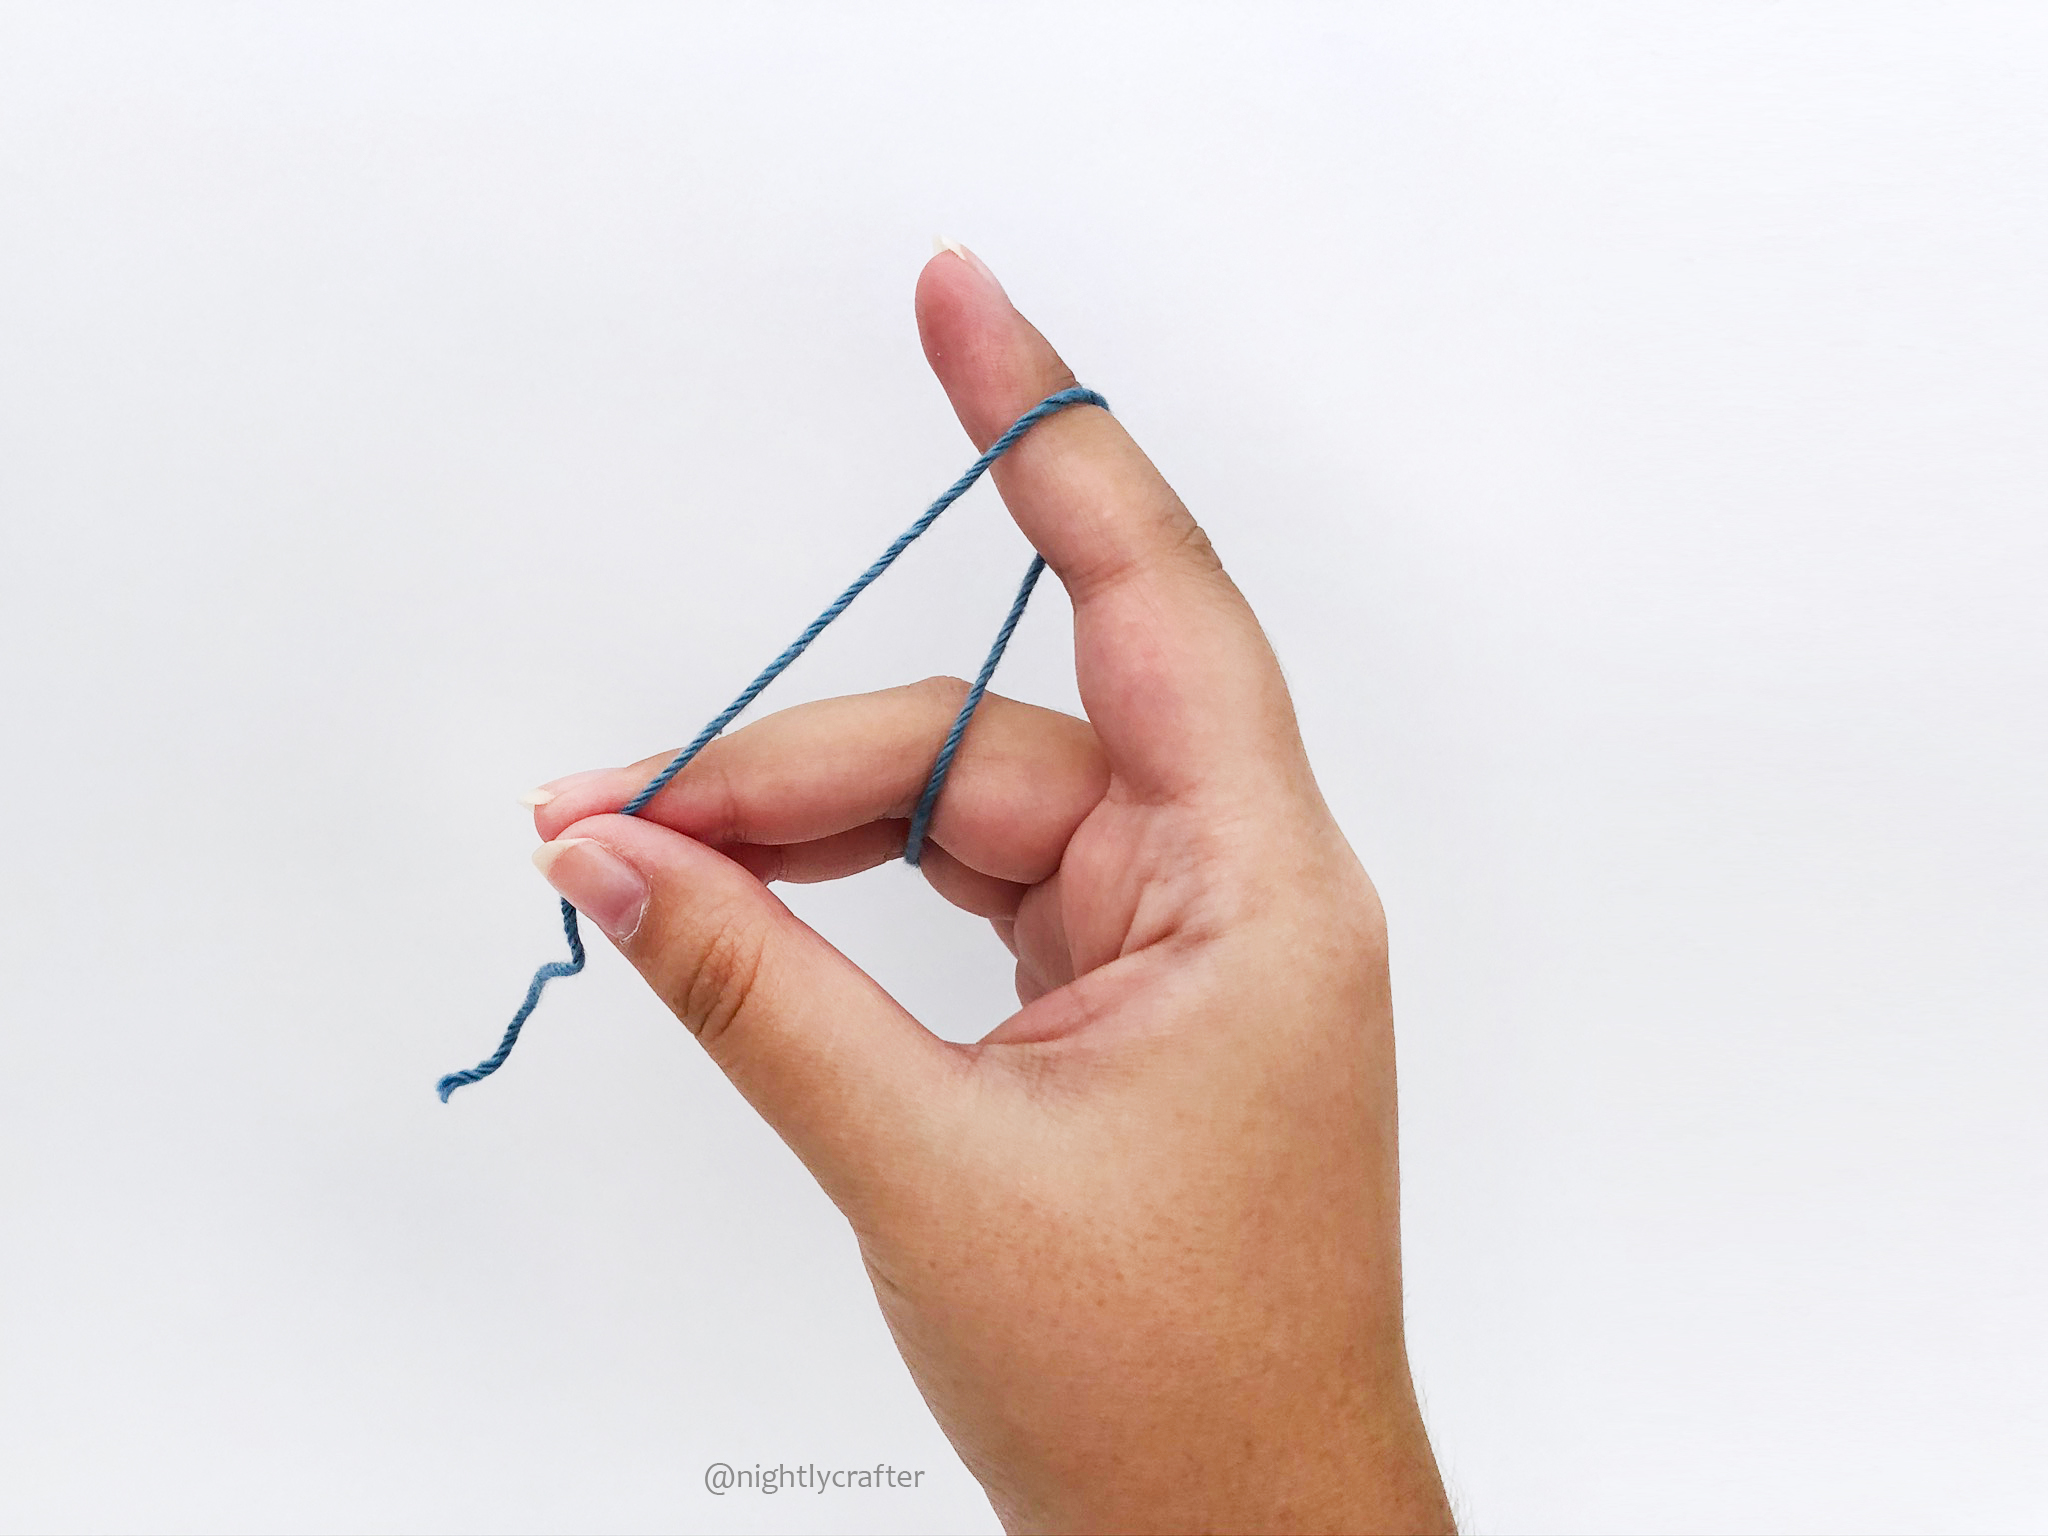
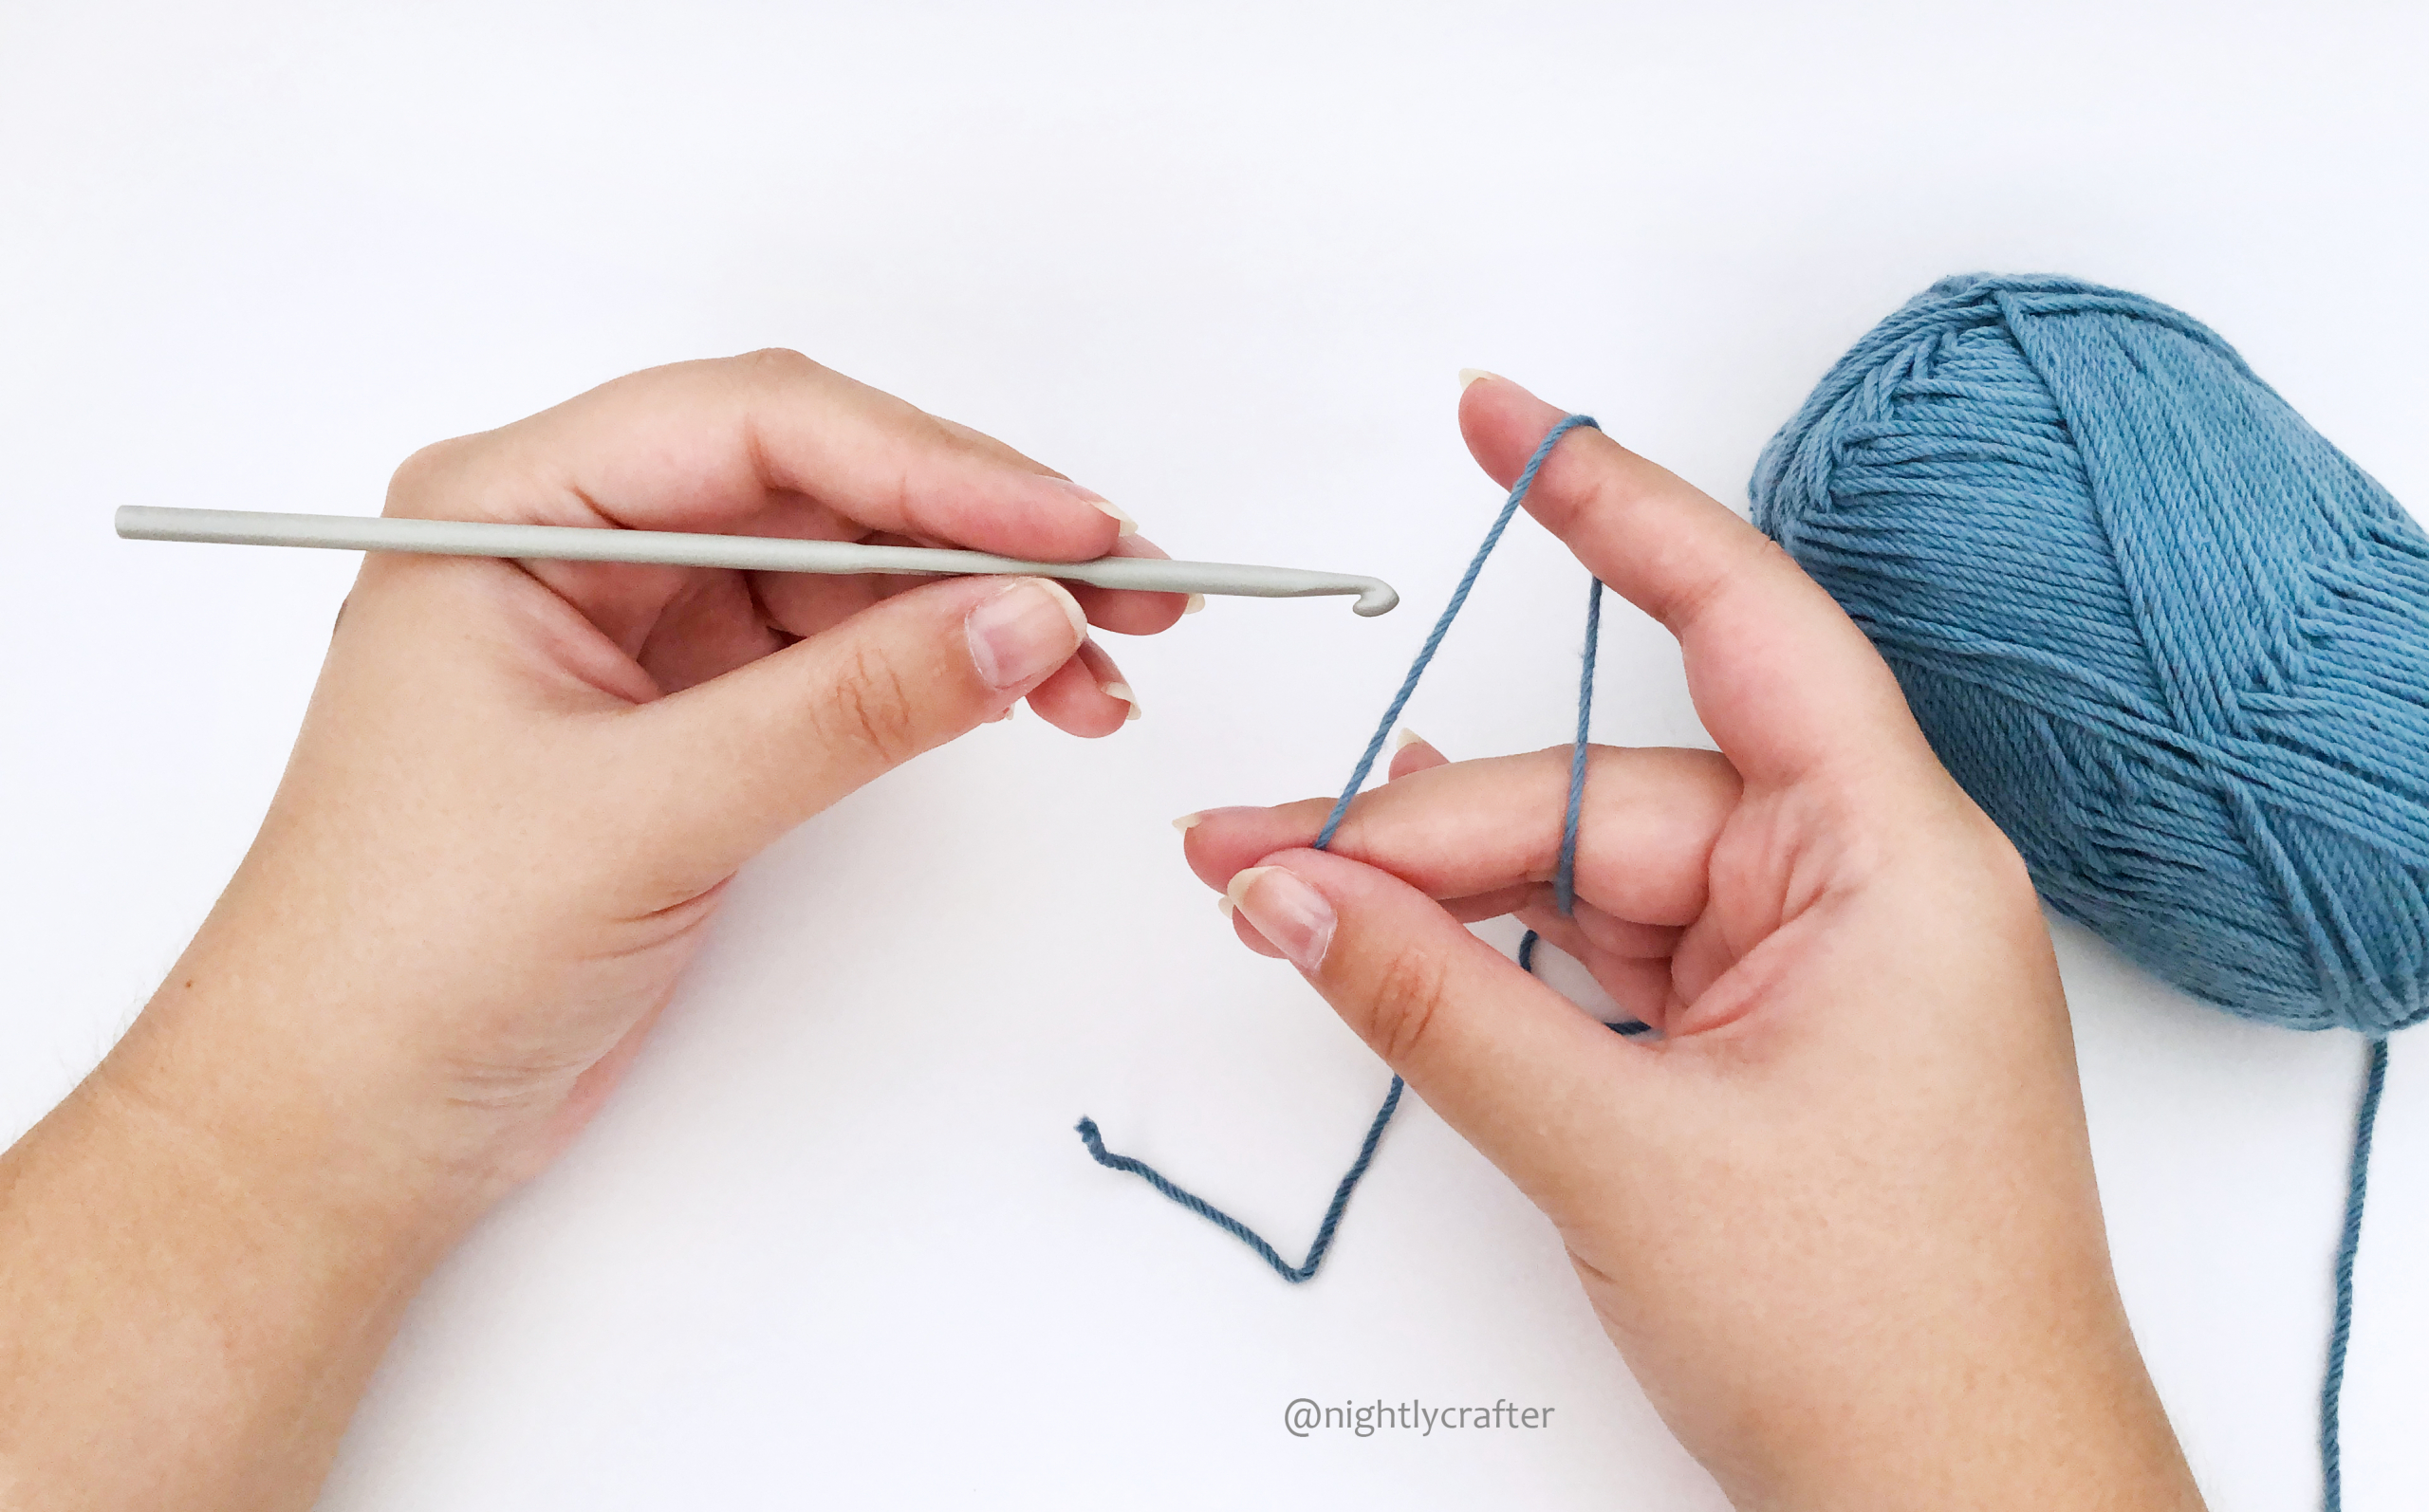
For this part, I can’t be too specific because this totally depends on you. The hand that is NOT holding the hook, it’s holding the yarn. The principal idea is to pass the yarn thru your fingers to give tension to the thread so you can work with your hook. Keeping the right the tension in your yarn is very important because it will affect the result of your project. I can’t tell you how to do it because every crocheter finds her own way, and it doesn’t matter if you use all your fingers for this or some of them, the important part is that you have to finish with the tail of your thread over your index finger, and when you’re ready with that press the tail of the yarn with your thumb and your middle finger.
As guidance, I’ll add some photos below so you can have an idea about the options that you have for the yarn.
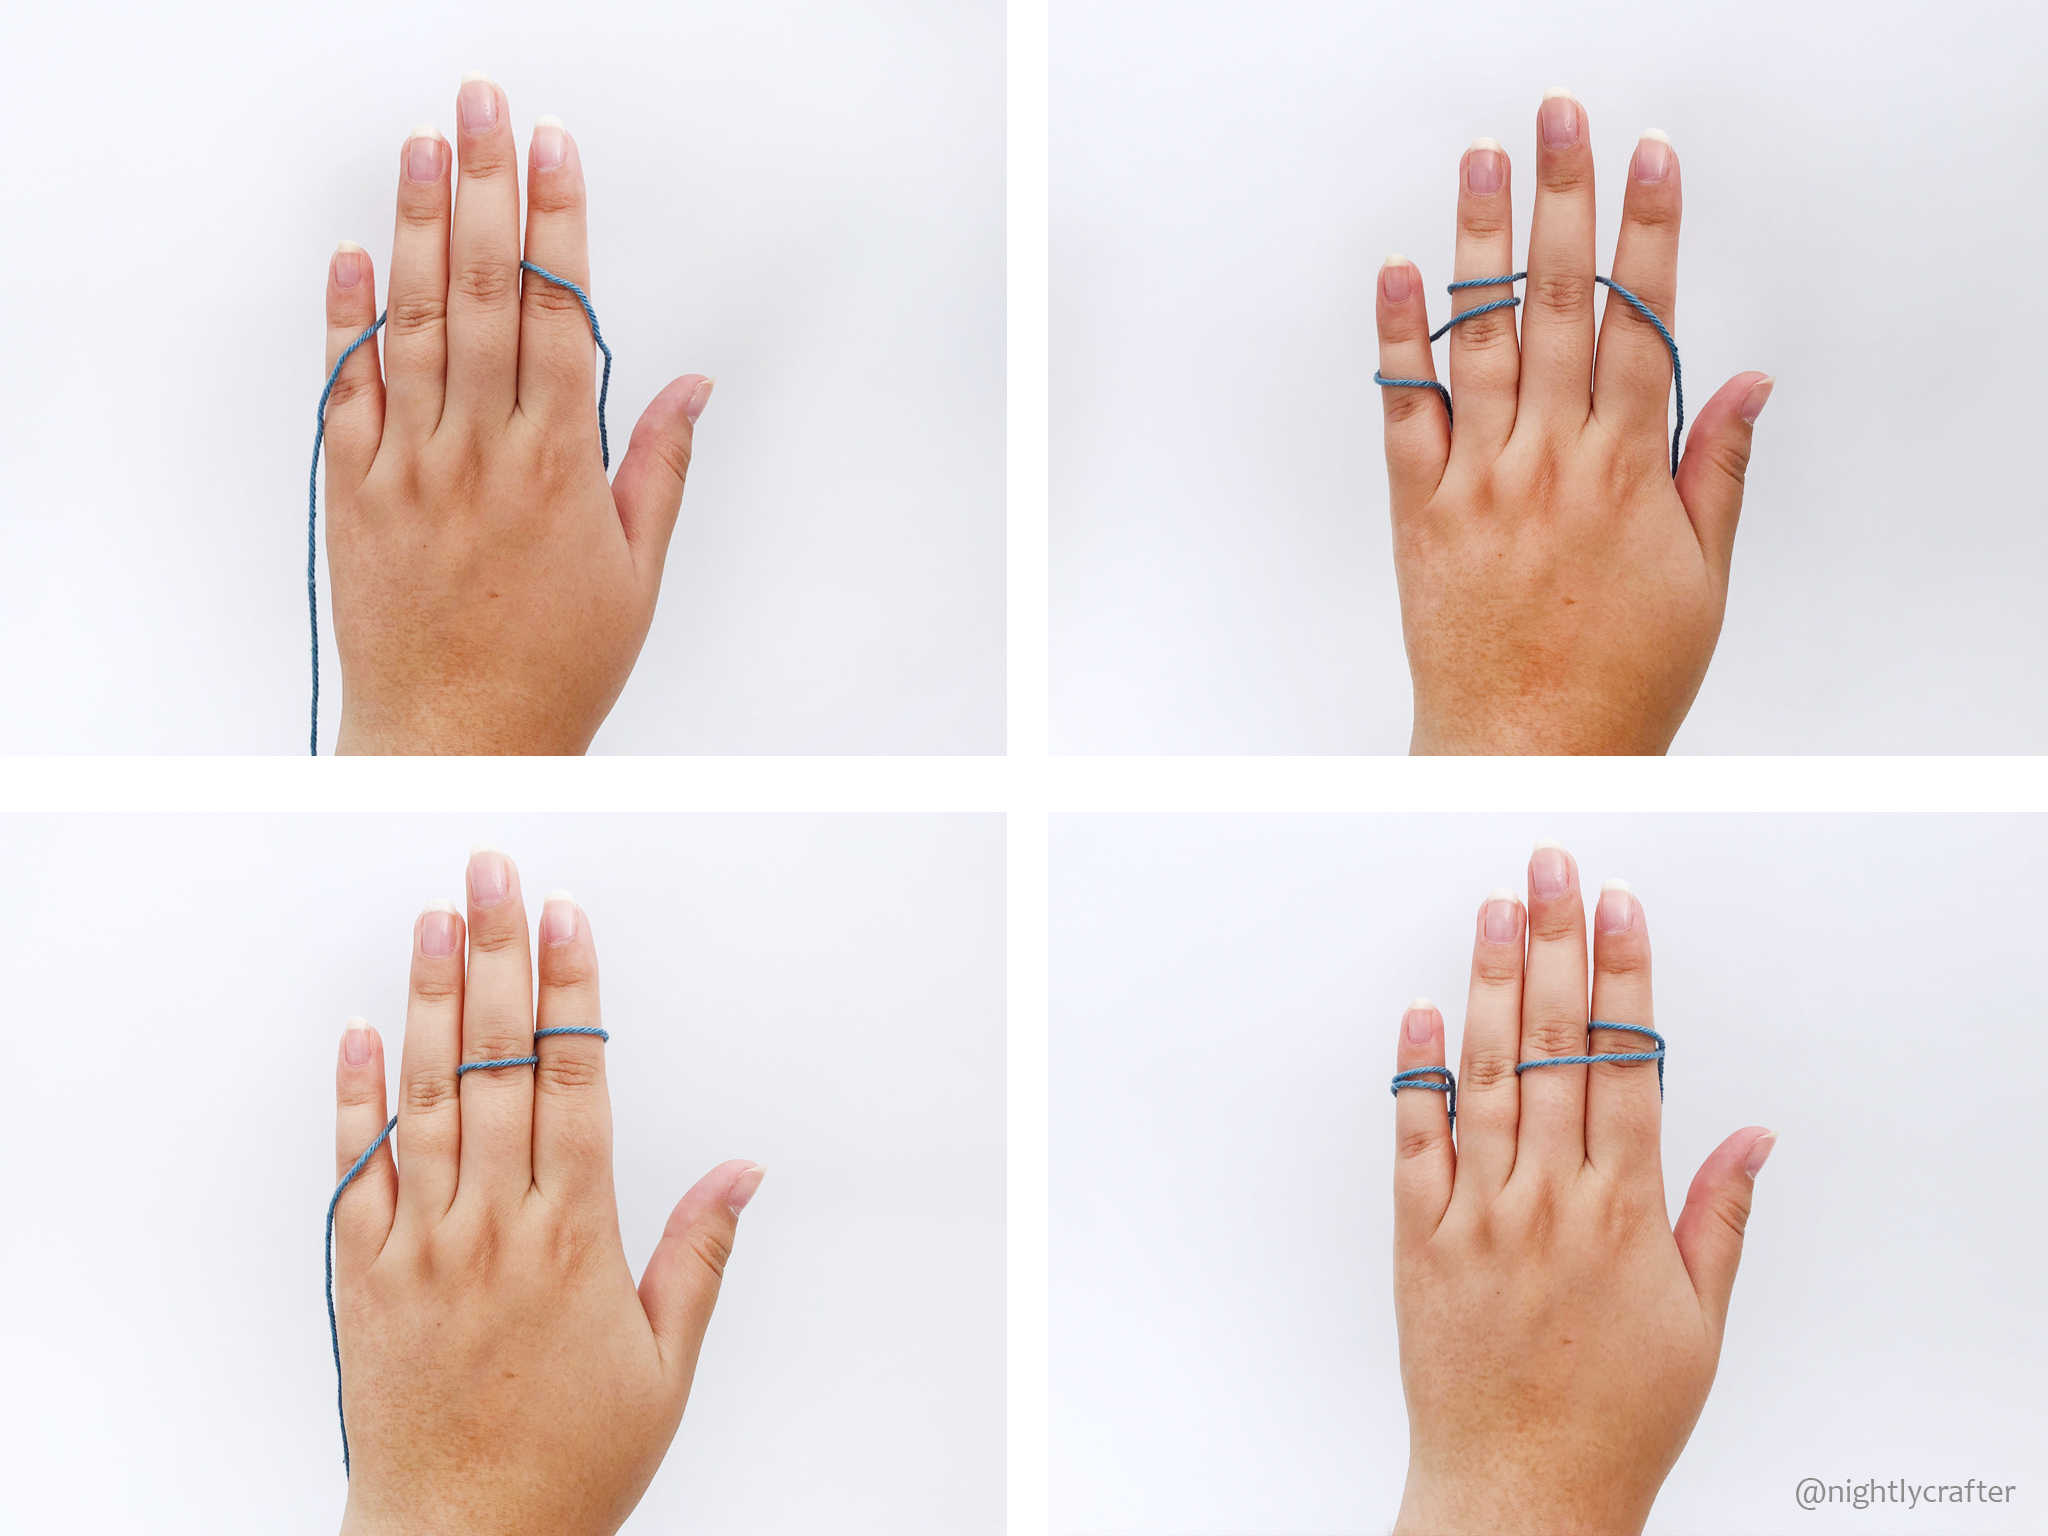
The yarn between your index finger and your thumb is your working space.
Your hand should look like the following photo.
* Right-handed version:
* Left-handed version:
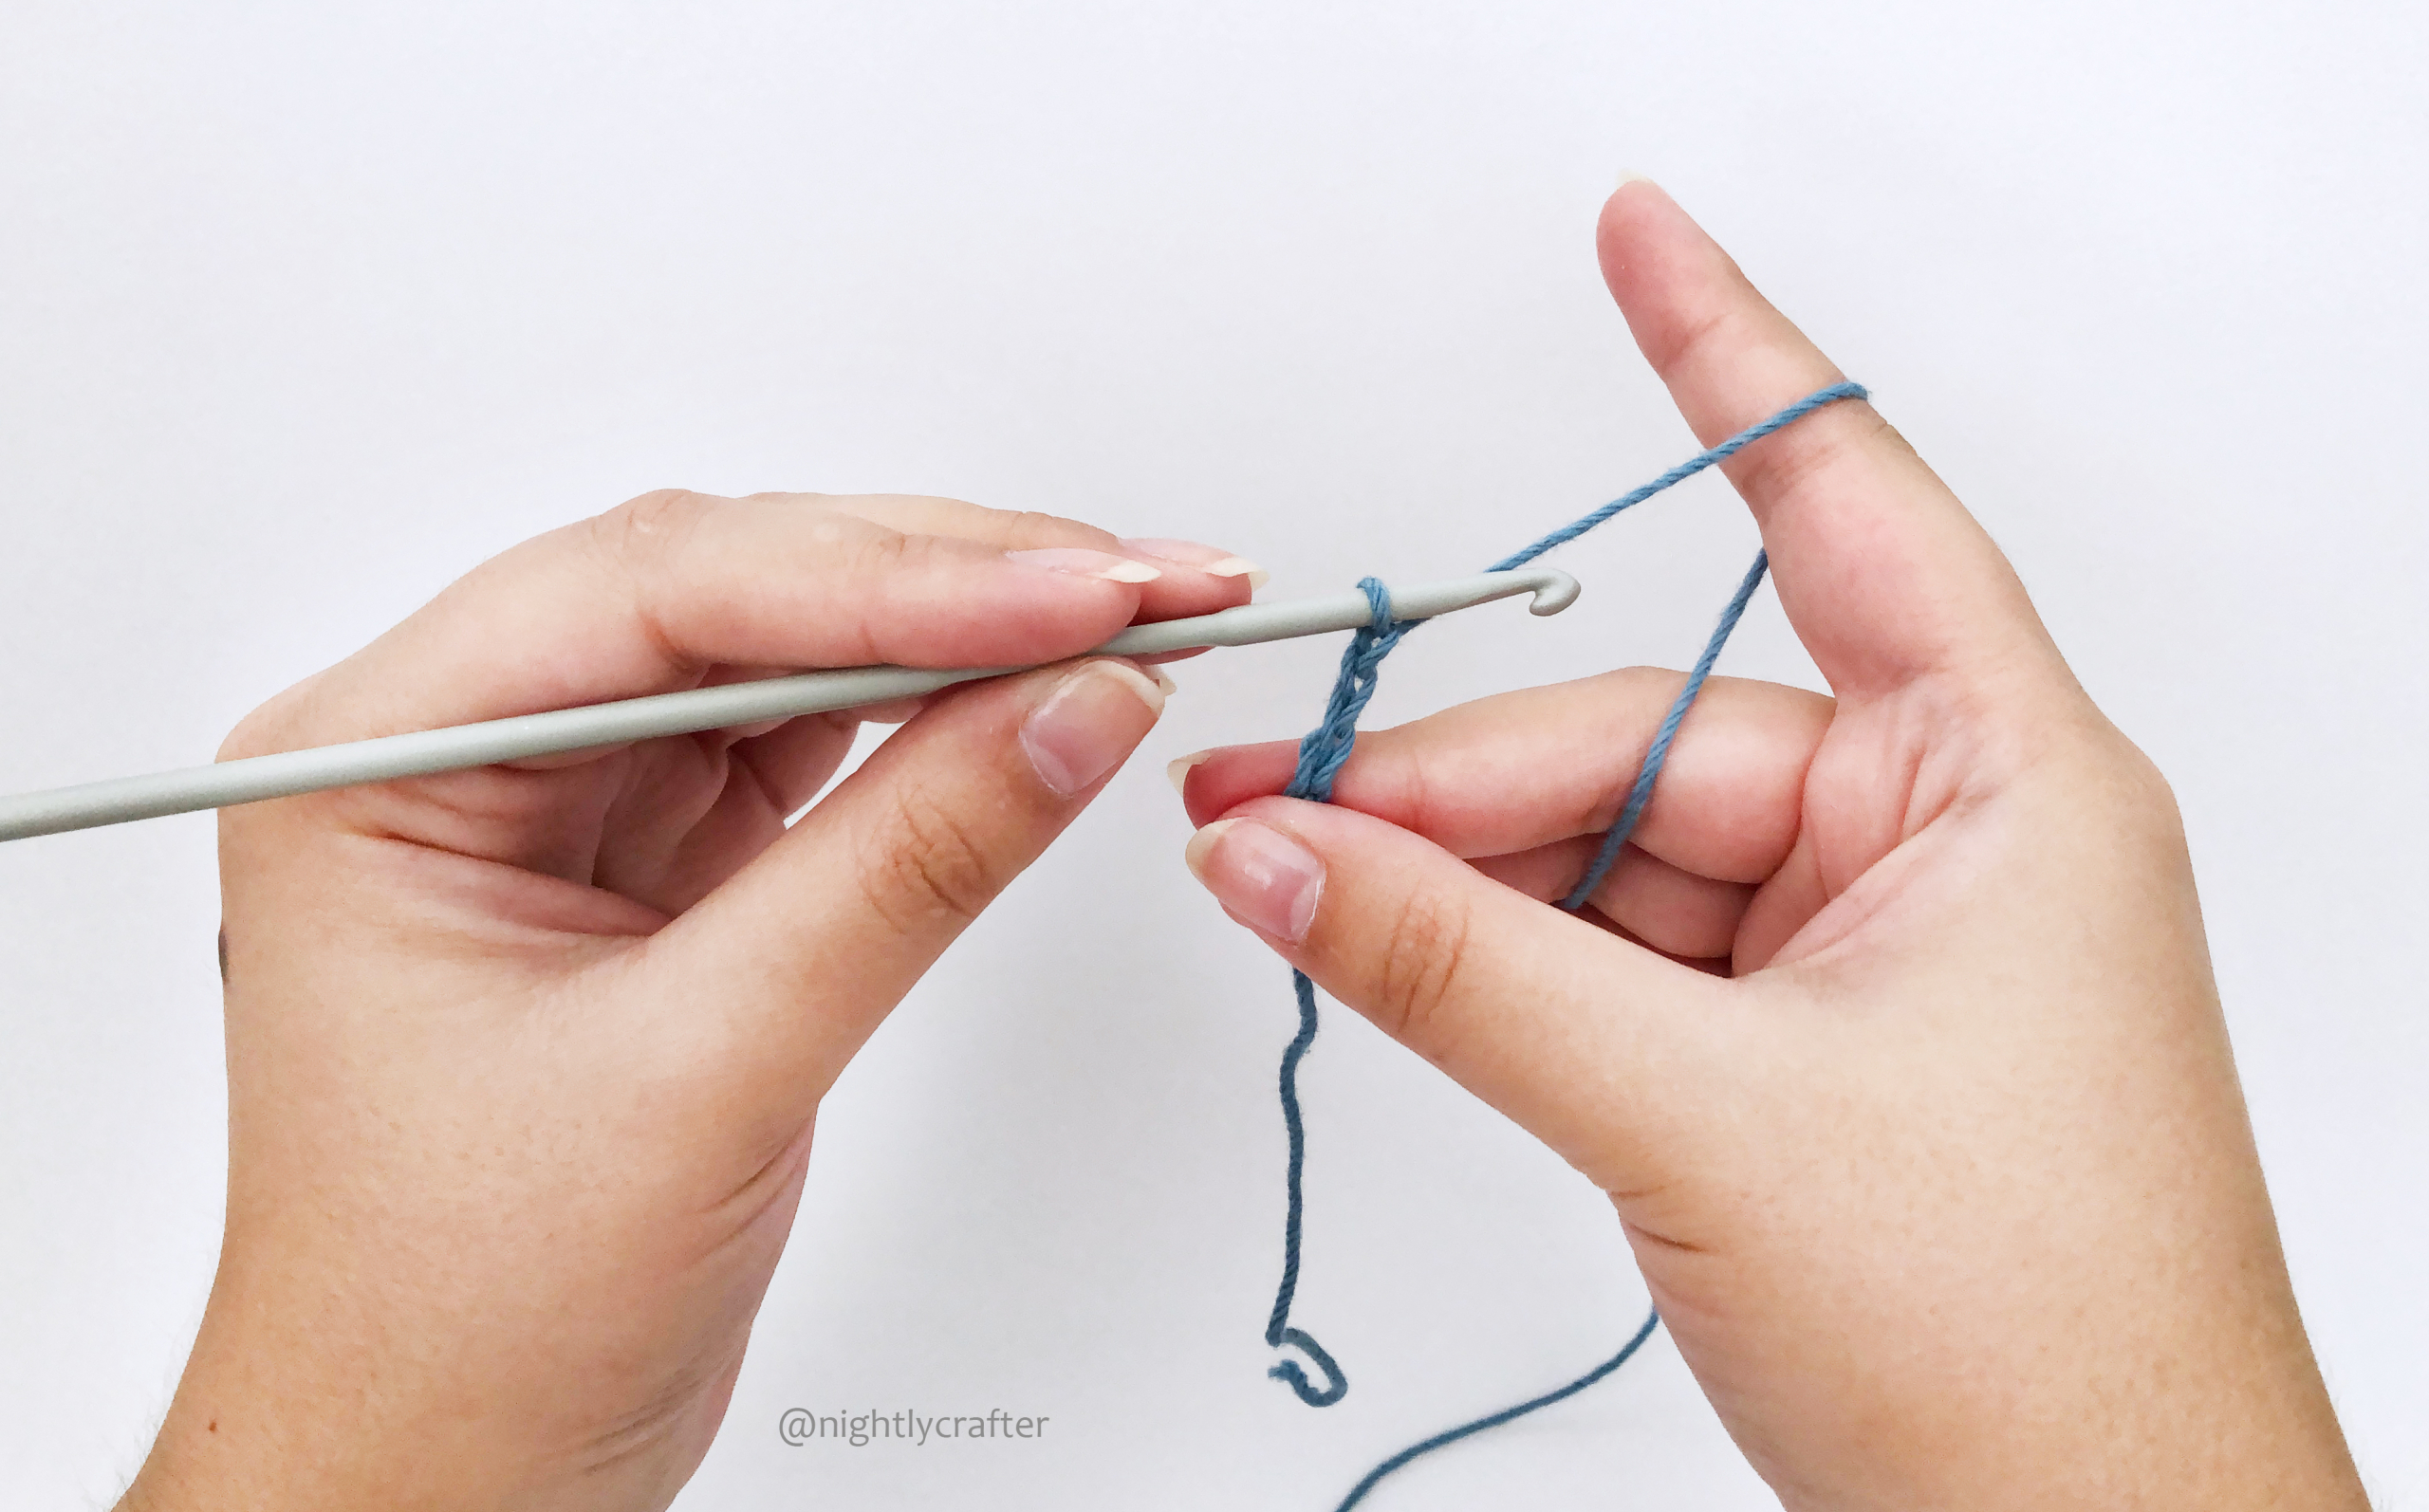
For practical purposes, I’m going to show you what your hands should look like using the pencil grip. (That’s the one I use)
* Right-handed version:
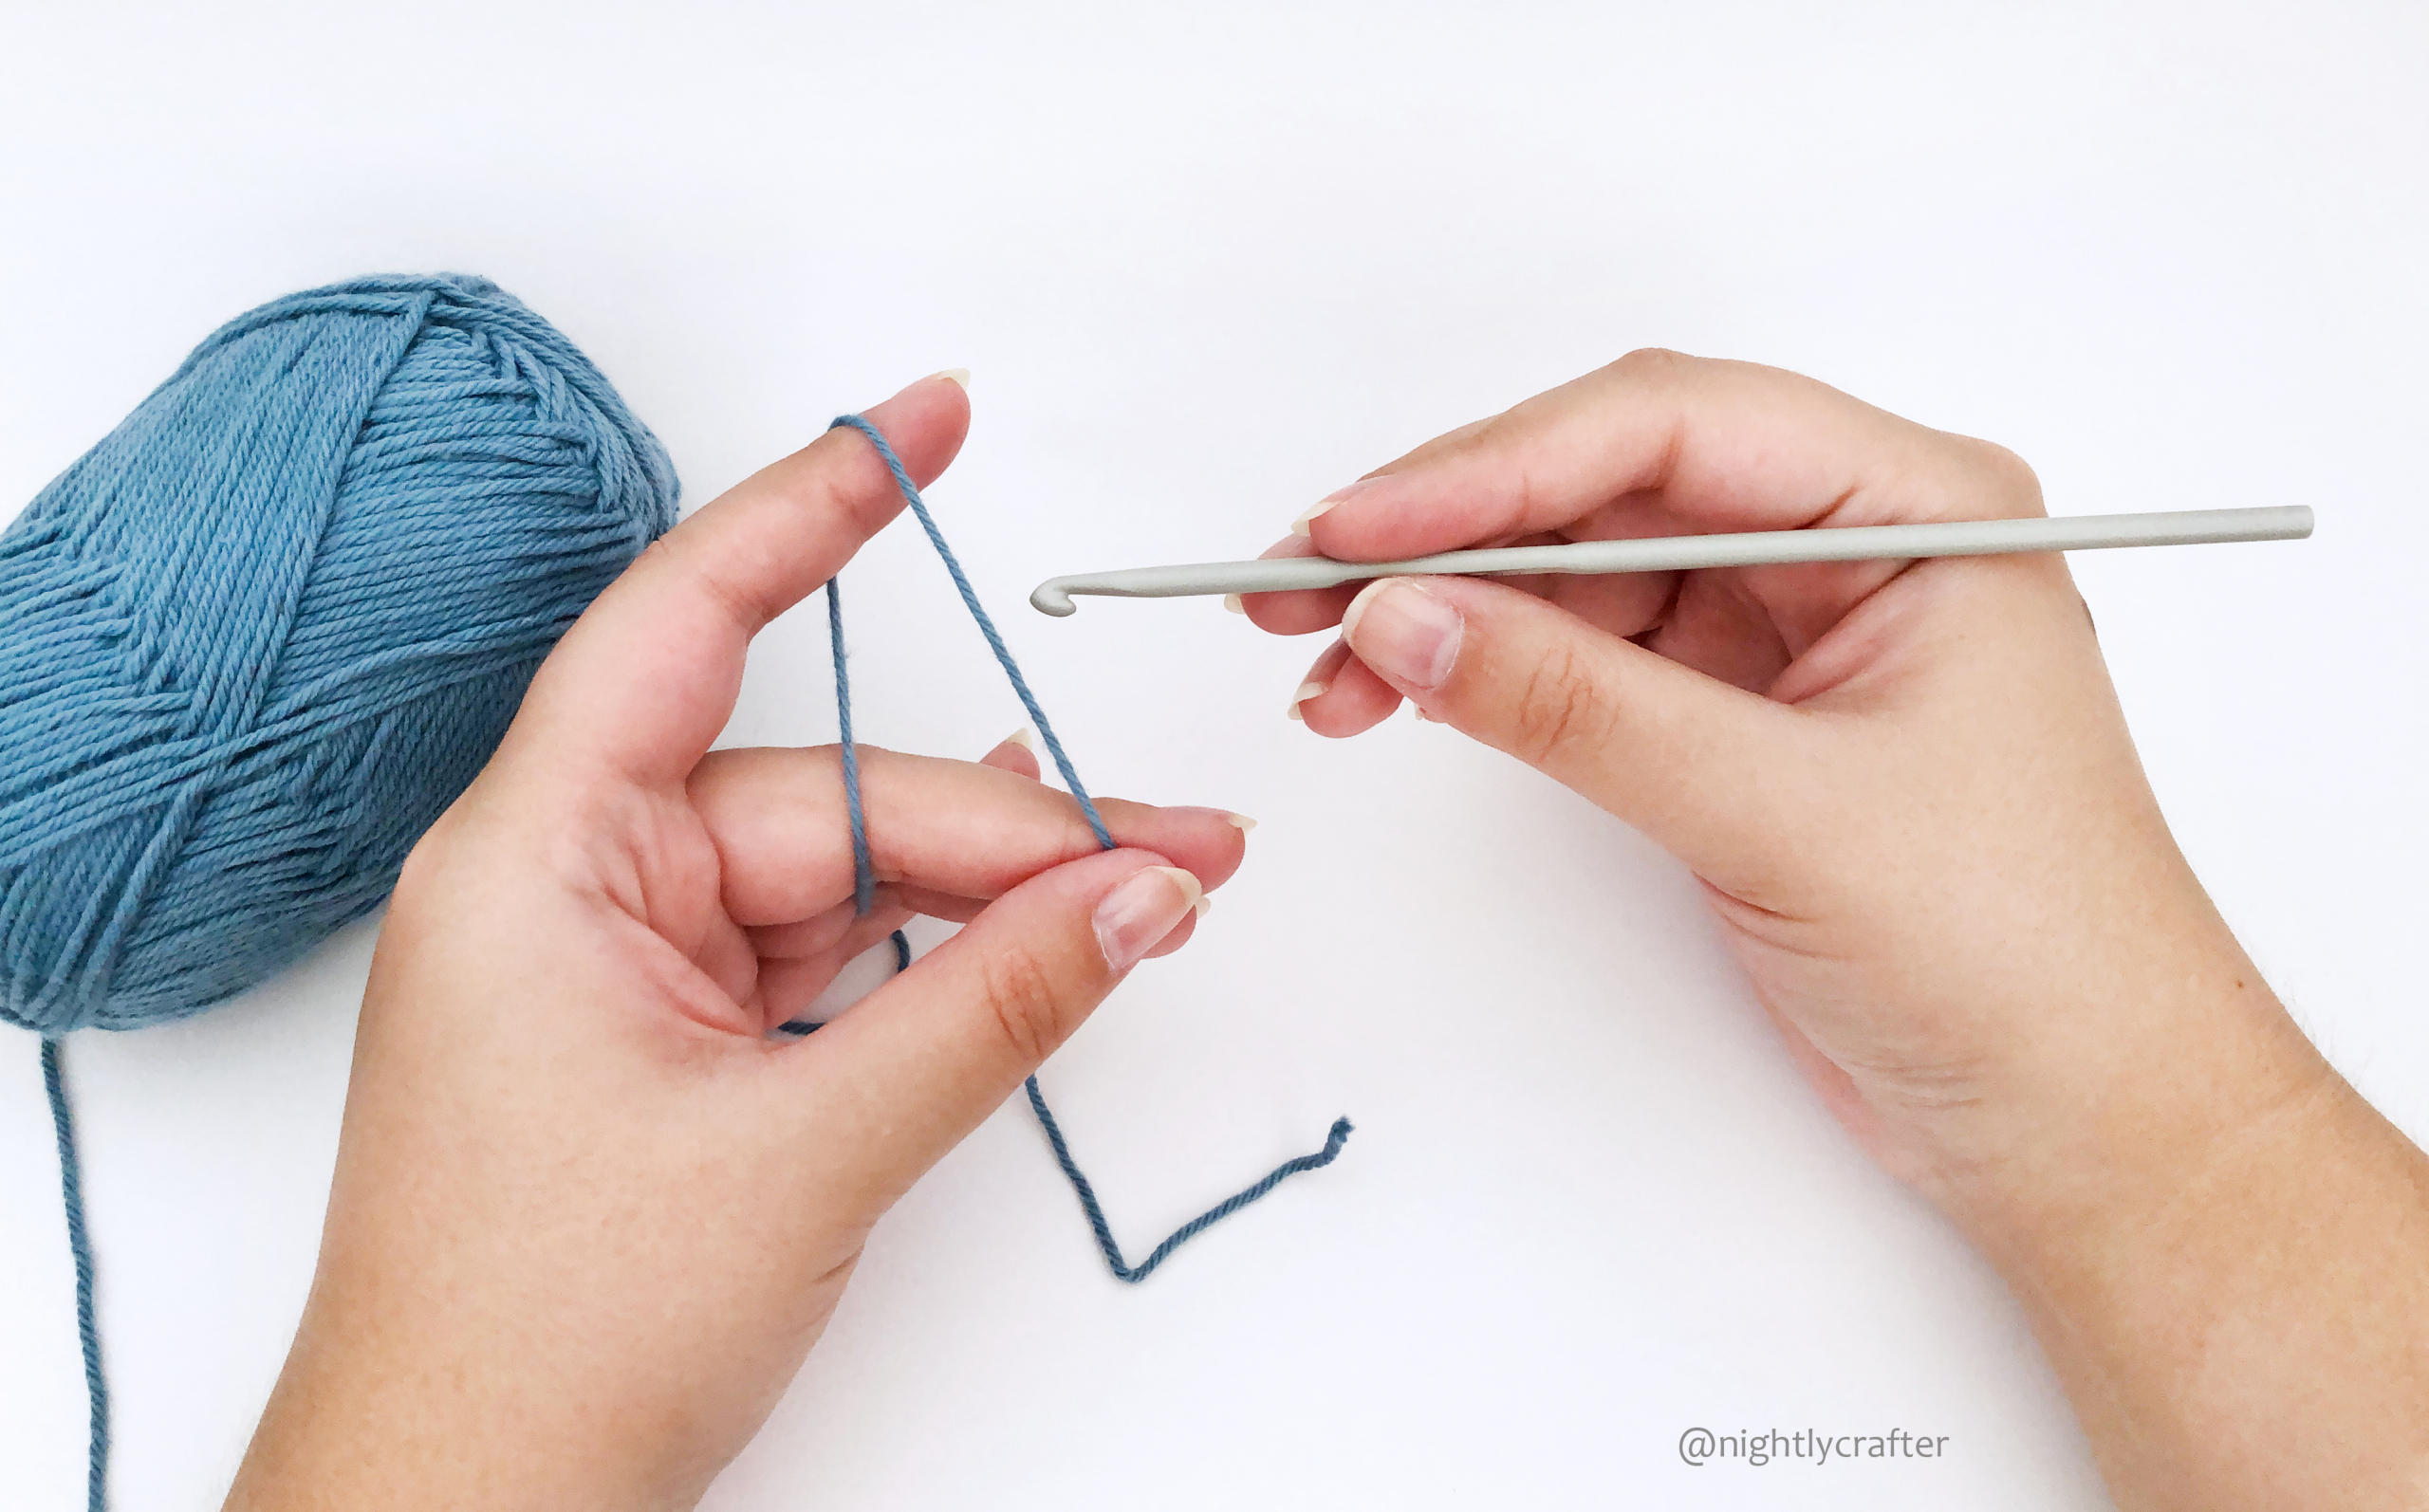
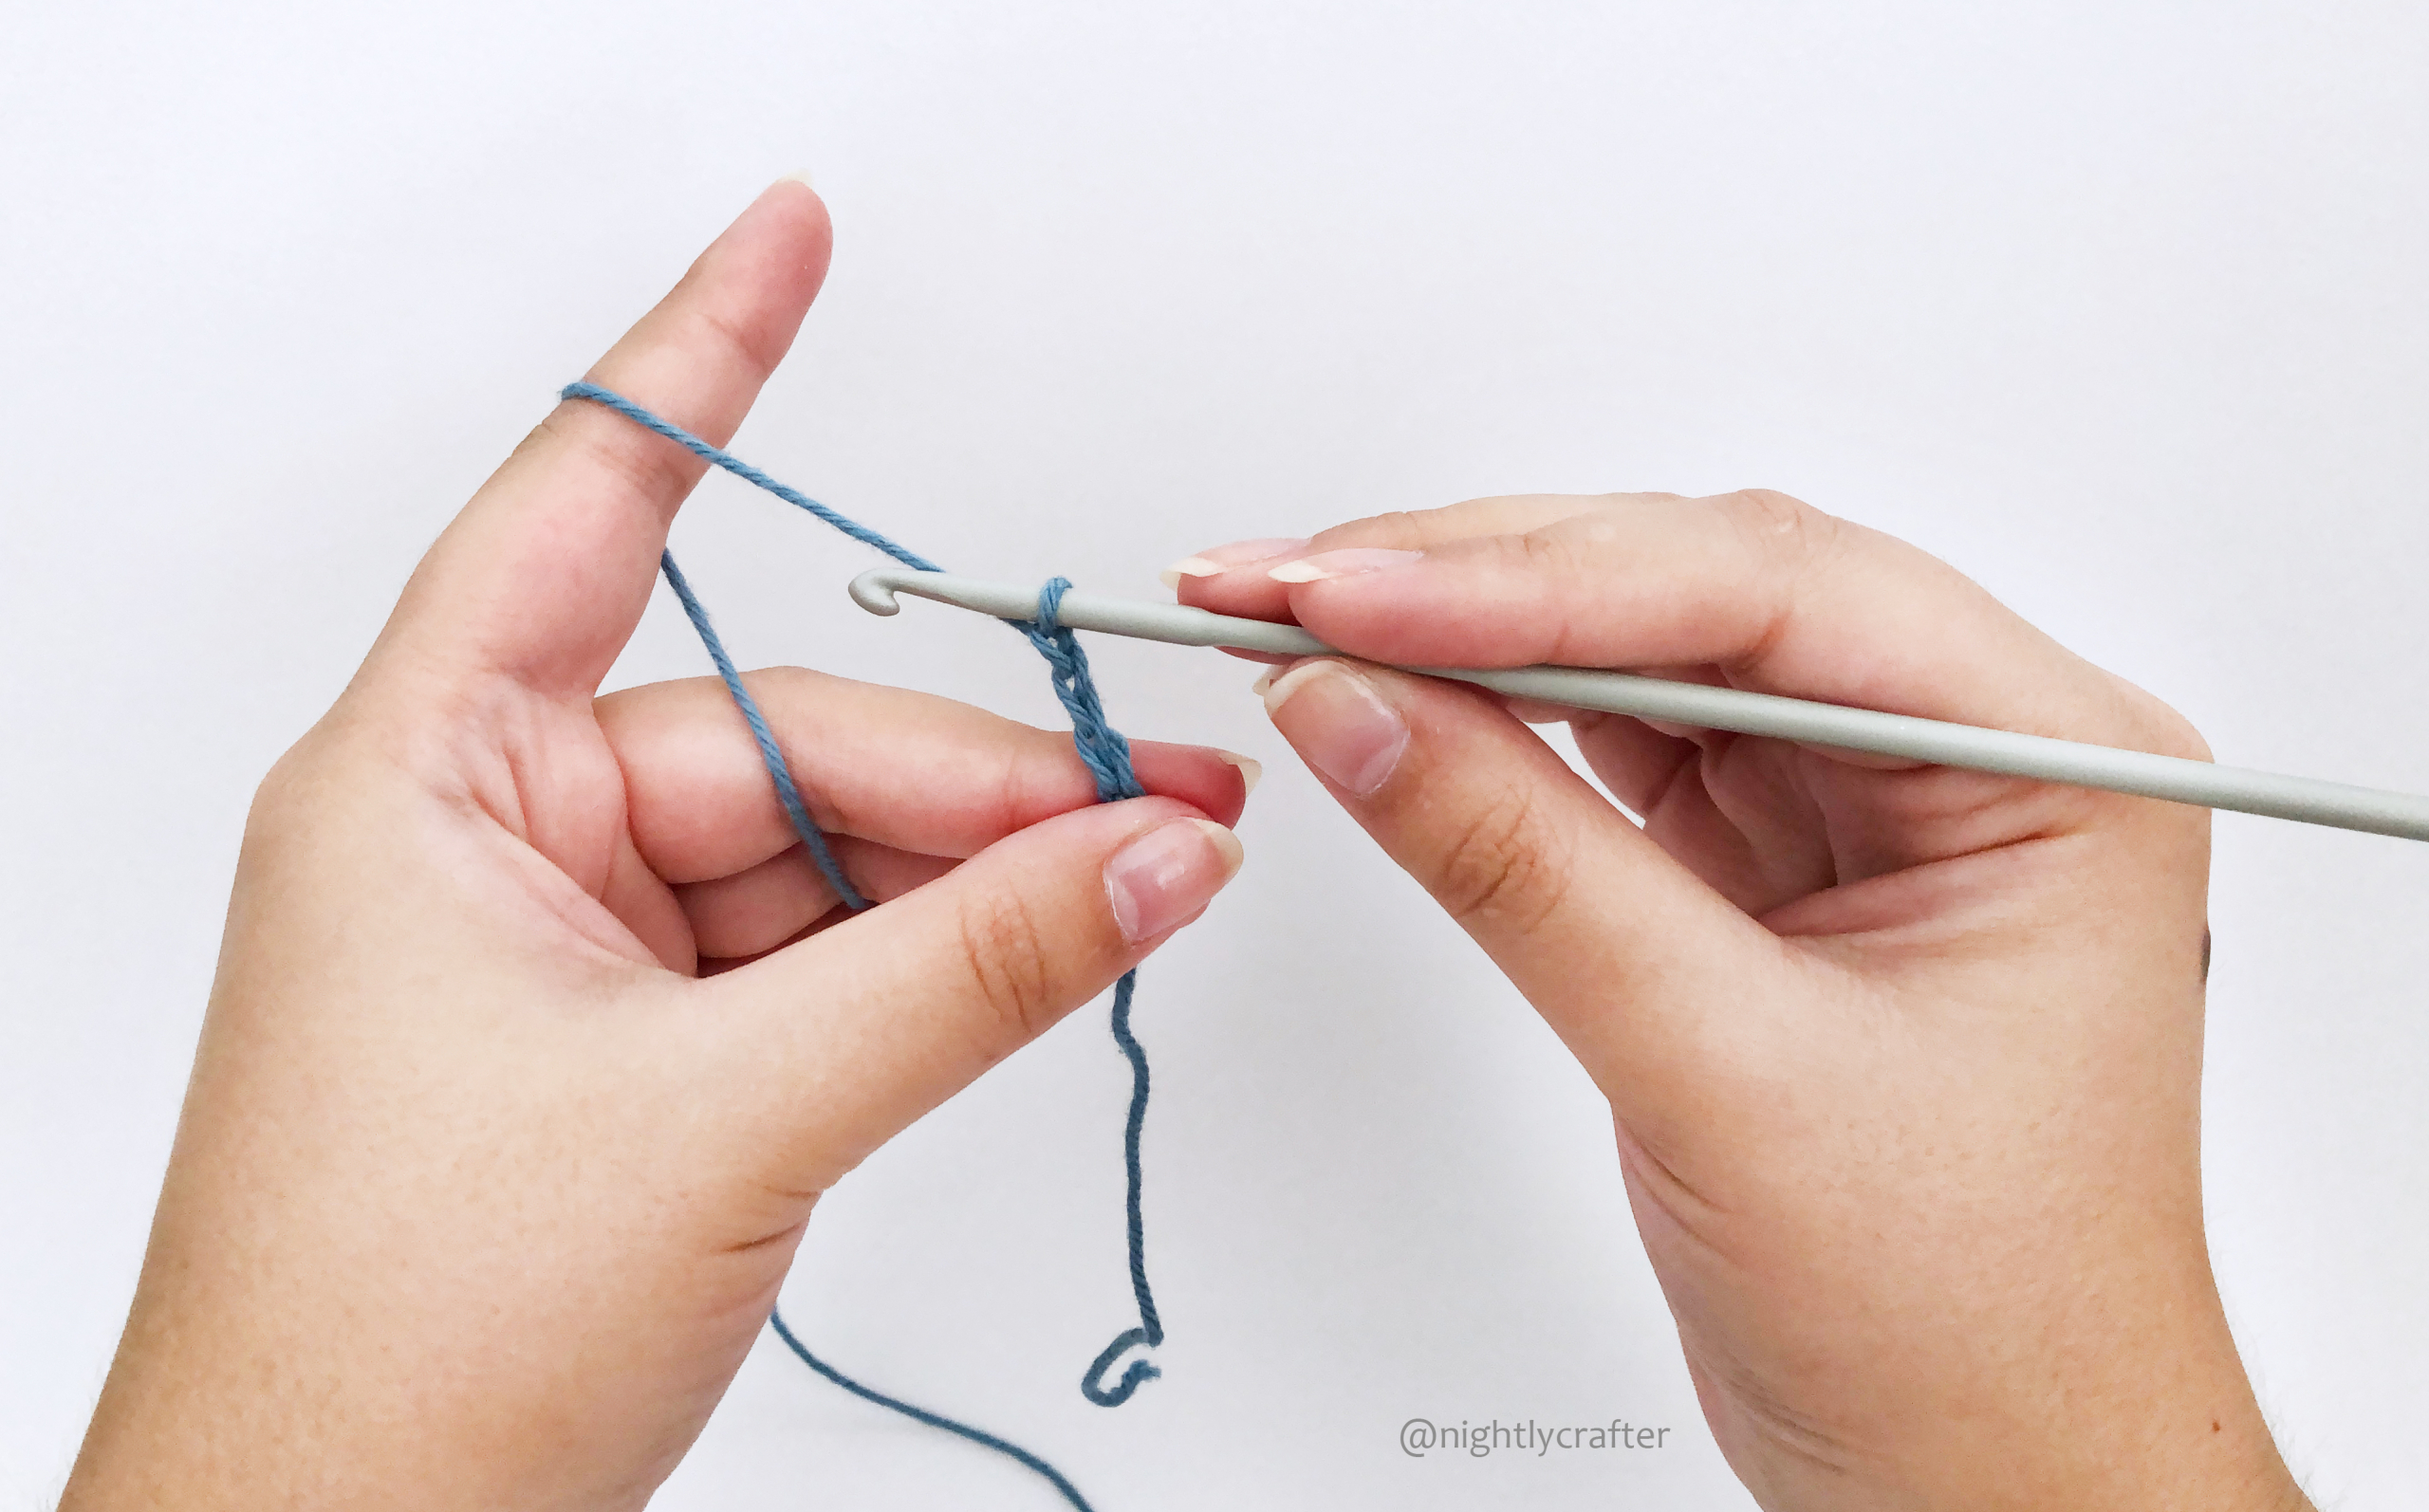
* Left-handed version:
About the Tension of your Yarn
I just mentioned the way that you hold your yarn will affect your tension. What do I mean? I want to tell you if you keep your thread too tight, probably you are going to do stiff work. On the other side, if you hold your yarn very loose, you probably are going to make a very slack project. This is important because, for example, if you want to make a sweater and your tension is too high, you are going to finish with a smaller sweater from what you want because you are going to compress the stitches.
What am I looking for in my tension? I’m looking for a yarn passing very smoothly thru my fingers, with no tangle, not too loose or too tight, and more importantly, with no pain in my hand.
I’m not going to lie to you; the tension of your yarn is the worst part of being a crochet beginner. I don’t want to scare you; it is just the truth. But like everything, the answer is the practice. When you start to crochet, some stitches will look bigger, other loose, or very uneven, and that is perfectly normal. Please don’t quit if that happens with your work. Keep practicing! In time you won’t even think about it.
Extra Tip:
If you are a left-handed crocheter I know that you’ll have a lot of problems finding patterns or tutorials for you because almost everything is made for right-handed. For that, I have a simple solution. Download the photo and put it in any program where you can edit it (like Photoshop) and then flip the image horizontally and done! You have an image for left-handed.
That’s all for this post. I hope it has been useful to you and remember, if you have any questions about this topic or any suggestion for a new one, PLEASE write me a comment below or send me an email, and I’ll answer you happily.
Also, don’t forget to follow me on Instagram (@nightlycrafter) to see my daily projects.
Happy Crocheting!
Paula.
NEXT IN CROCHET FOR BEGINNERS
Now, if you already feel confident about how to hold your crochet hook and yarn is time to learn the next step, HOW TO MAKE A SLIP KNOT.
Leave a Reply