I don’t know what happened, but the scrunchies are back! When I was at the school, at least in my country (Chile), it wasn’t very fancy to use a scrunchie, it was the opposite, but for me, they were the best because I’ve always had a lot of hair, so a big scrunchie was perfect, just not fashionable. But know… WOW, the ’90s are back, and I love it!!! So, now I can make my scrunchies and do them how big as I want.
For this crochet pattern, I chose a yarn the is not made for use with hooks, but in my defense, I didn’t know it when I bought it online. At that time, I wanted to try new things, and it was a wrong choice, but I been looking for some projects to use it and finally, now is the time with this easy and quick scrunchie.

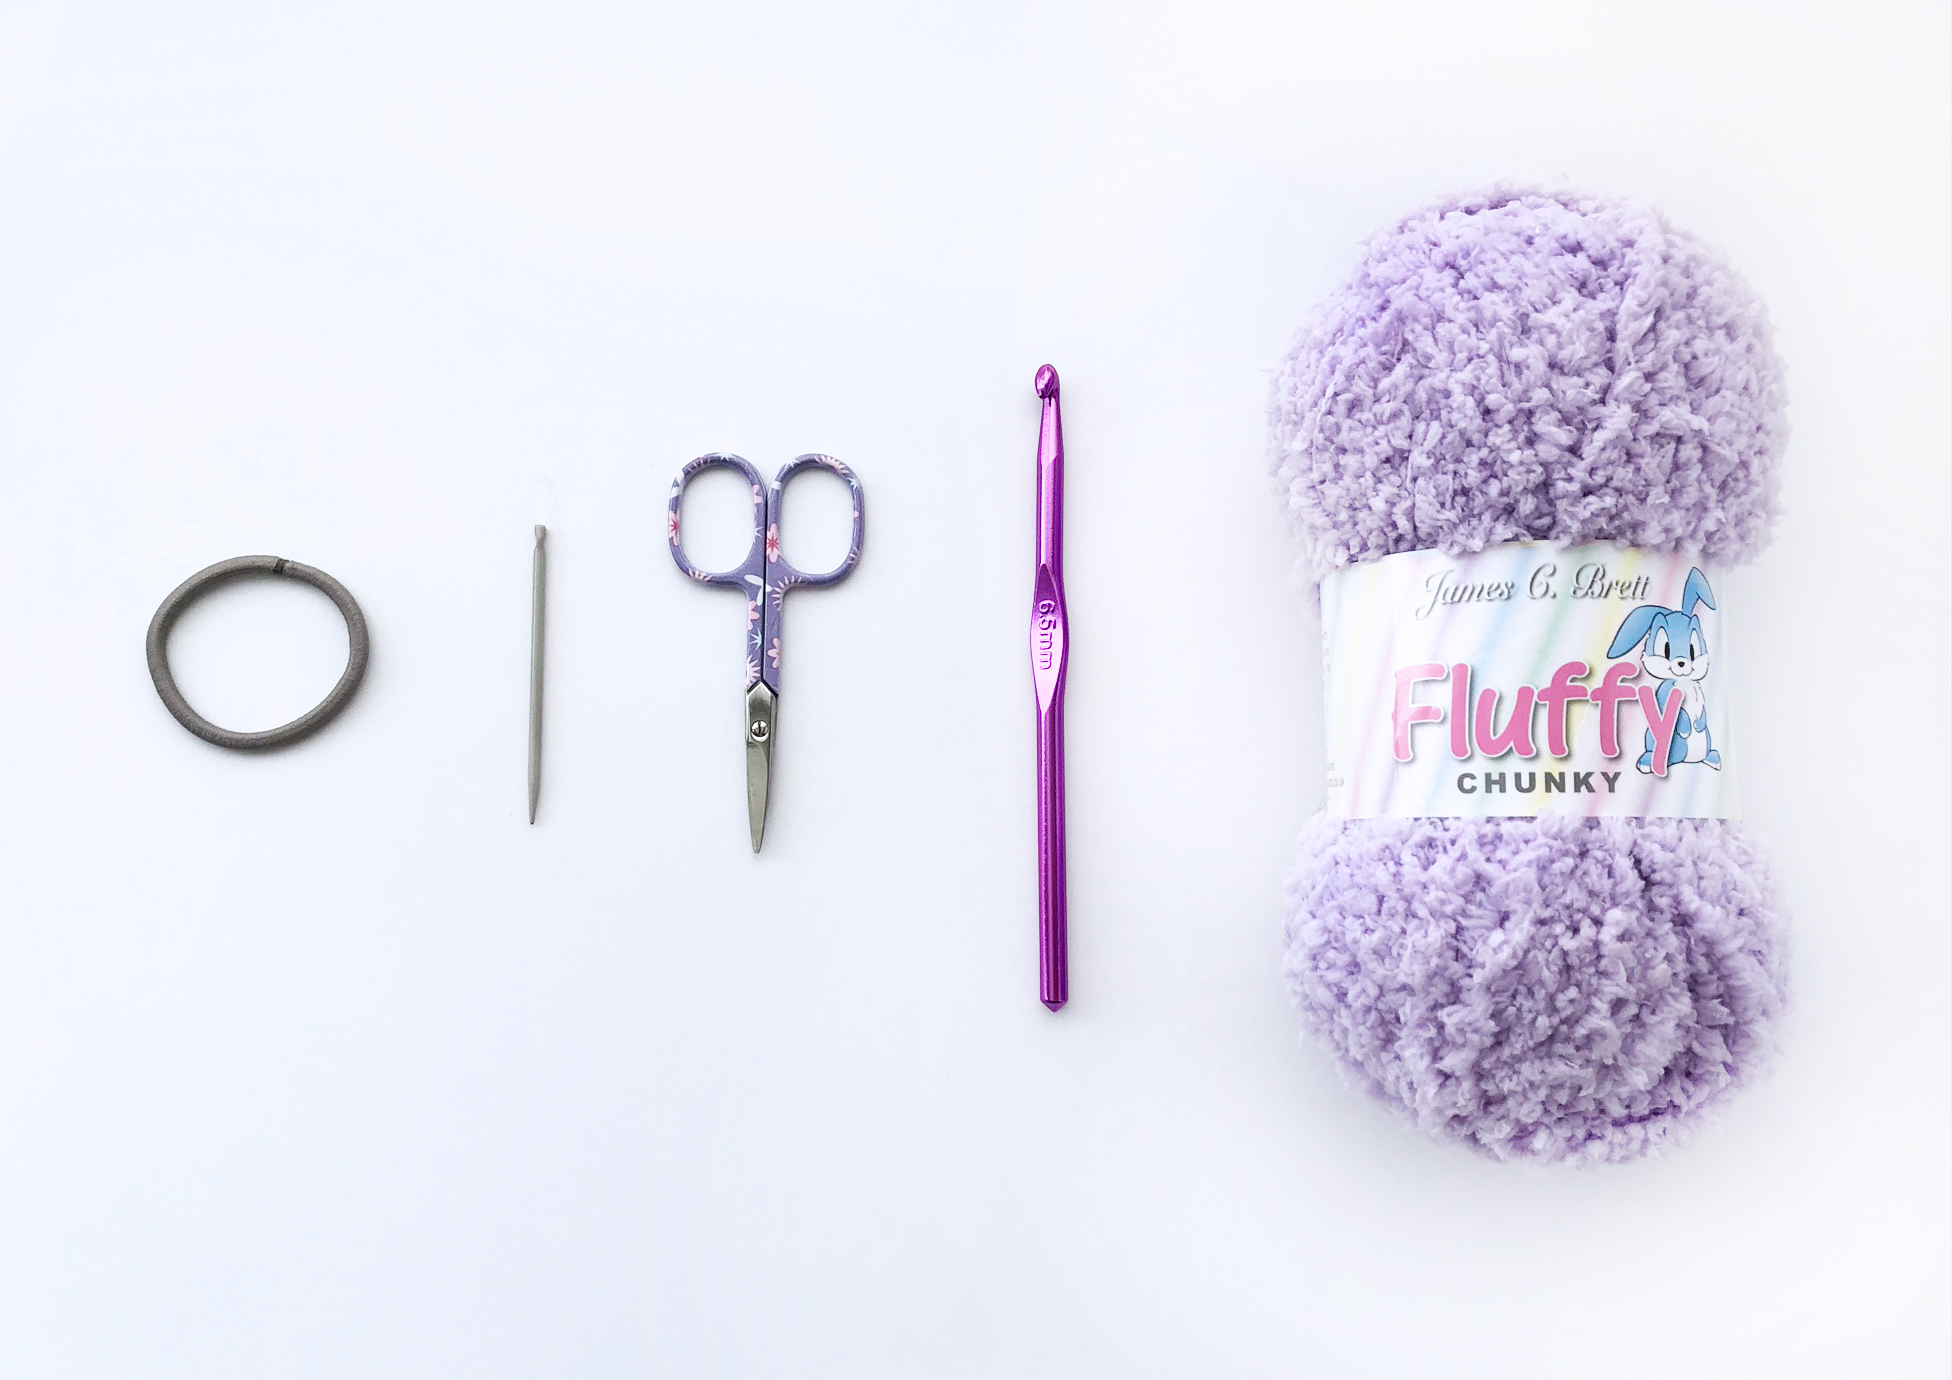
MATERIALS:
- Yarn – James C. Brett Fluffy Chunky (or any chunky yarn)
- Hook — 6.5 mm.
- A hair elastic
- Yarn needle
- Scissors
NOTES:
- You have to work inserting the hook into the elastic band in every stitch.
- You can modify the pattern depending on your yarn weight or your taste. If you want a bigger or smaller scrunchie, add or remove stitches.
- With this yarn, you won’t be able to see the stitch, and that can be tricky, but it is also a good thing because you won’t see the errors.
ABBREVIATIONS:
ch = Chain Stitch
sc = Single Crochet
sl = Slip Stitch
dc = Double Crochet
INSTRUCTIONS:
* You can start this scrunchie in two ways. Choose the easiest for you.
First way: Make a slip knot on your hook and then sc around the hair elastic. Make 2 ch.
Second way: Tie the yarn around the elastic band and start directly from there. Make 3 ch.
First Way:

Second Way:

Now make the chains.


Start doing dc around the hair elastic. Here you can choose how big or small you want your scrunchie. For mine, I did 75 dc in total.
* Align the excess thread with the hair elastic to hide it while you make the stitches.


Around half of your dc, you will fill your hair elastic. Just separate the stitches and keep crocheting.


When you are happy with the waves or the size of your scrunchie, end with sl on top of beginning ch, it won’t be easy to see the chain, so just try to join the corners.
After that, cut the thread, leaving a long thread to close and hide.


Tip: If you lost the count of your stitches or you want to check the number of your stitches, use your fingers and feel the stitches, separate, and count because using your eyes only it will be impossible.


As always, please let me know or tag me in your photo on Instagram if you make a scrunchie. I would love to see it!
Happy Crocheting!
Paula
© All rights reserved. This pattern is for personal use only; please do not copy or distribute this pattern.
You can sell finished products using this pattern, but you need to attribute design on me,
attaching the link to my blog: www.nightlycrafter.com ,
and you must also use your own photos to represent your work.
 English
 Español

Leave a Reply