Some months ago, I started my Twitch Channel. If you don’t know what Twitch is, it basically is a place where you can make live streams, originally was only for video games, but now it is expanding. So I know you are wondering, what does this have to do with crochet? Well, I’m doing crafts streams, and I have a special day for crochet, and on that day, this (very) easy crochet hat was born.
Sadly for English speakers, it will be hard to go and visit me over there because I’m doing streams in Spanish only because it is my first language and is more comfortable for me, BUT to share some of the Twitch content, I’m going to put in the blog my favorite patterns.
Of course, if you want to go to my streams anyway, you are totally welcome! I will be happy to see you there.
Well, now a little bit about the hat. This pattern is easy and ideal for crochet beginners because it is made flat, so you don’t need to know how to crochet in rounds. Also, the size is easily adaptable, and it is very quick to make. In fact, I think this hat is an excellent option if you want to make a gift.
MATERIALS:
- Any Medium Weight Yarn (#4) – I used Flecks Yarn by Loops & Threads in Deep Pink/Coral color
- White Yarn for the Pompom
- Hook — 5 mm.
- Yarn needle
- Scissors
- Pom-pom Maker
NOTES:
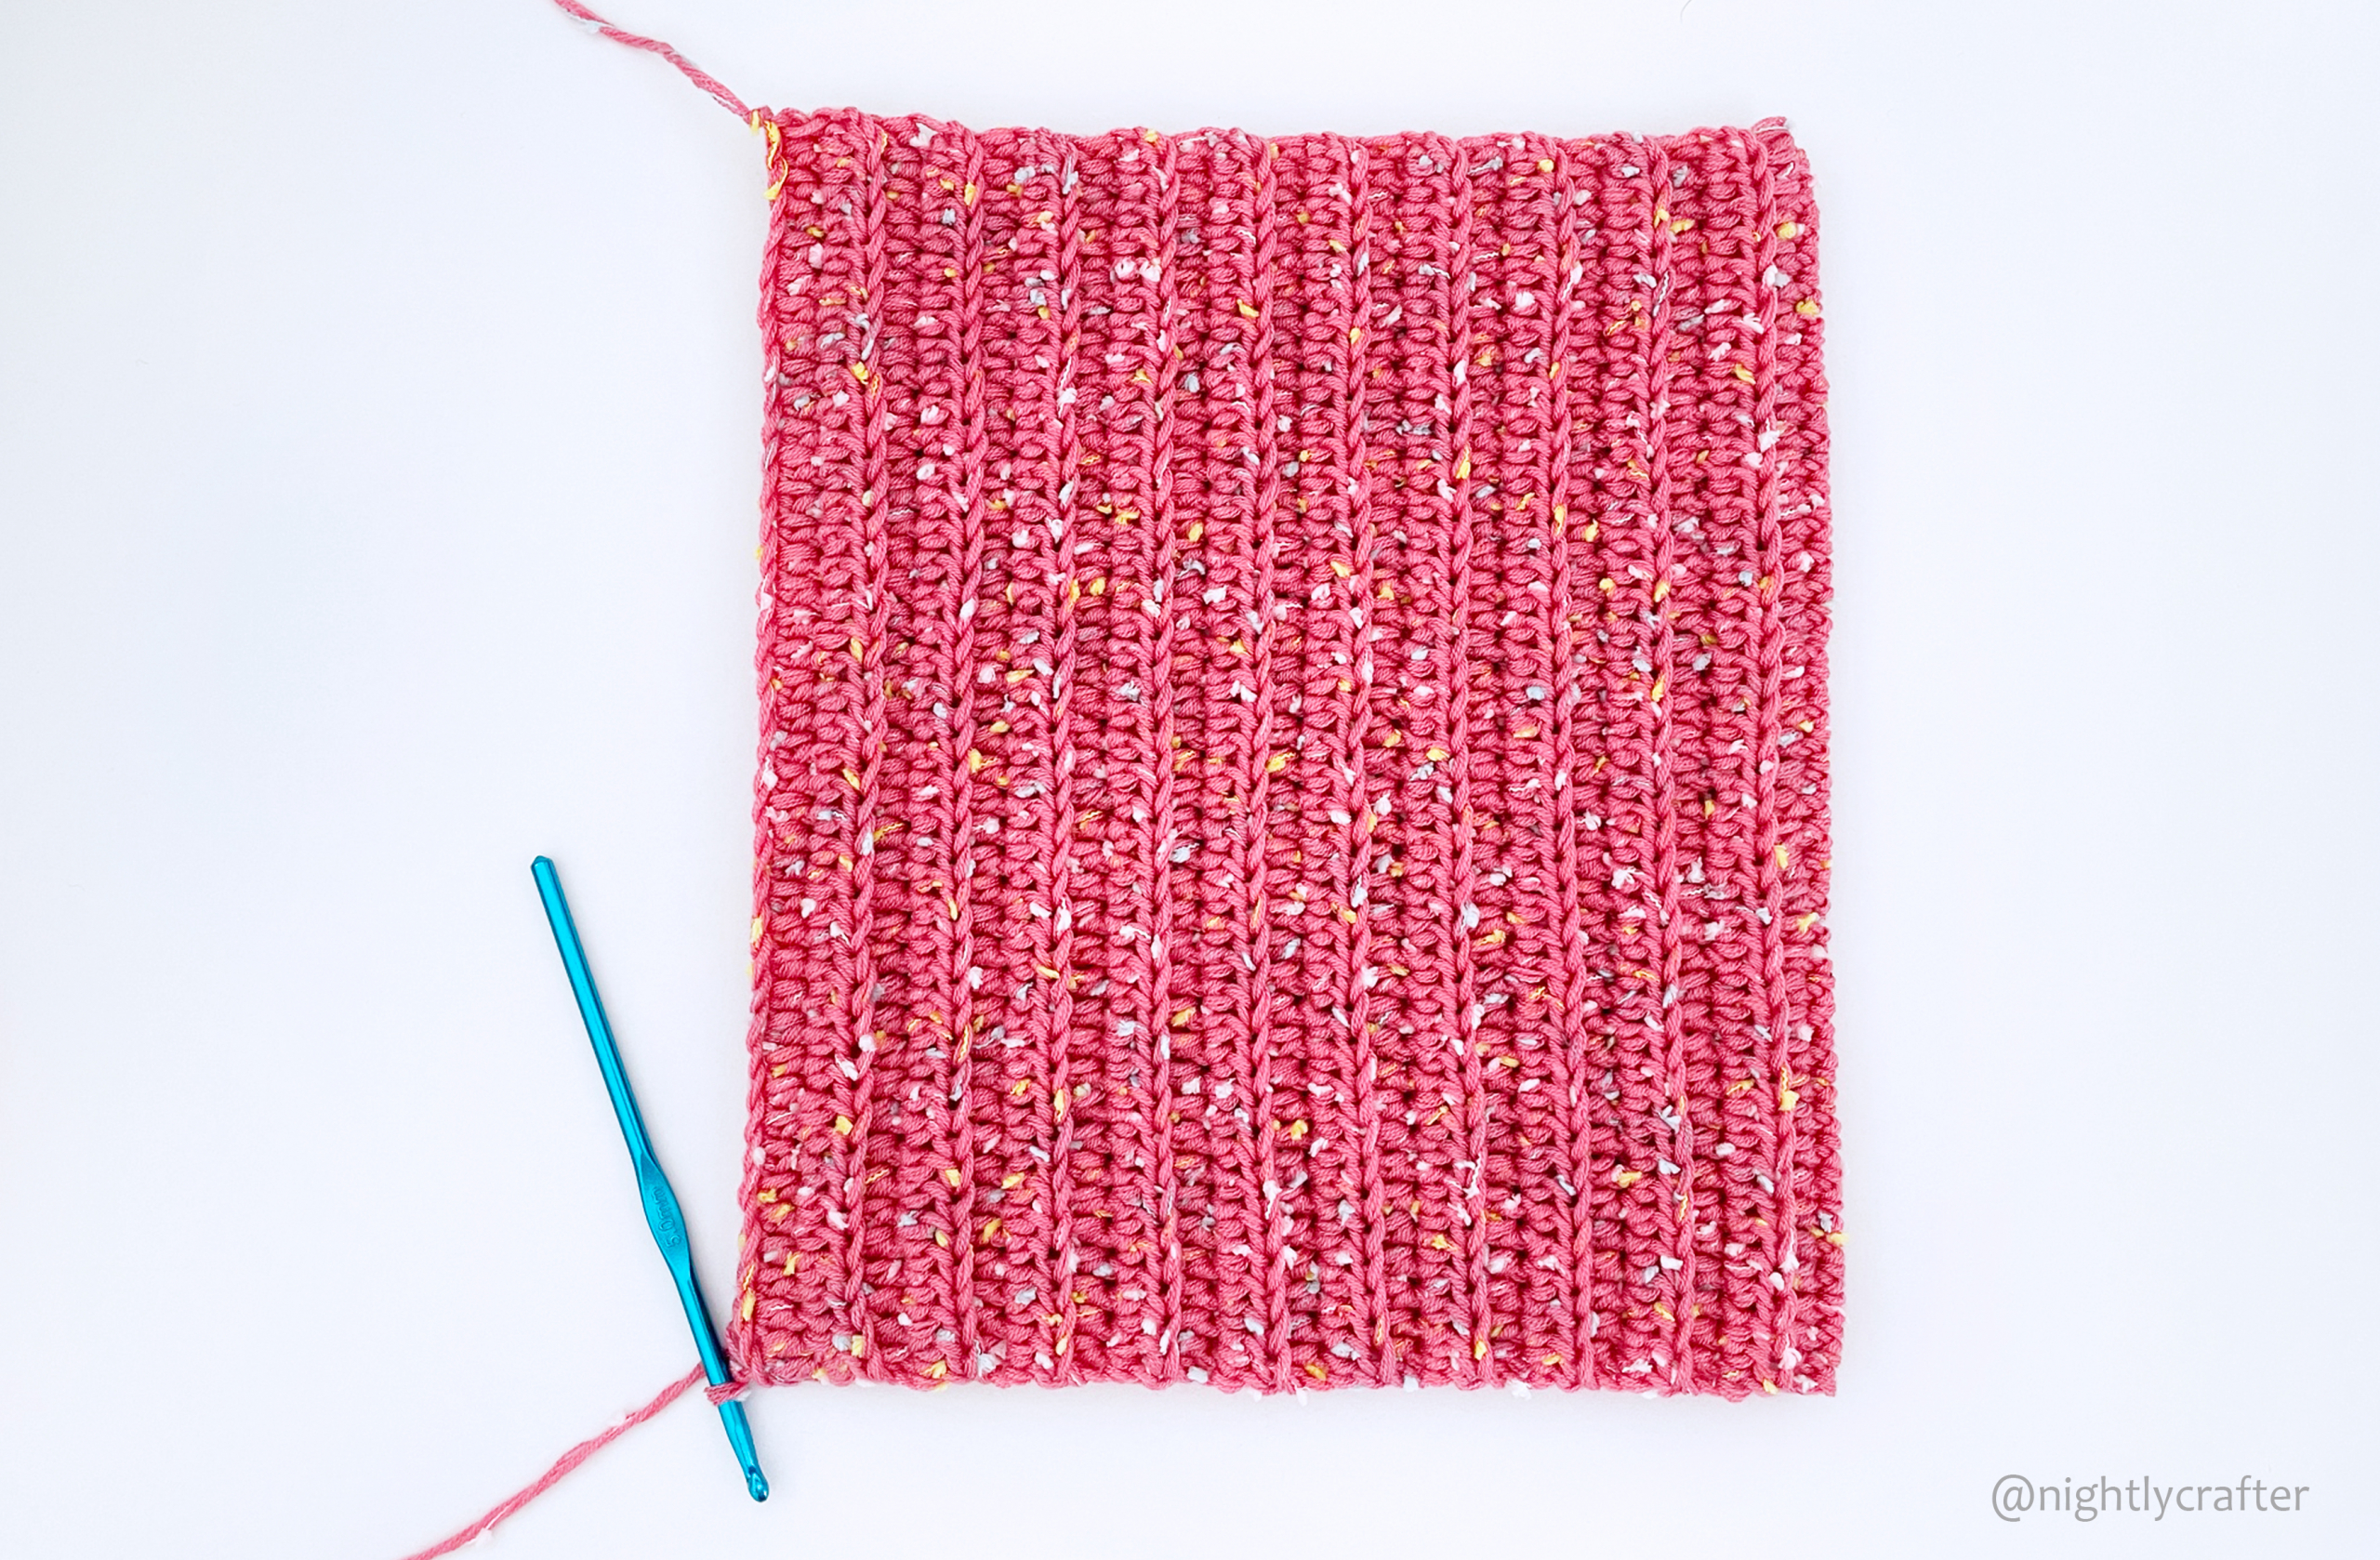
- The pattern is made to be worked in rows, and your hat will look like a giant rectangle until you sew it.
- The turning chain does NOT count as a stitch.
- The pom-pom maker is not totally necessary, you can do your pom-pom as you want.
- If you want a “simpler version” of this hat, you can choose a plain yarn and take off the pom-pom.
ABBREVIATIONS:
sts = stitches
ch = Chain Stitch
hdc = Half Double Crochet
BLO = Back Loop Only
sl = Slip Stitch
(…) = total amount of stitches made in the current row
Size:
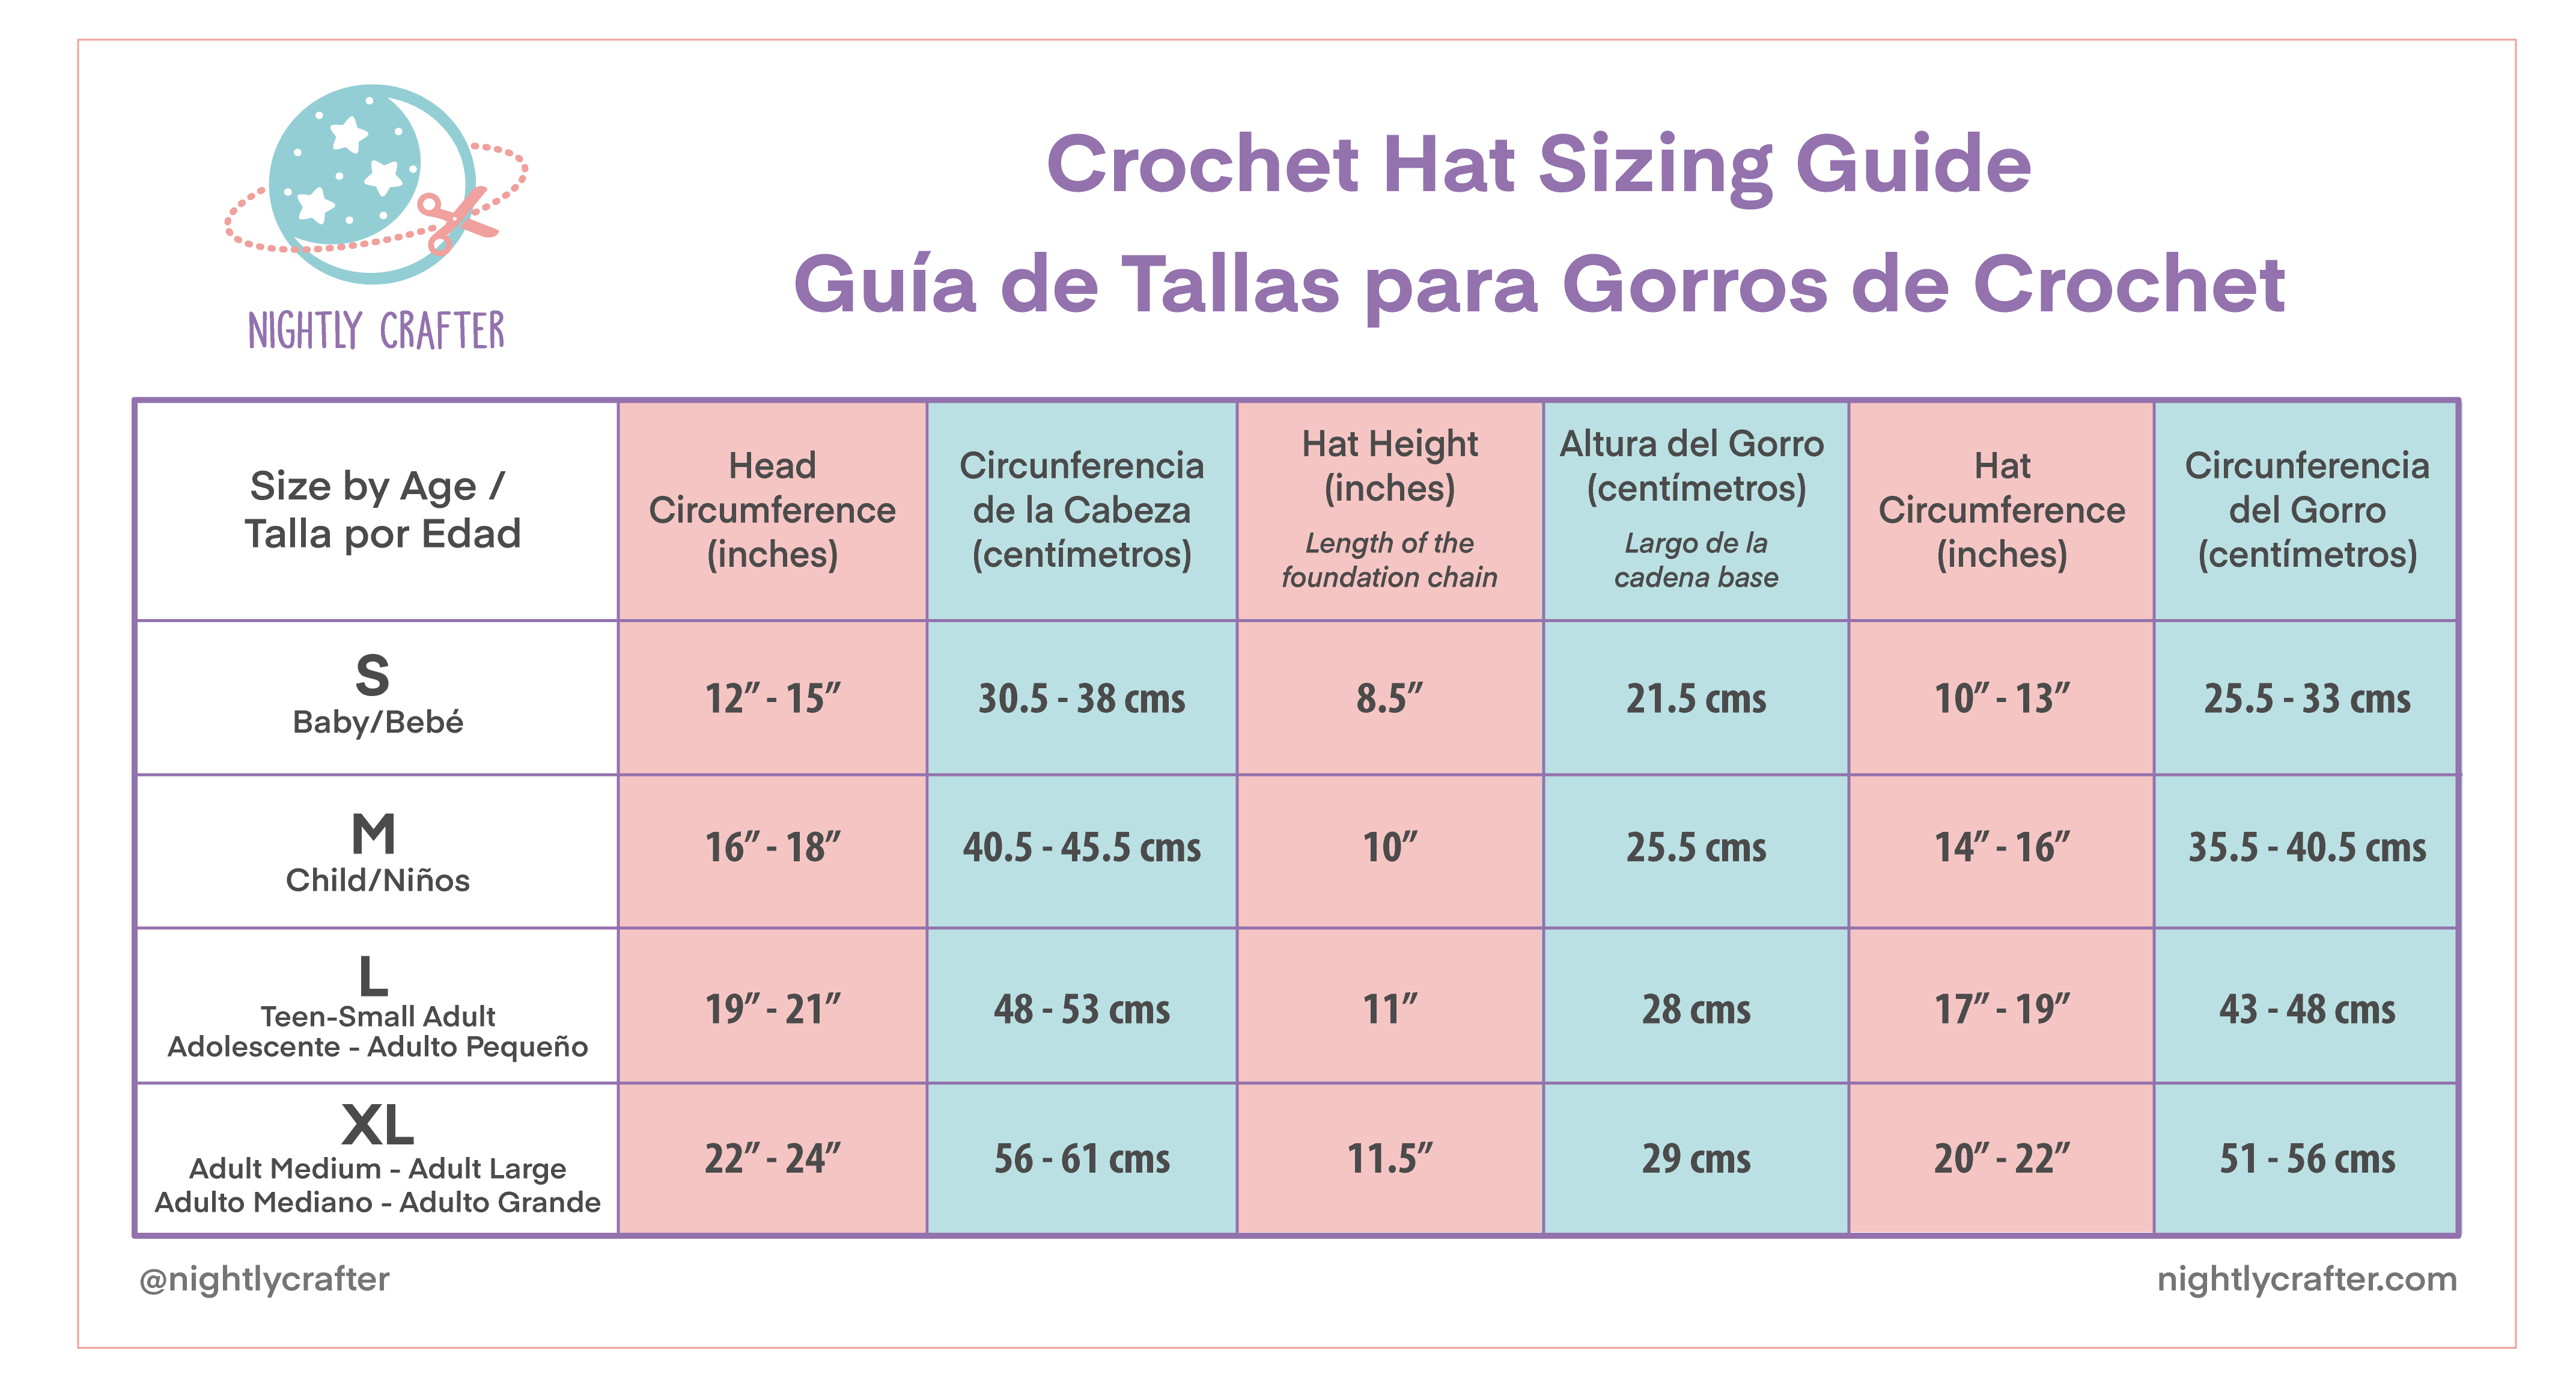
For this example, I did an Adult Size (XL) hat, and my measurements were:
- My head circumference: 22″ (56 cm)
- Hat Circumference: 20″ (51 cm)
Finished Size:
- Unfolded Hat: 20 inches (51 cm) circumference and 11.5 inches (29 cm) height.
- Folded Hat: 20 inches (51 cm) circumference and 9 inches (23 cm) height.
The stitches we will use for this pattern are very stretchy, so keep that in mind when choosing the size of your hat. Just for reference, I did my hat around 2 inches (5 cm) smaller than my head circumference, and it still is not tight.
The folded brim is around 2.5″ tall (6 cm), so if you don’t want to fold your hat consider that when choosing the height.
INSTRUCTIONS:
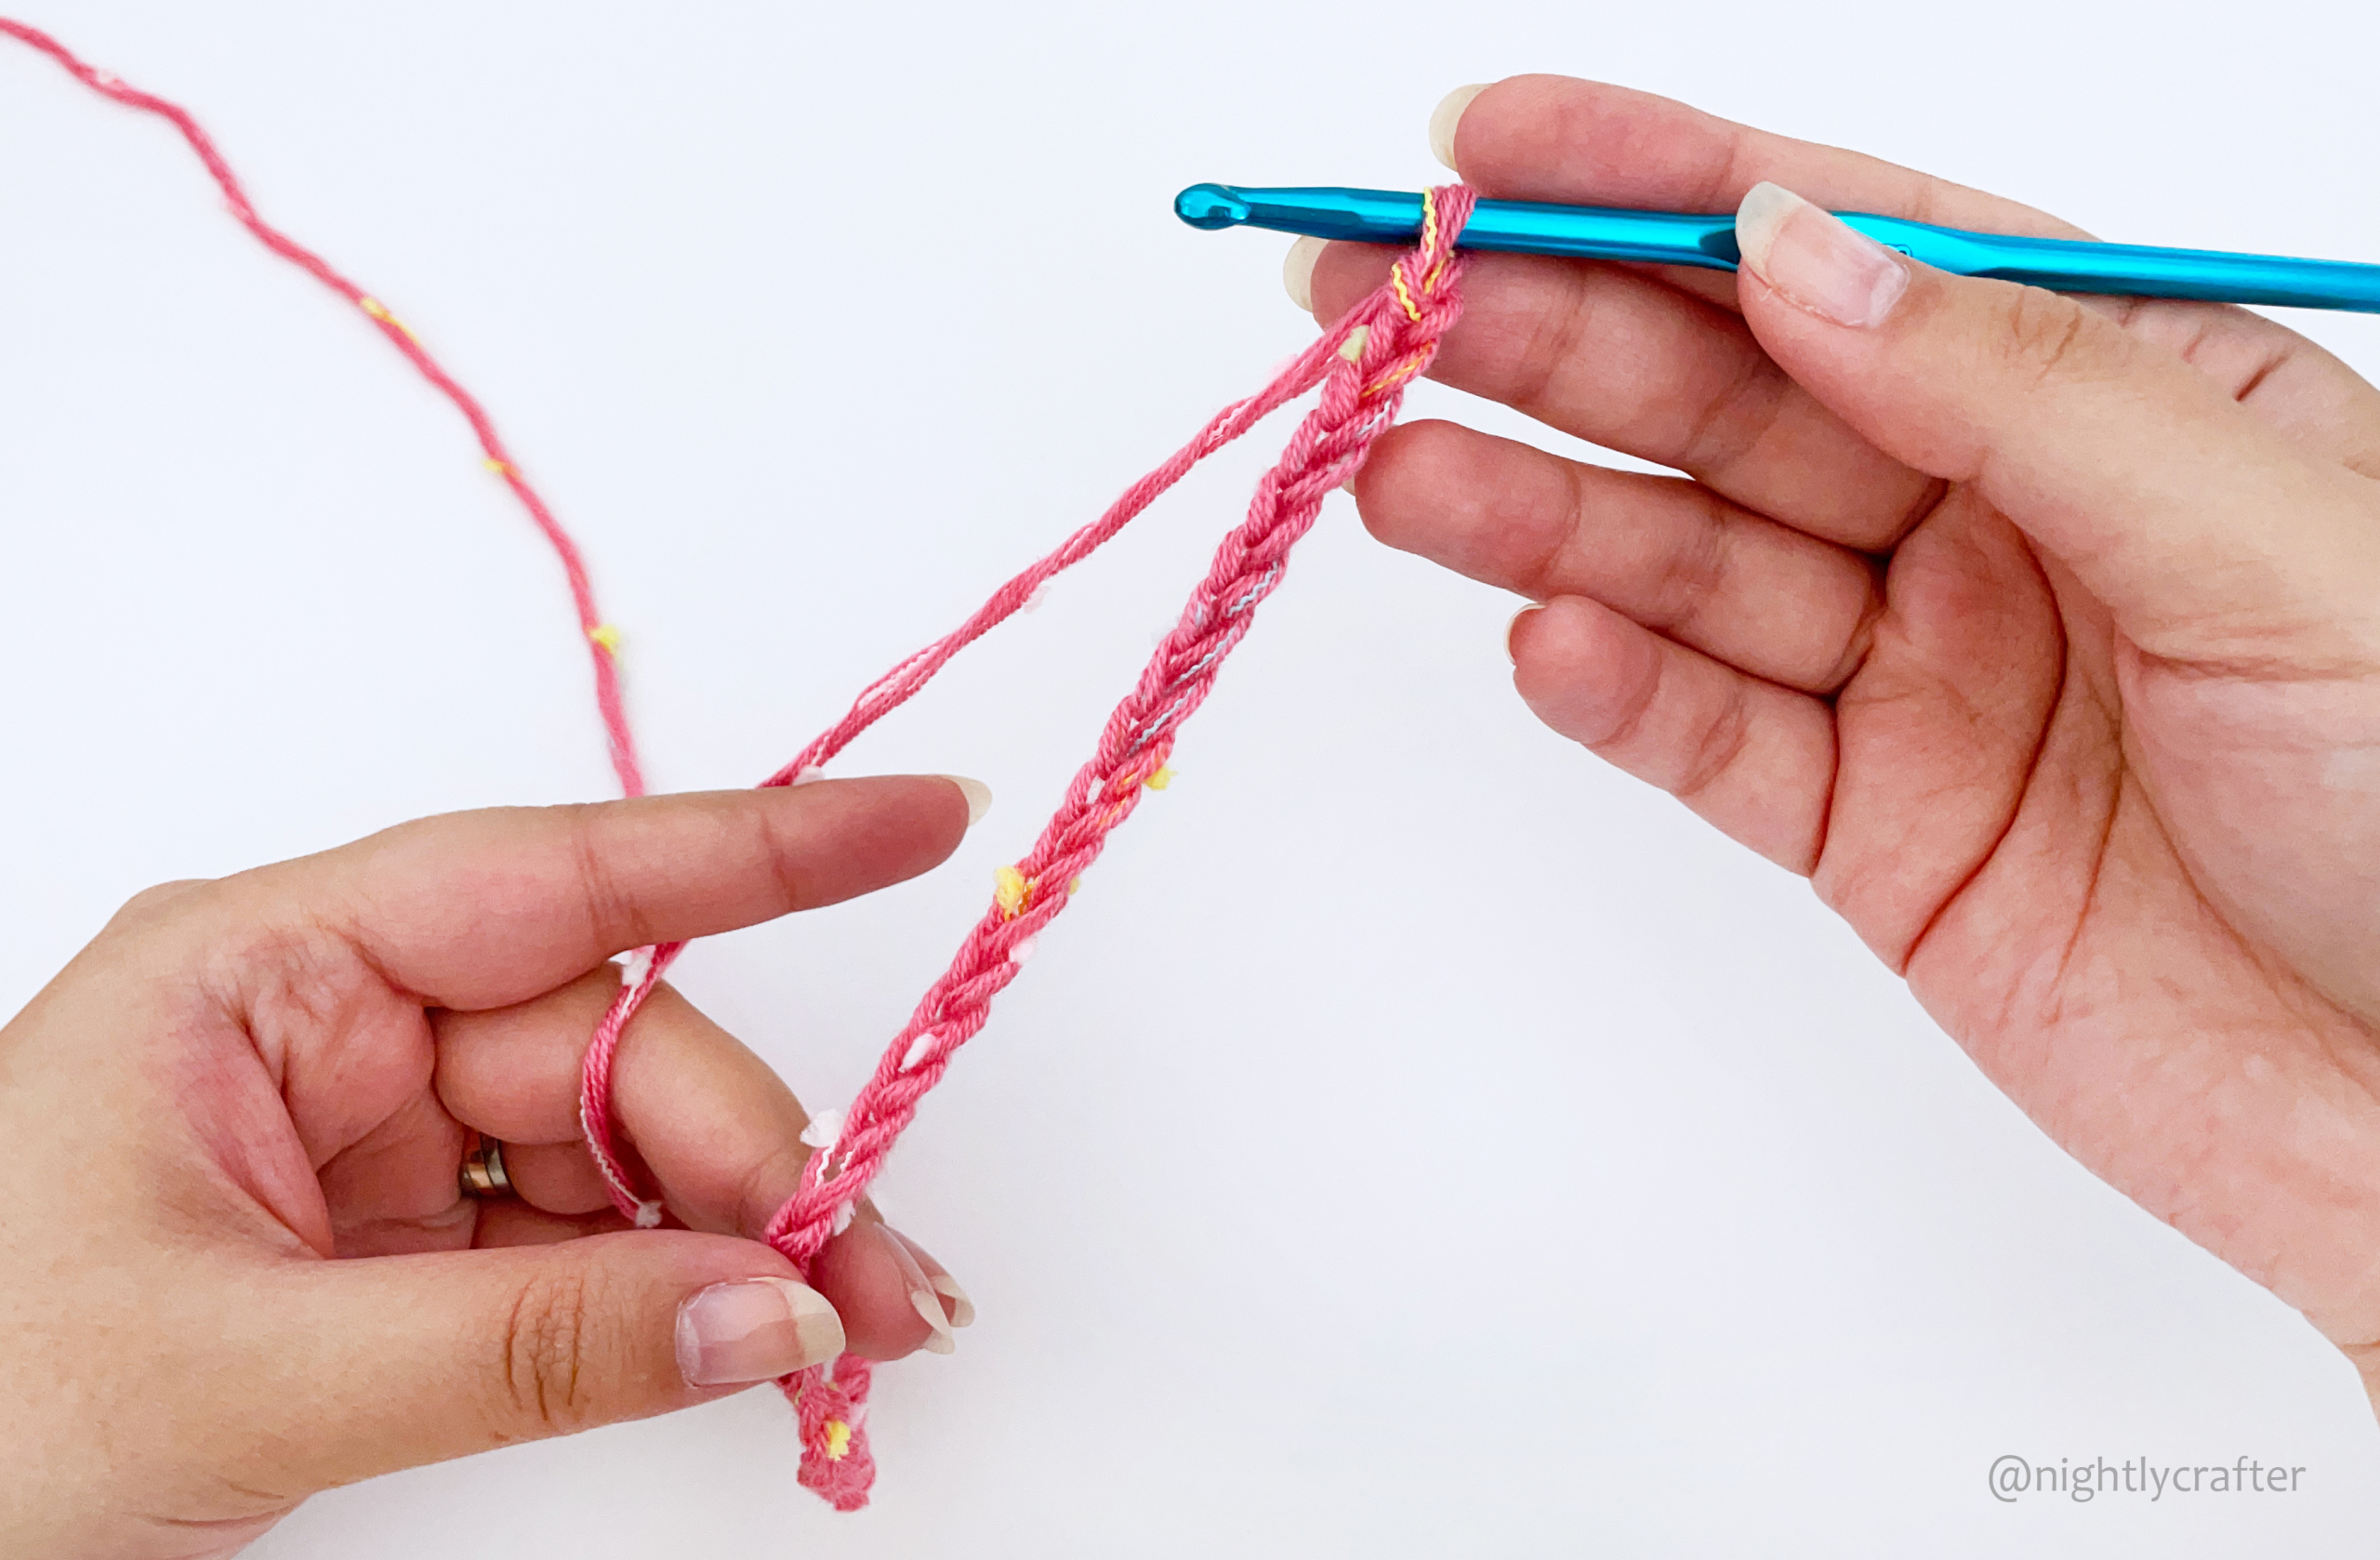
42 Ch (Includes 1 ch. for turn)
Row 1: 1 hdc in 2nd ch from hook. 1 hdc in each ch to end of the chain. 1 ch and turn. (41 hdc)
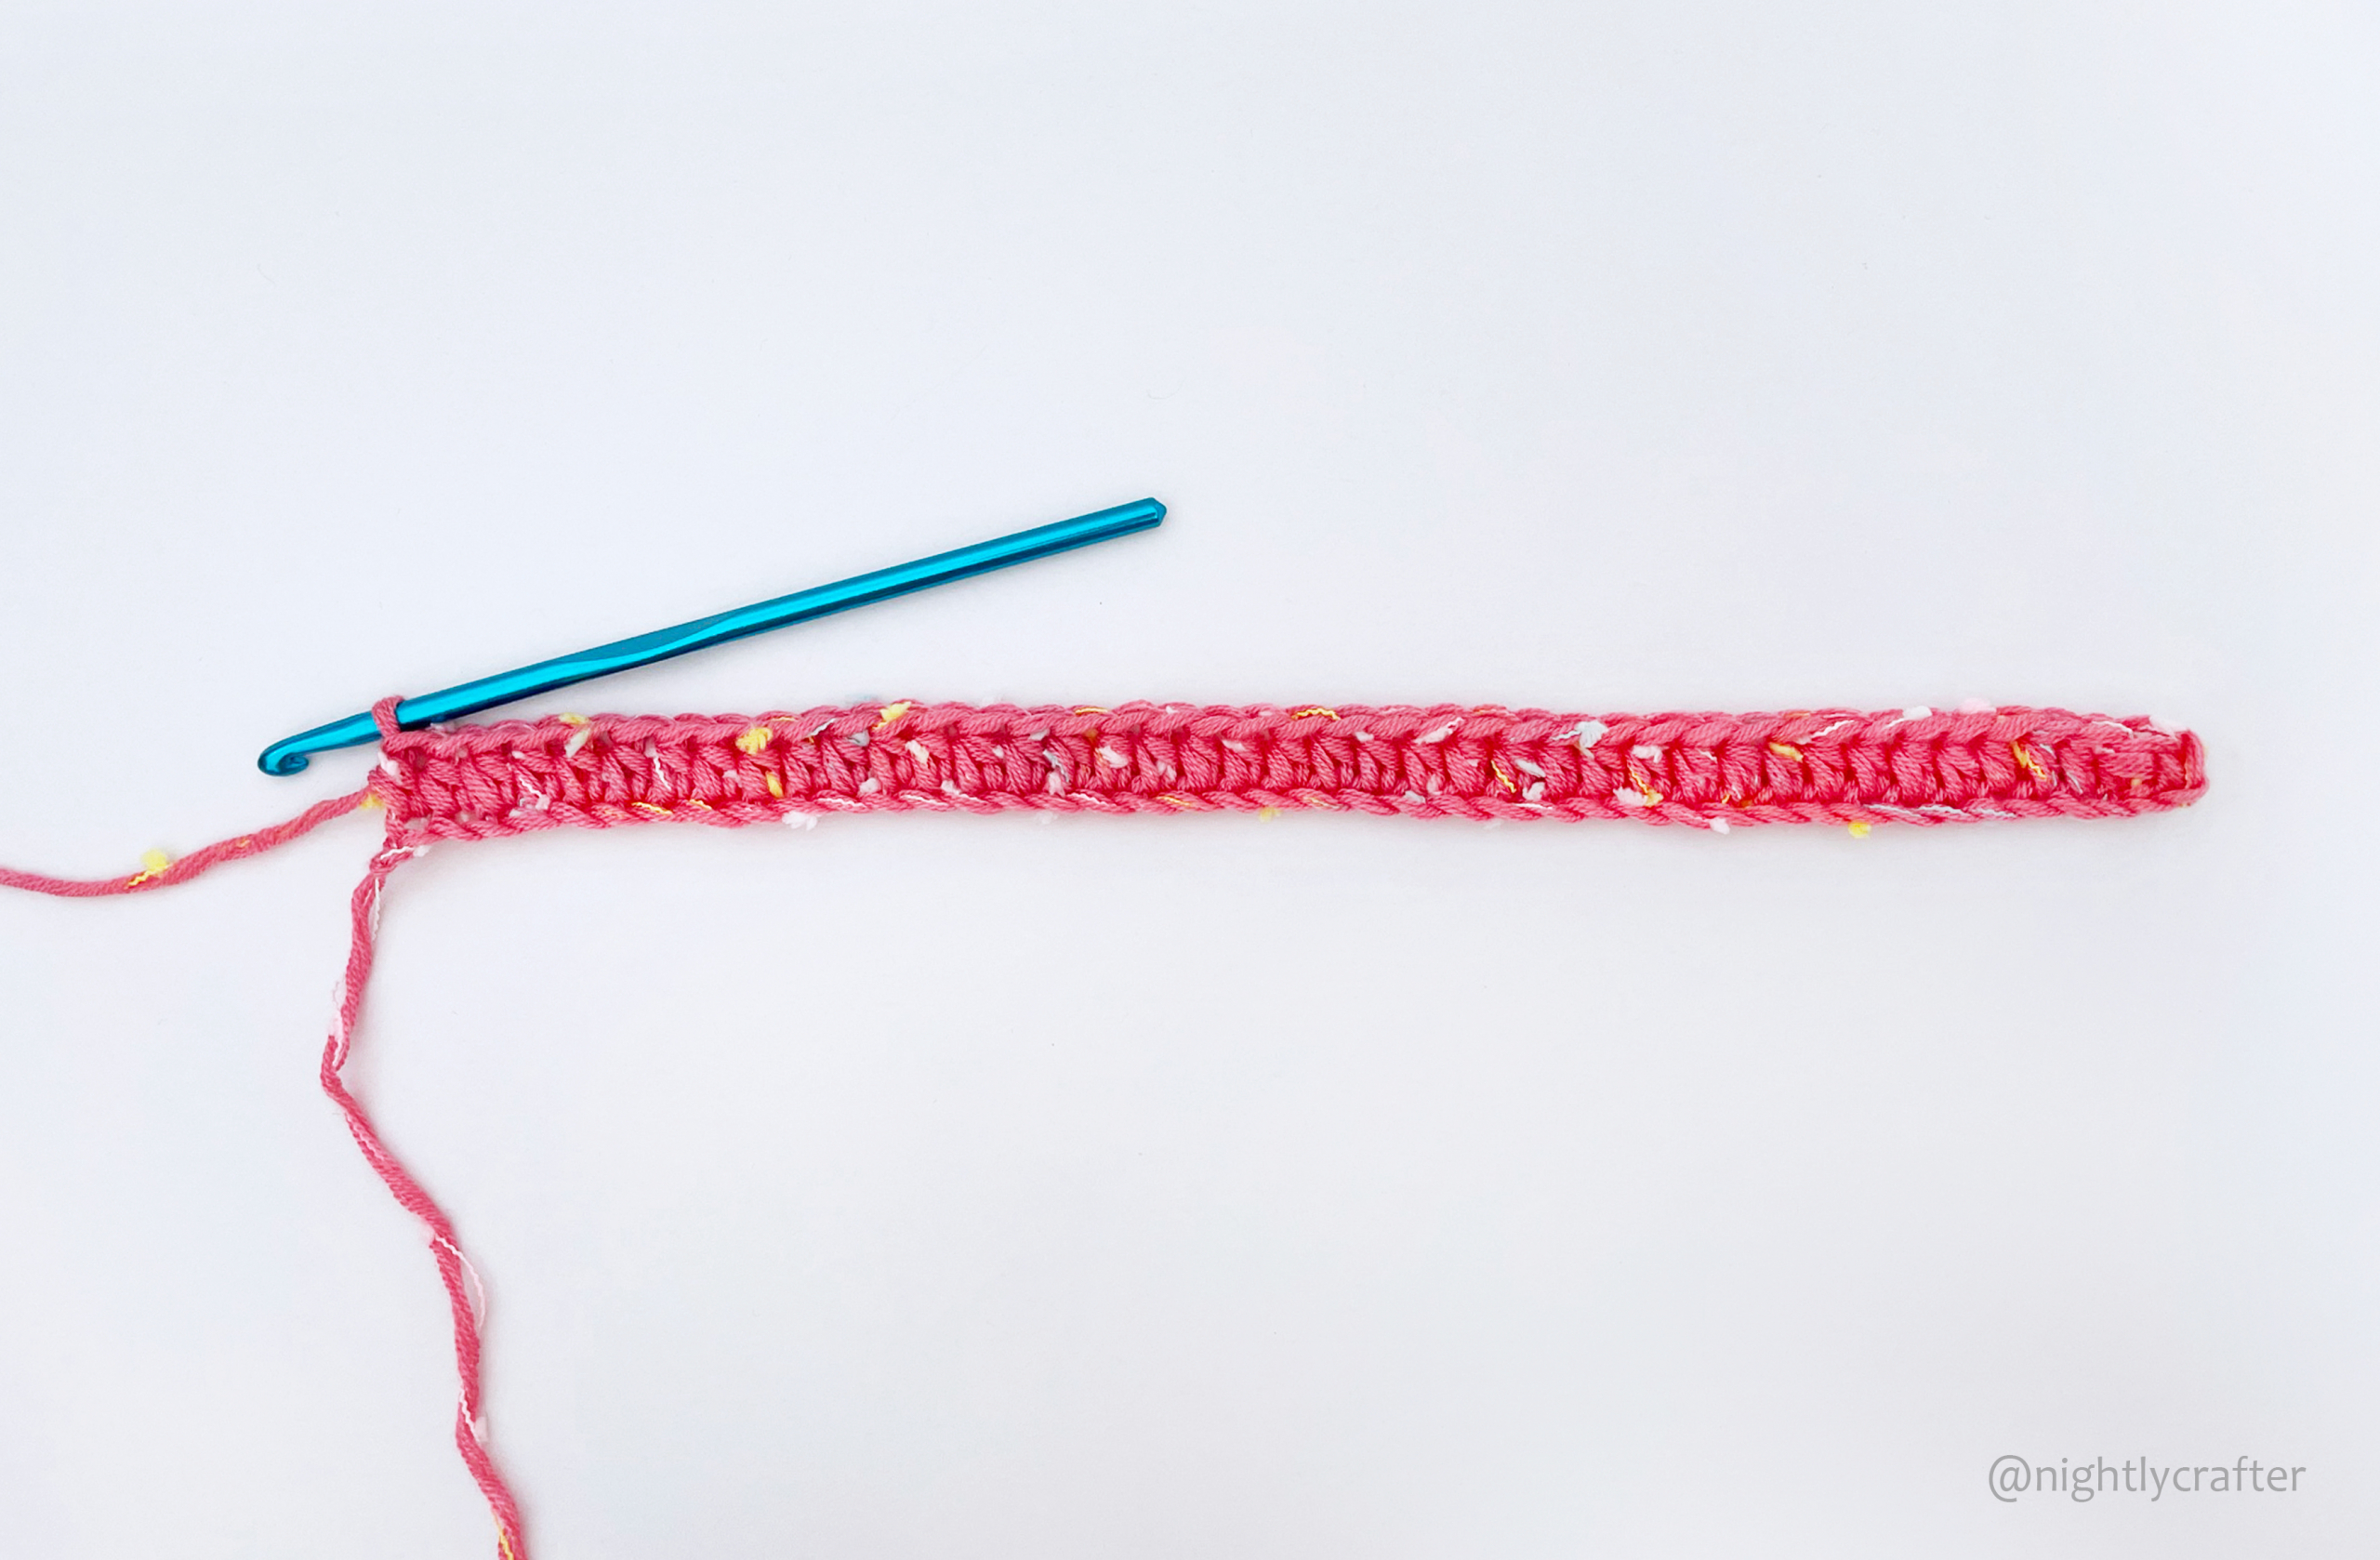
Row 2-41: Work in BLO.
1 hdc in each hdc to end of row. 1 ch and turn. (41 hdc)
** If you have a hard time identifying the back and front loop, check up my post about it HERE.
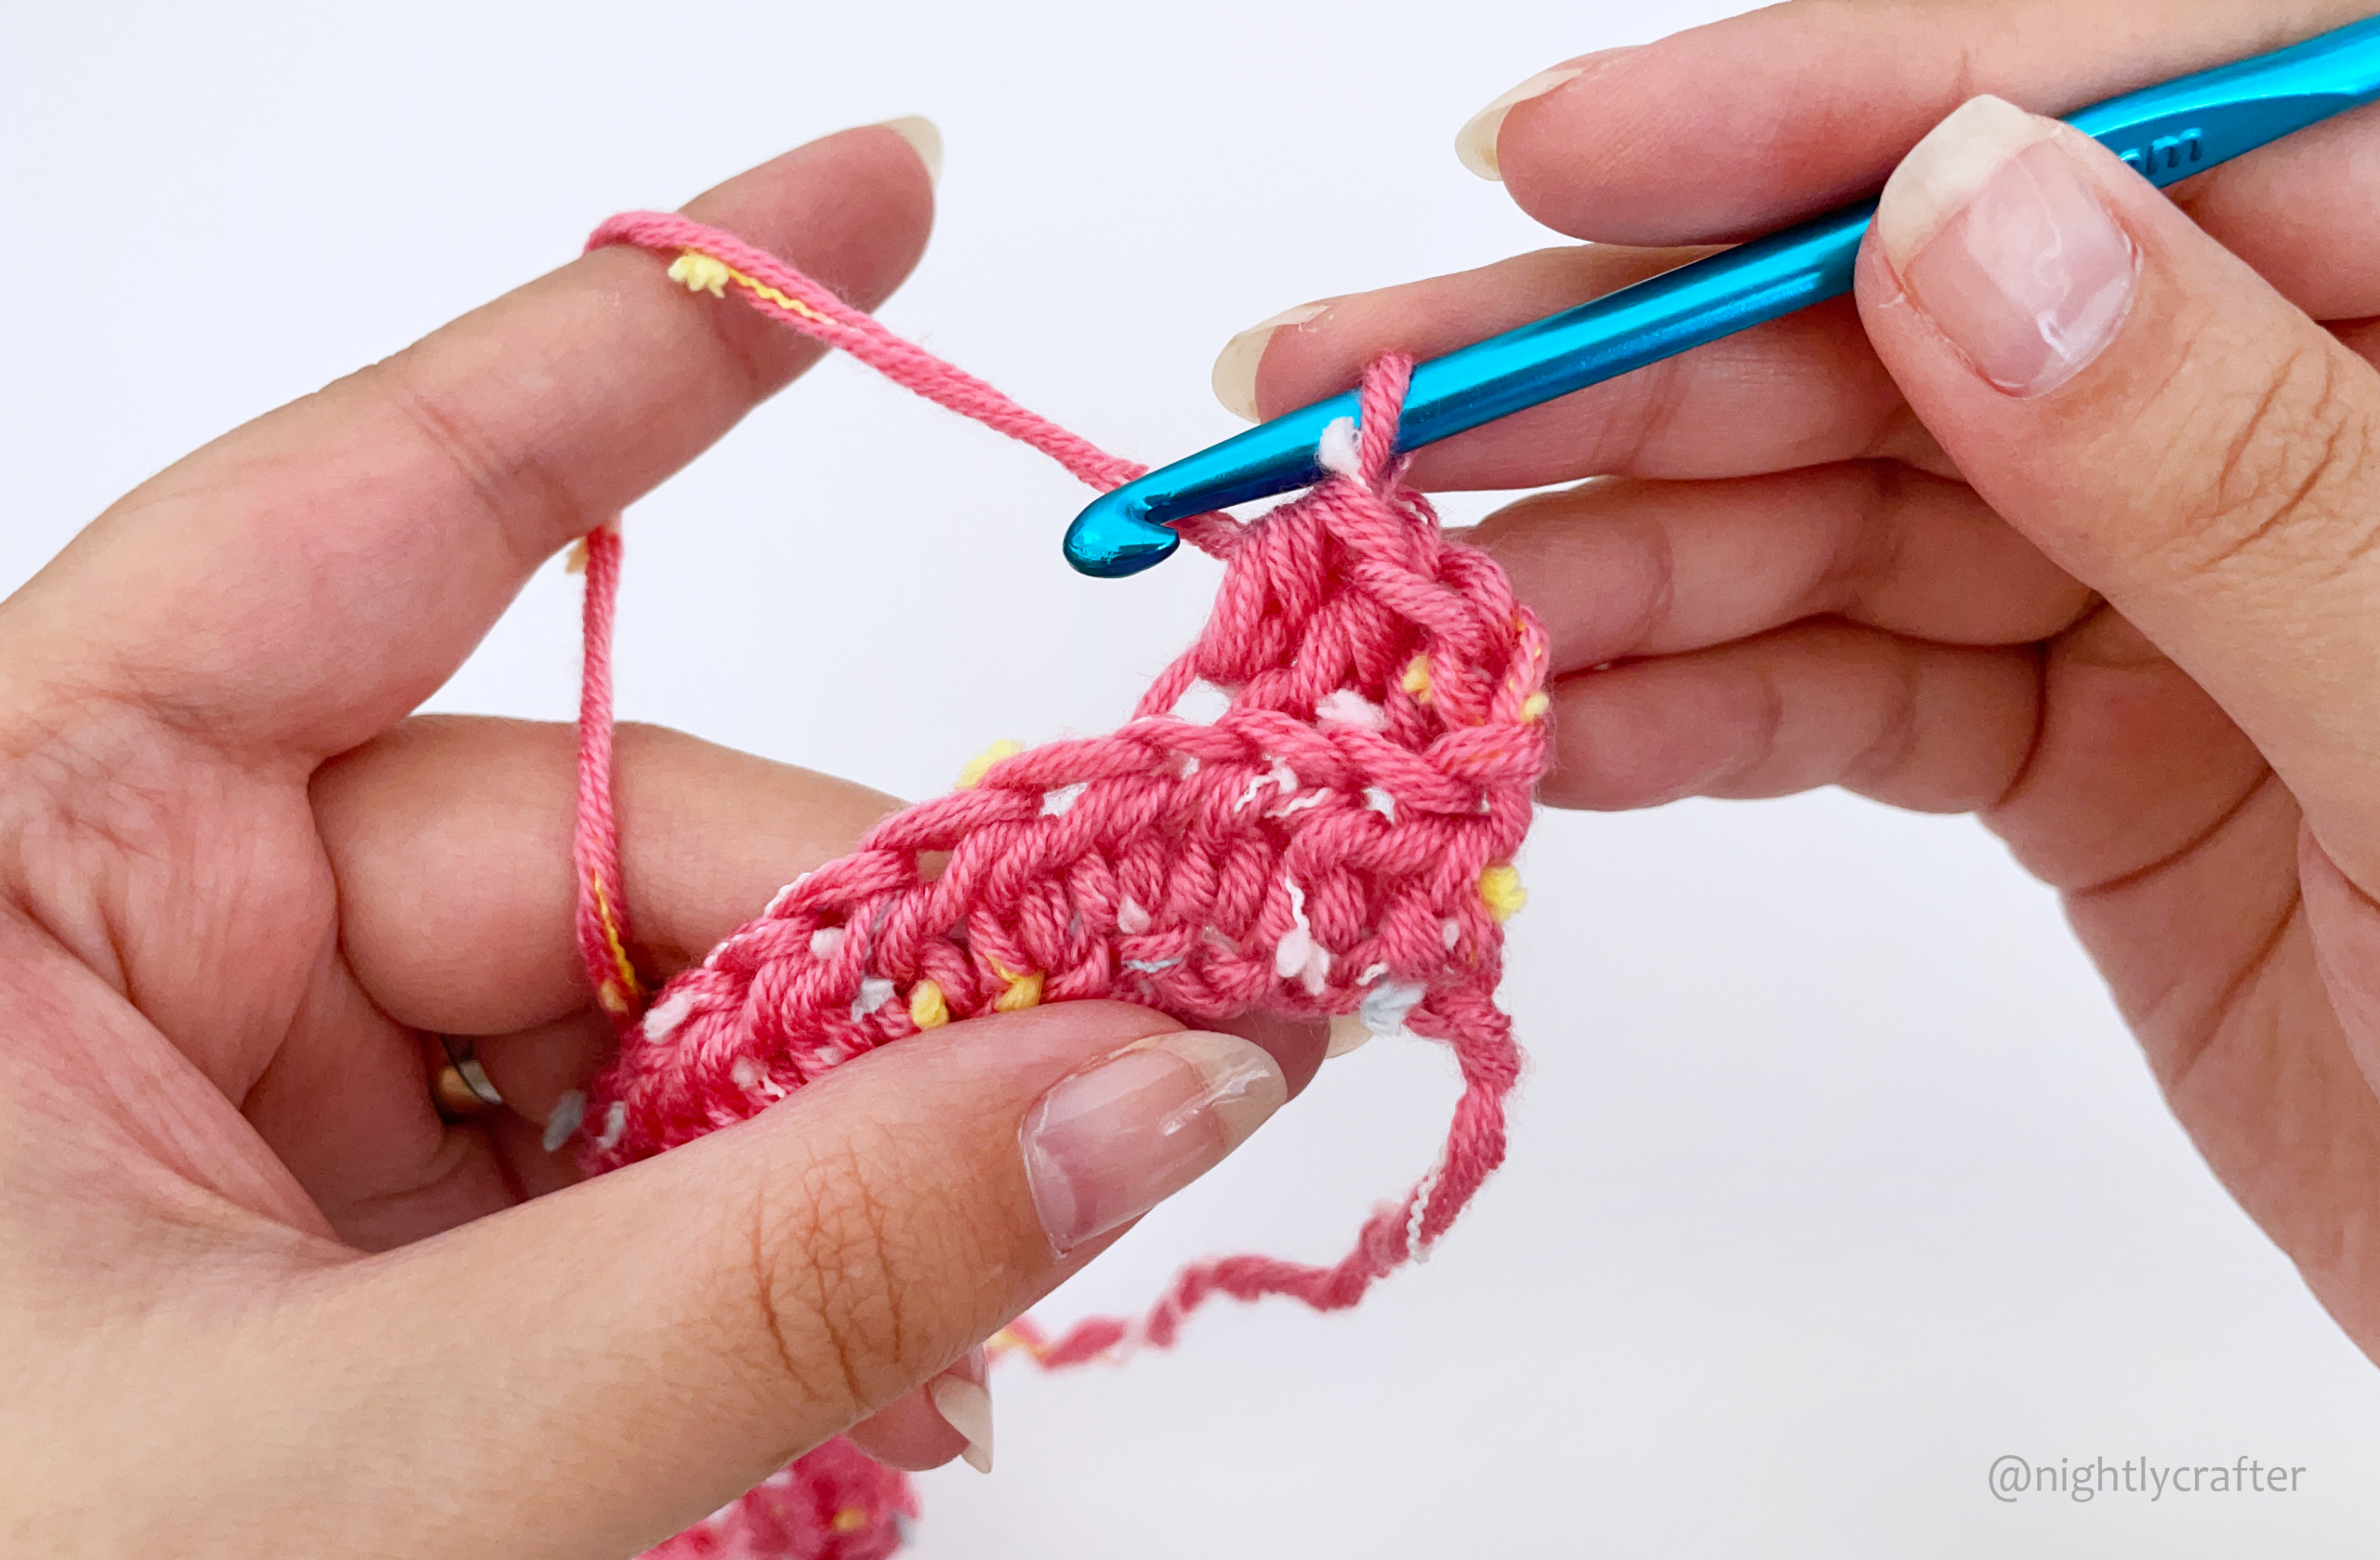
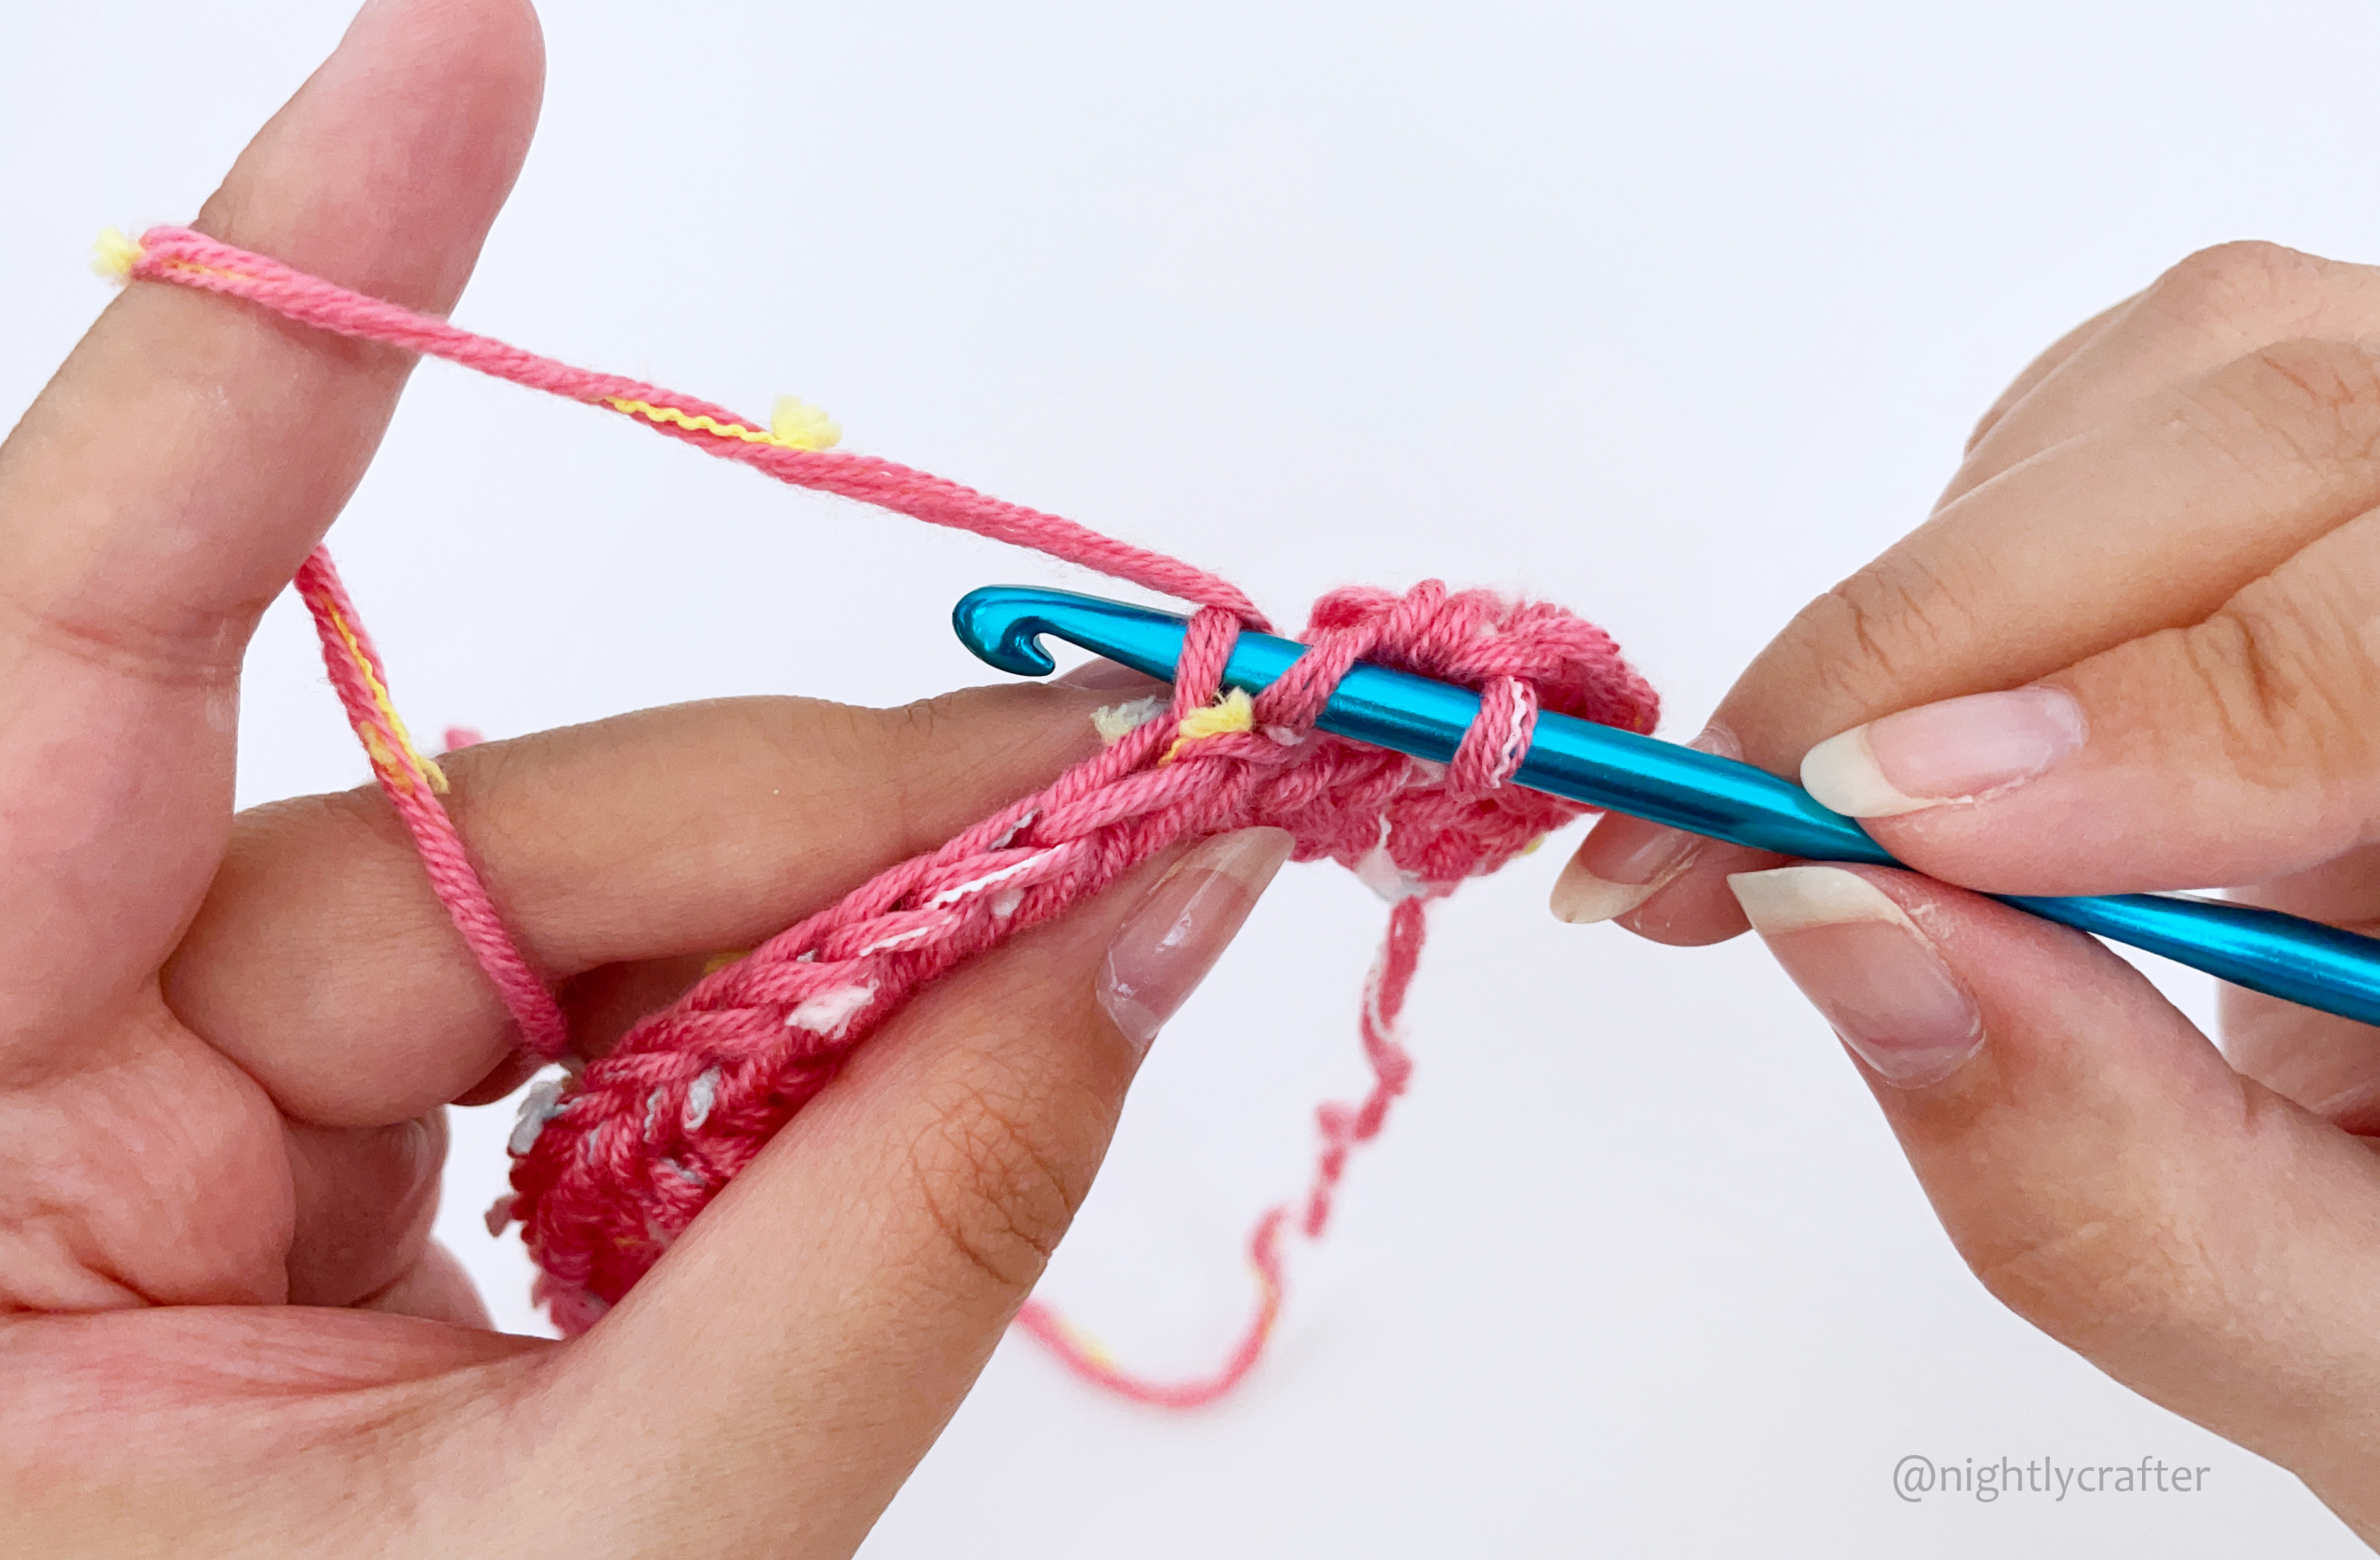
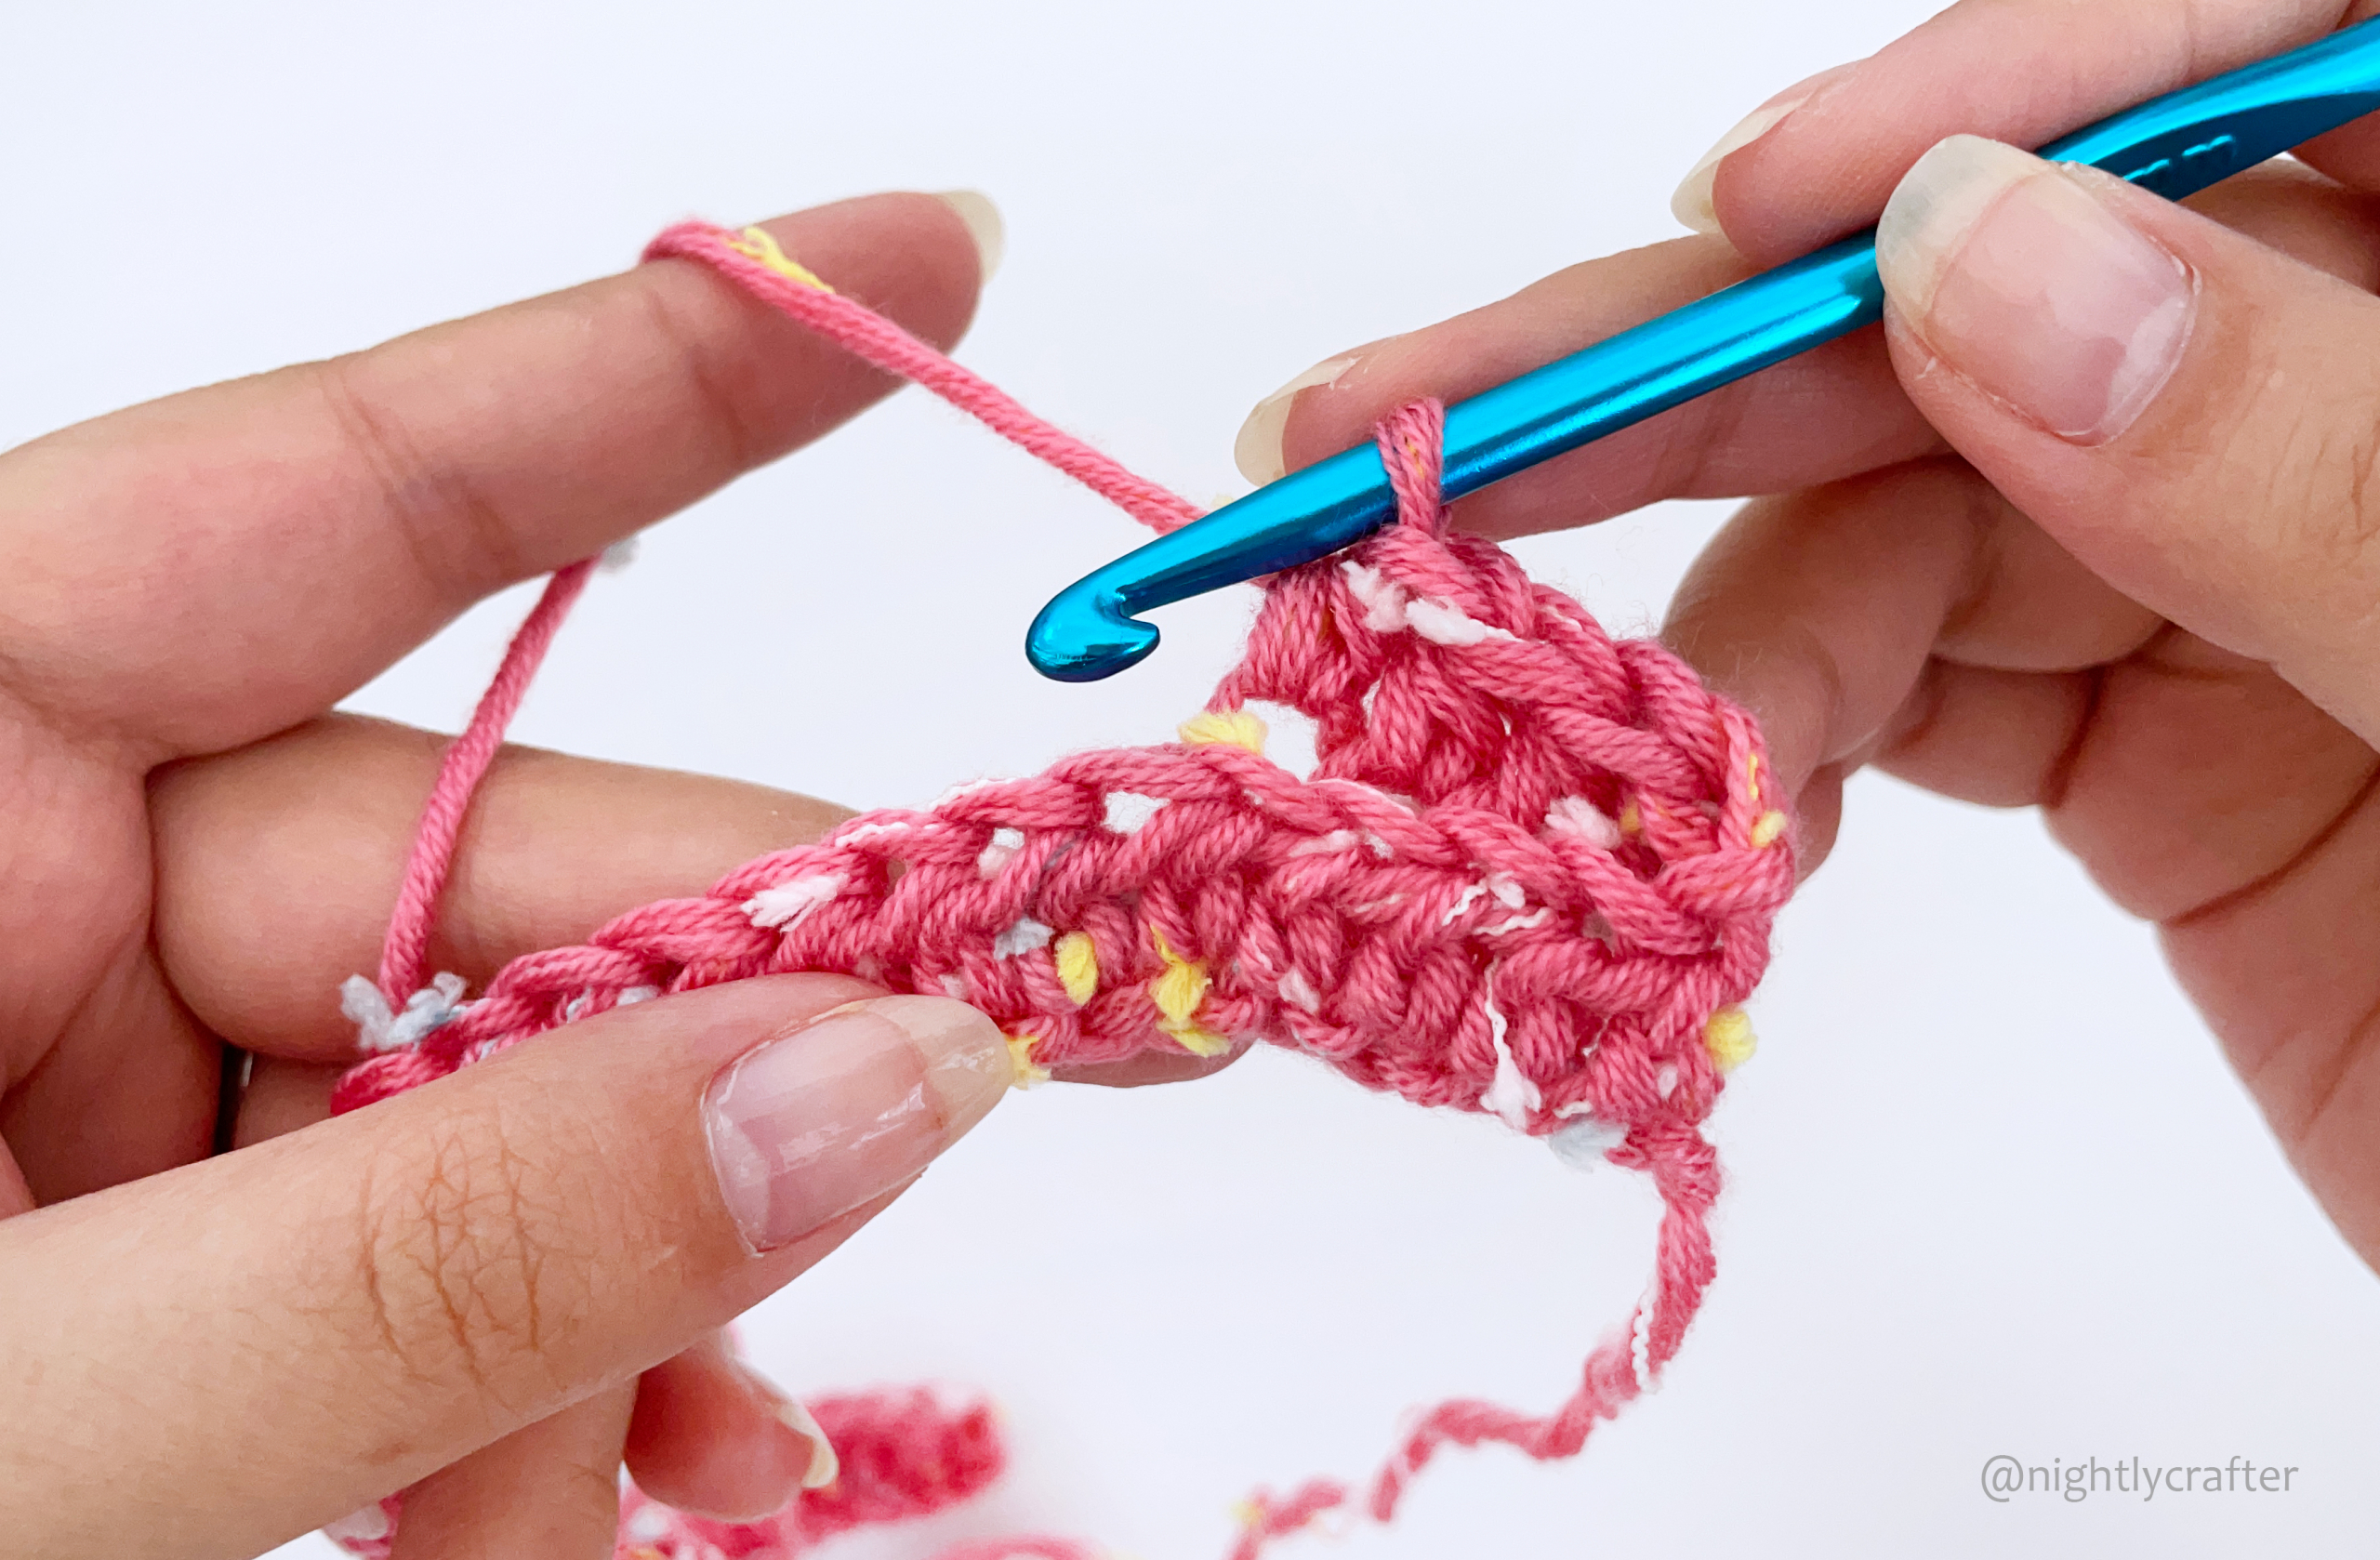
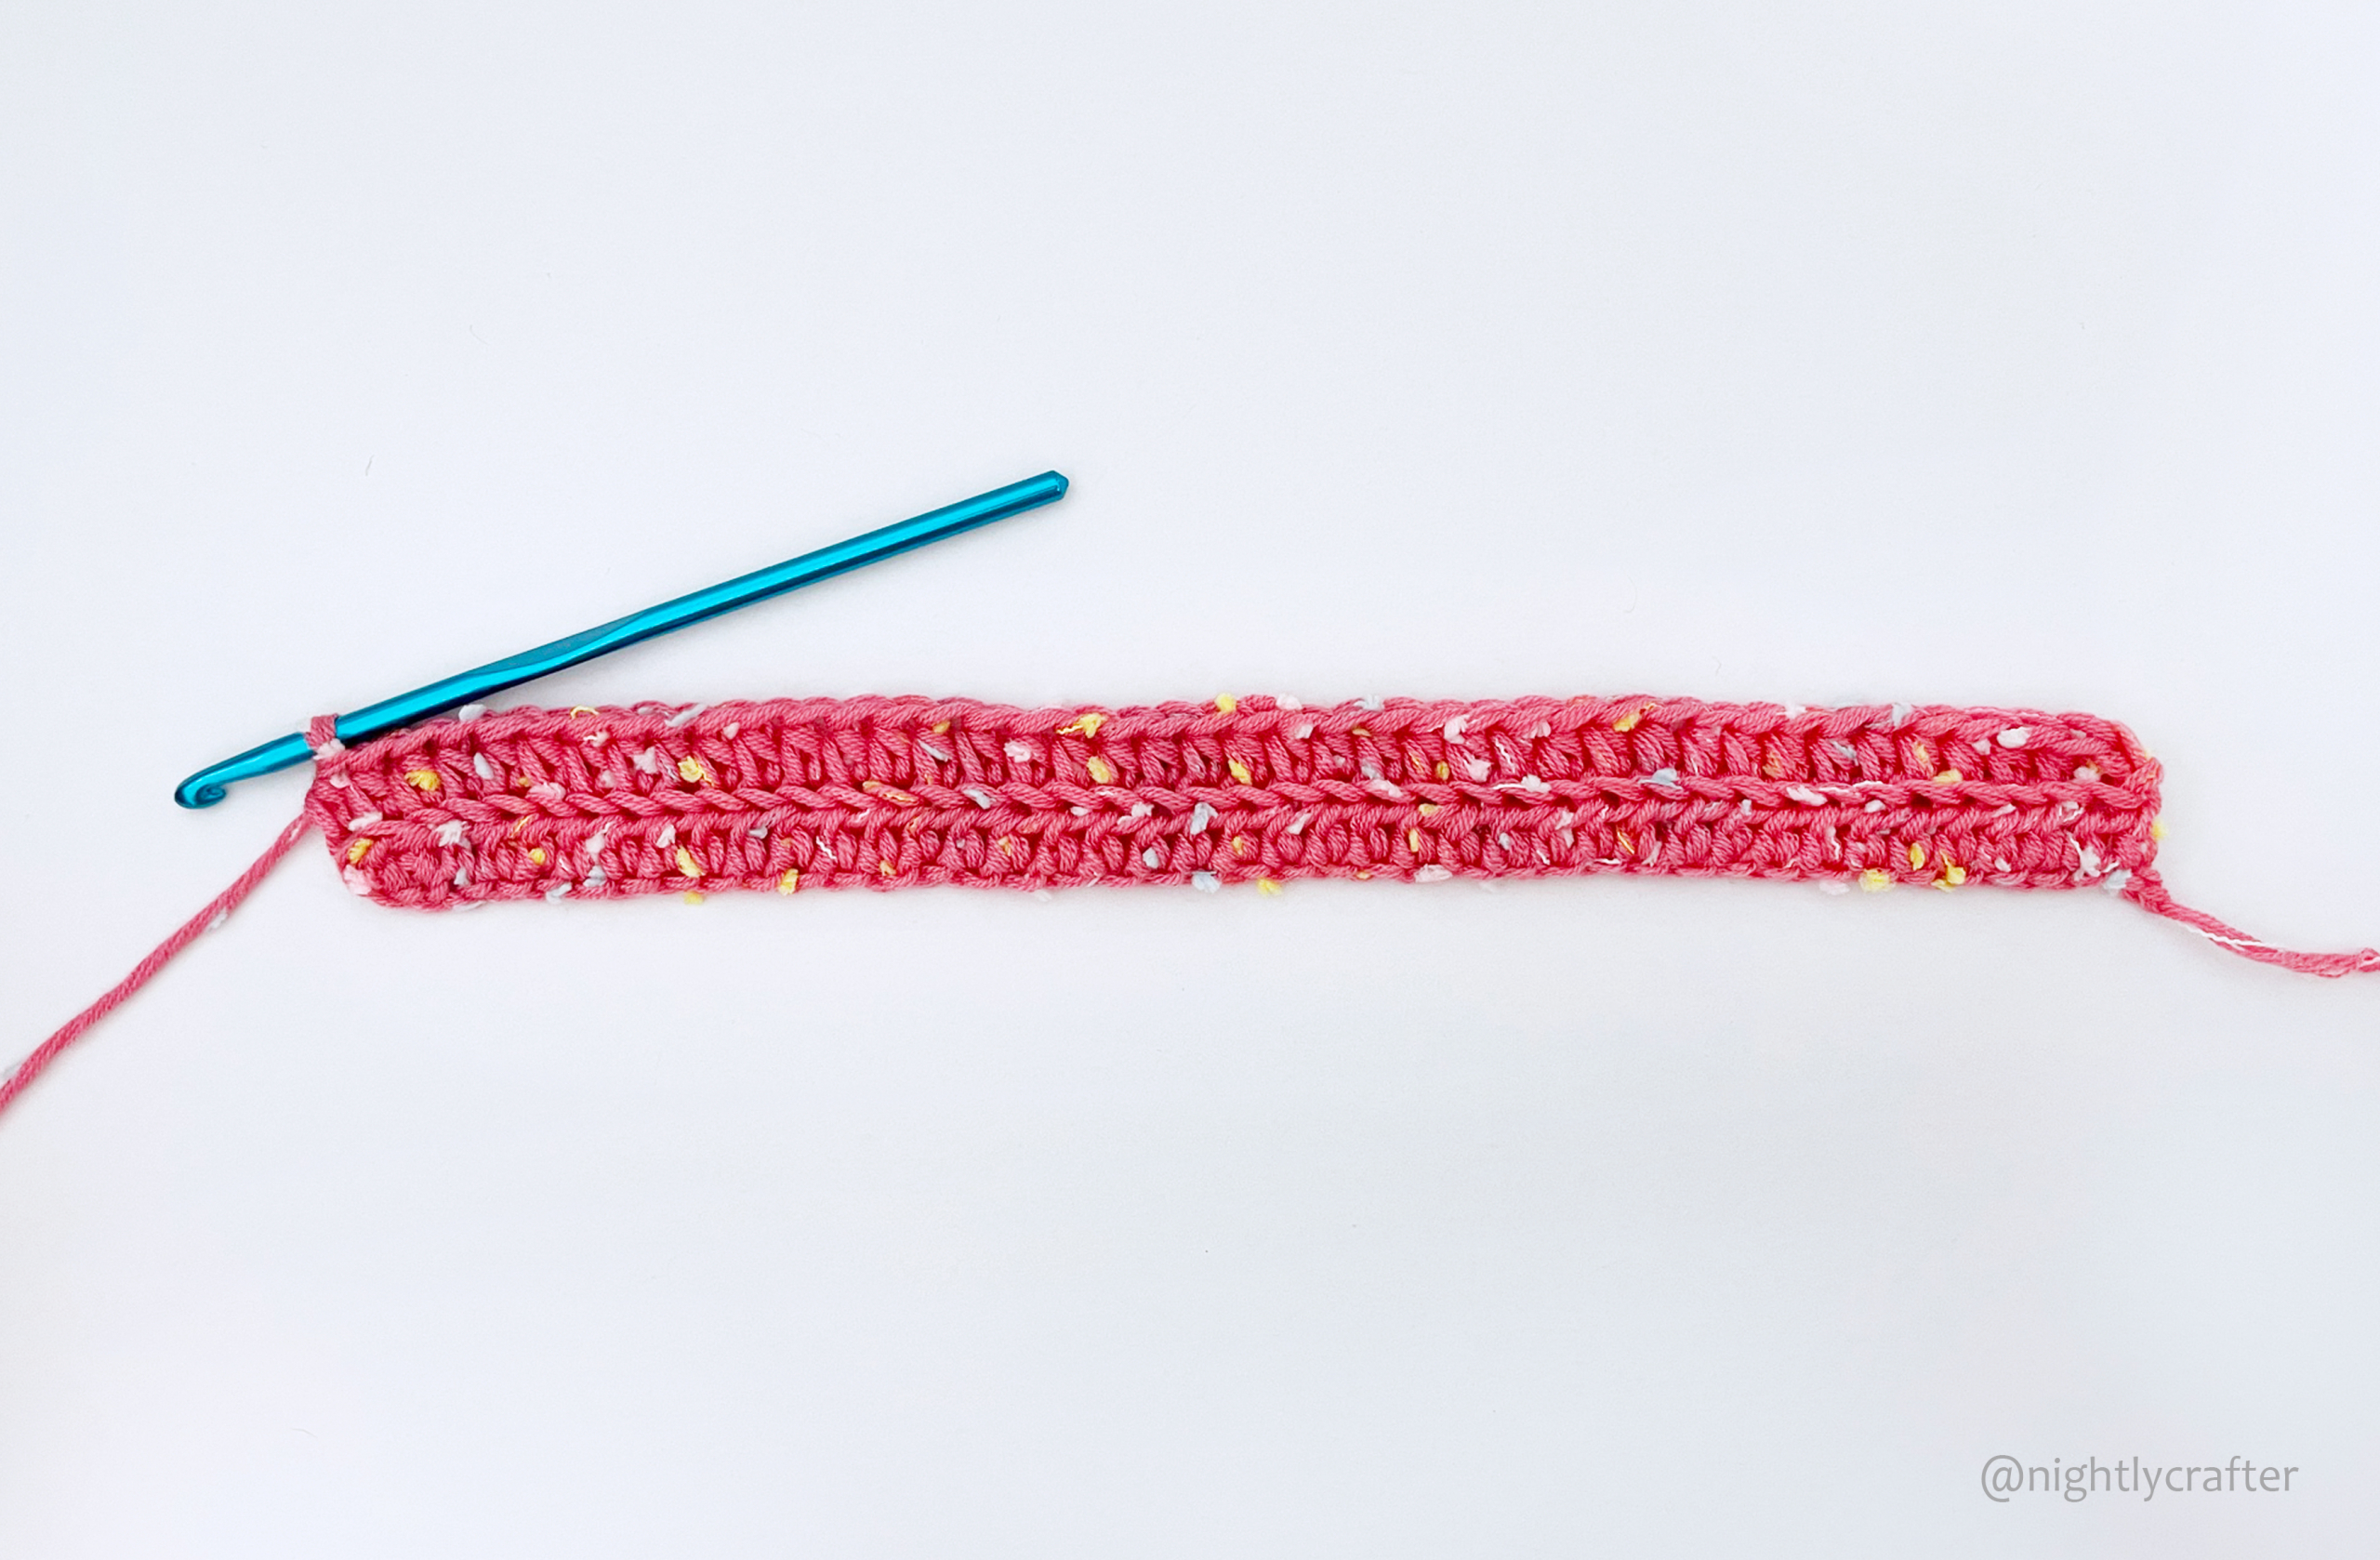
Remember that I did an Adult Size for this example, but you can adjust the number of rows and initial chains depending on the size you need.
The rectangle in the photo measure 11.5 inches (29 cm) tall and 20 inches (51 cm) wide.
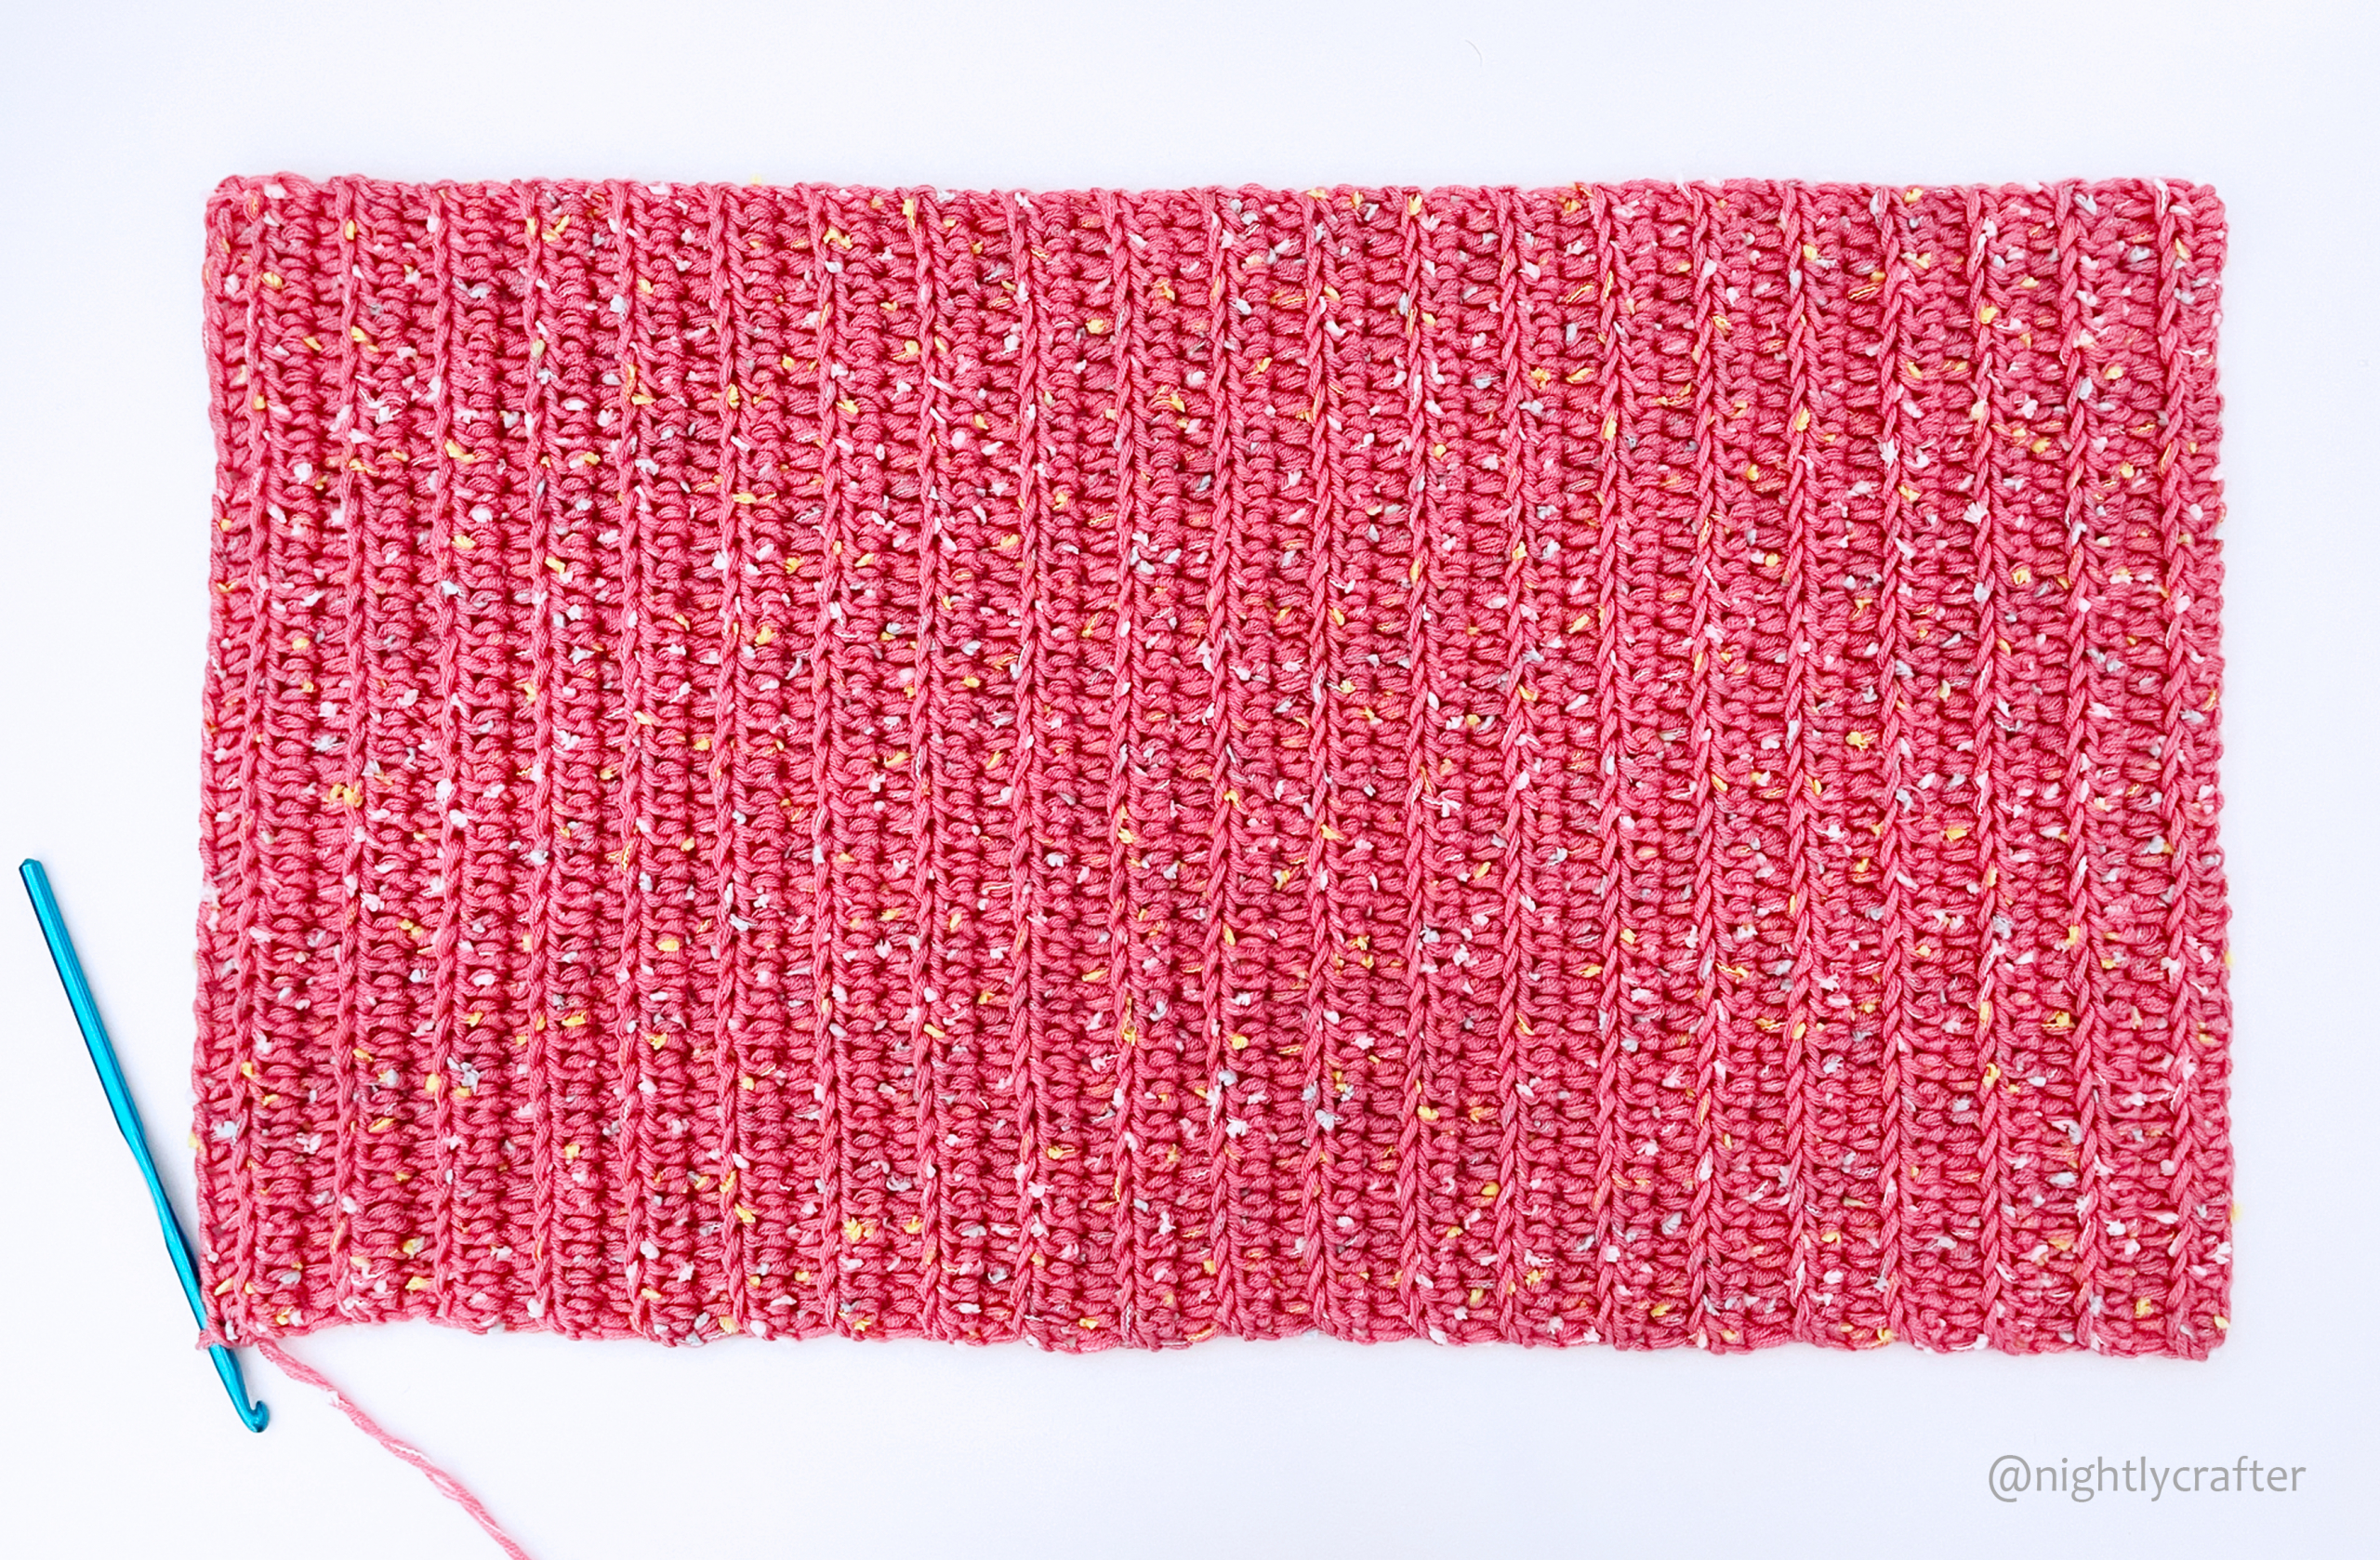
How to Make the Hat Shape
First of all, DO NOT cut the yarn. Make 1 ch and turn around your work, then lay your rectangle flat and fold it in half (across the width). This should put your initial and final row in front of each other. Now you have to work passing through both rows (the initial and the final at the same time) and make 1 sl on every stitch of the side to make a tube. (41 sl)

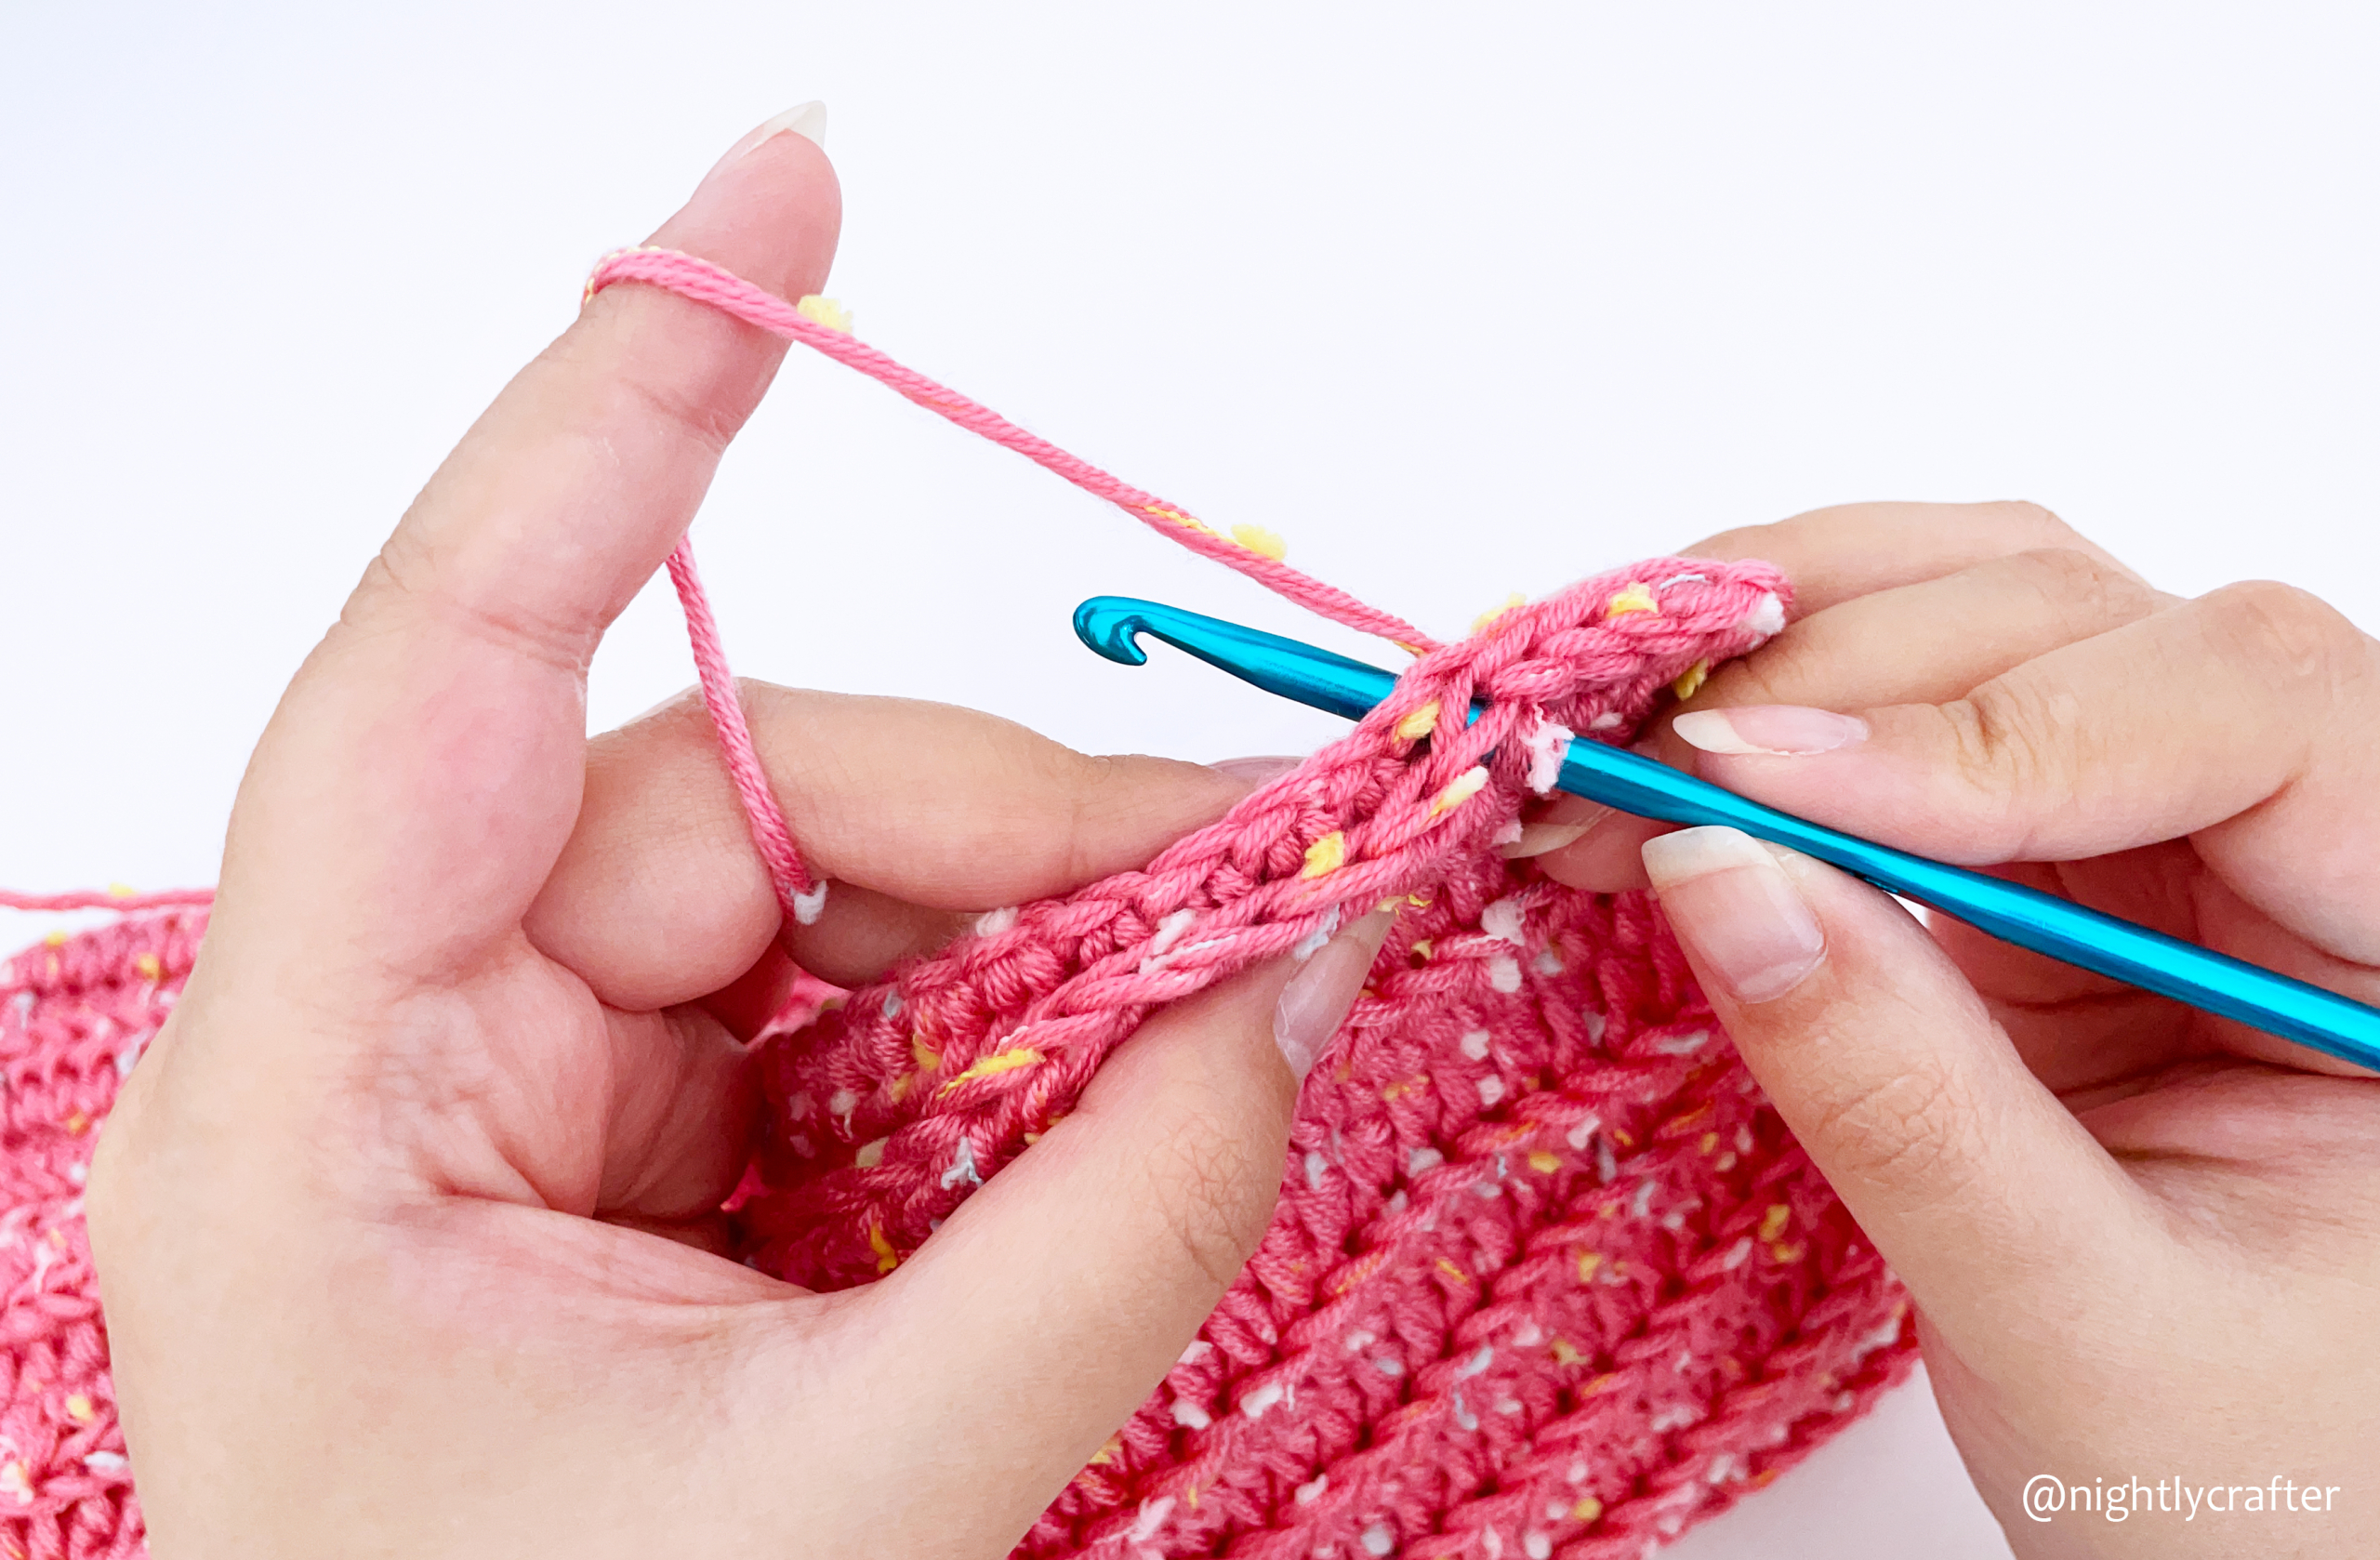
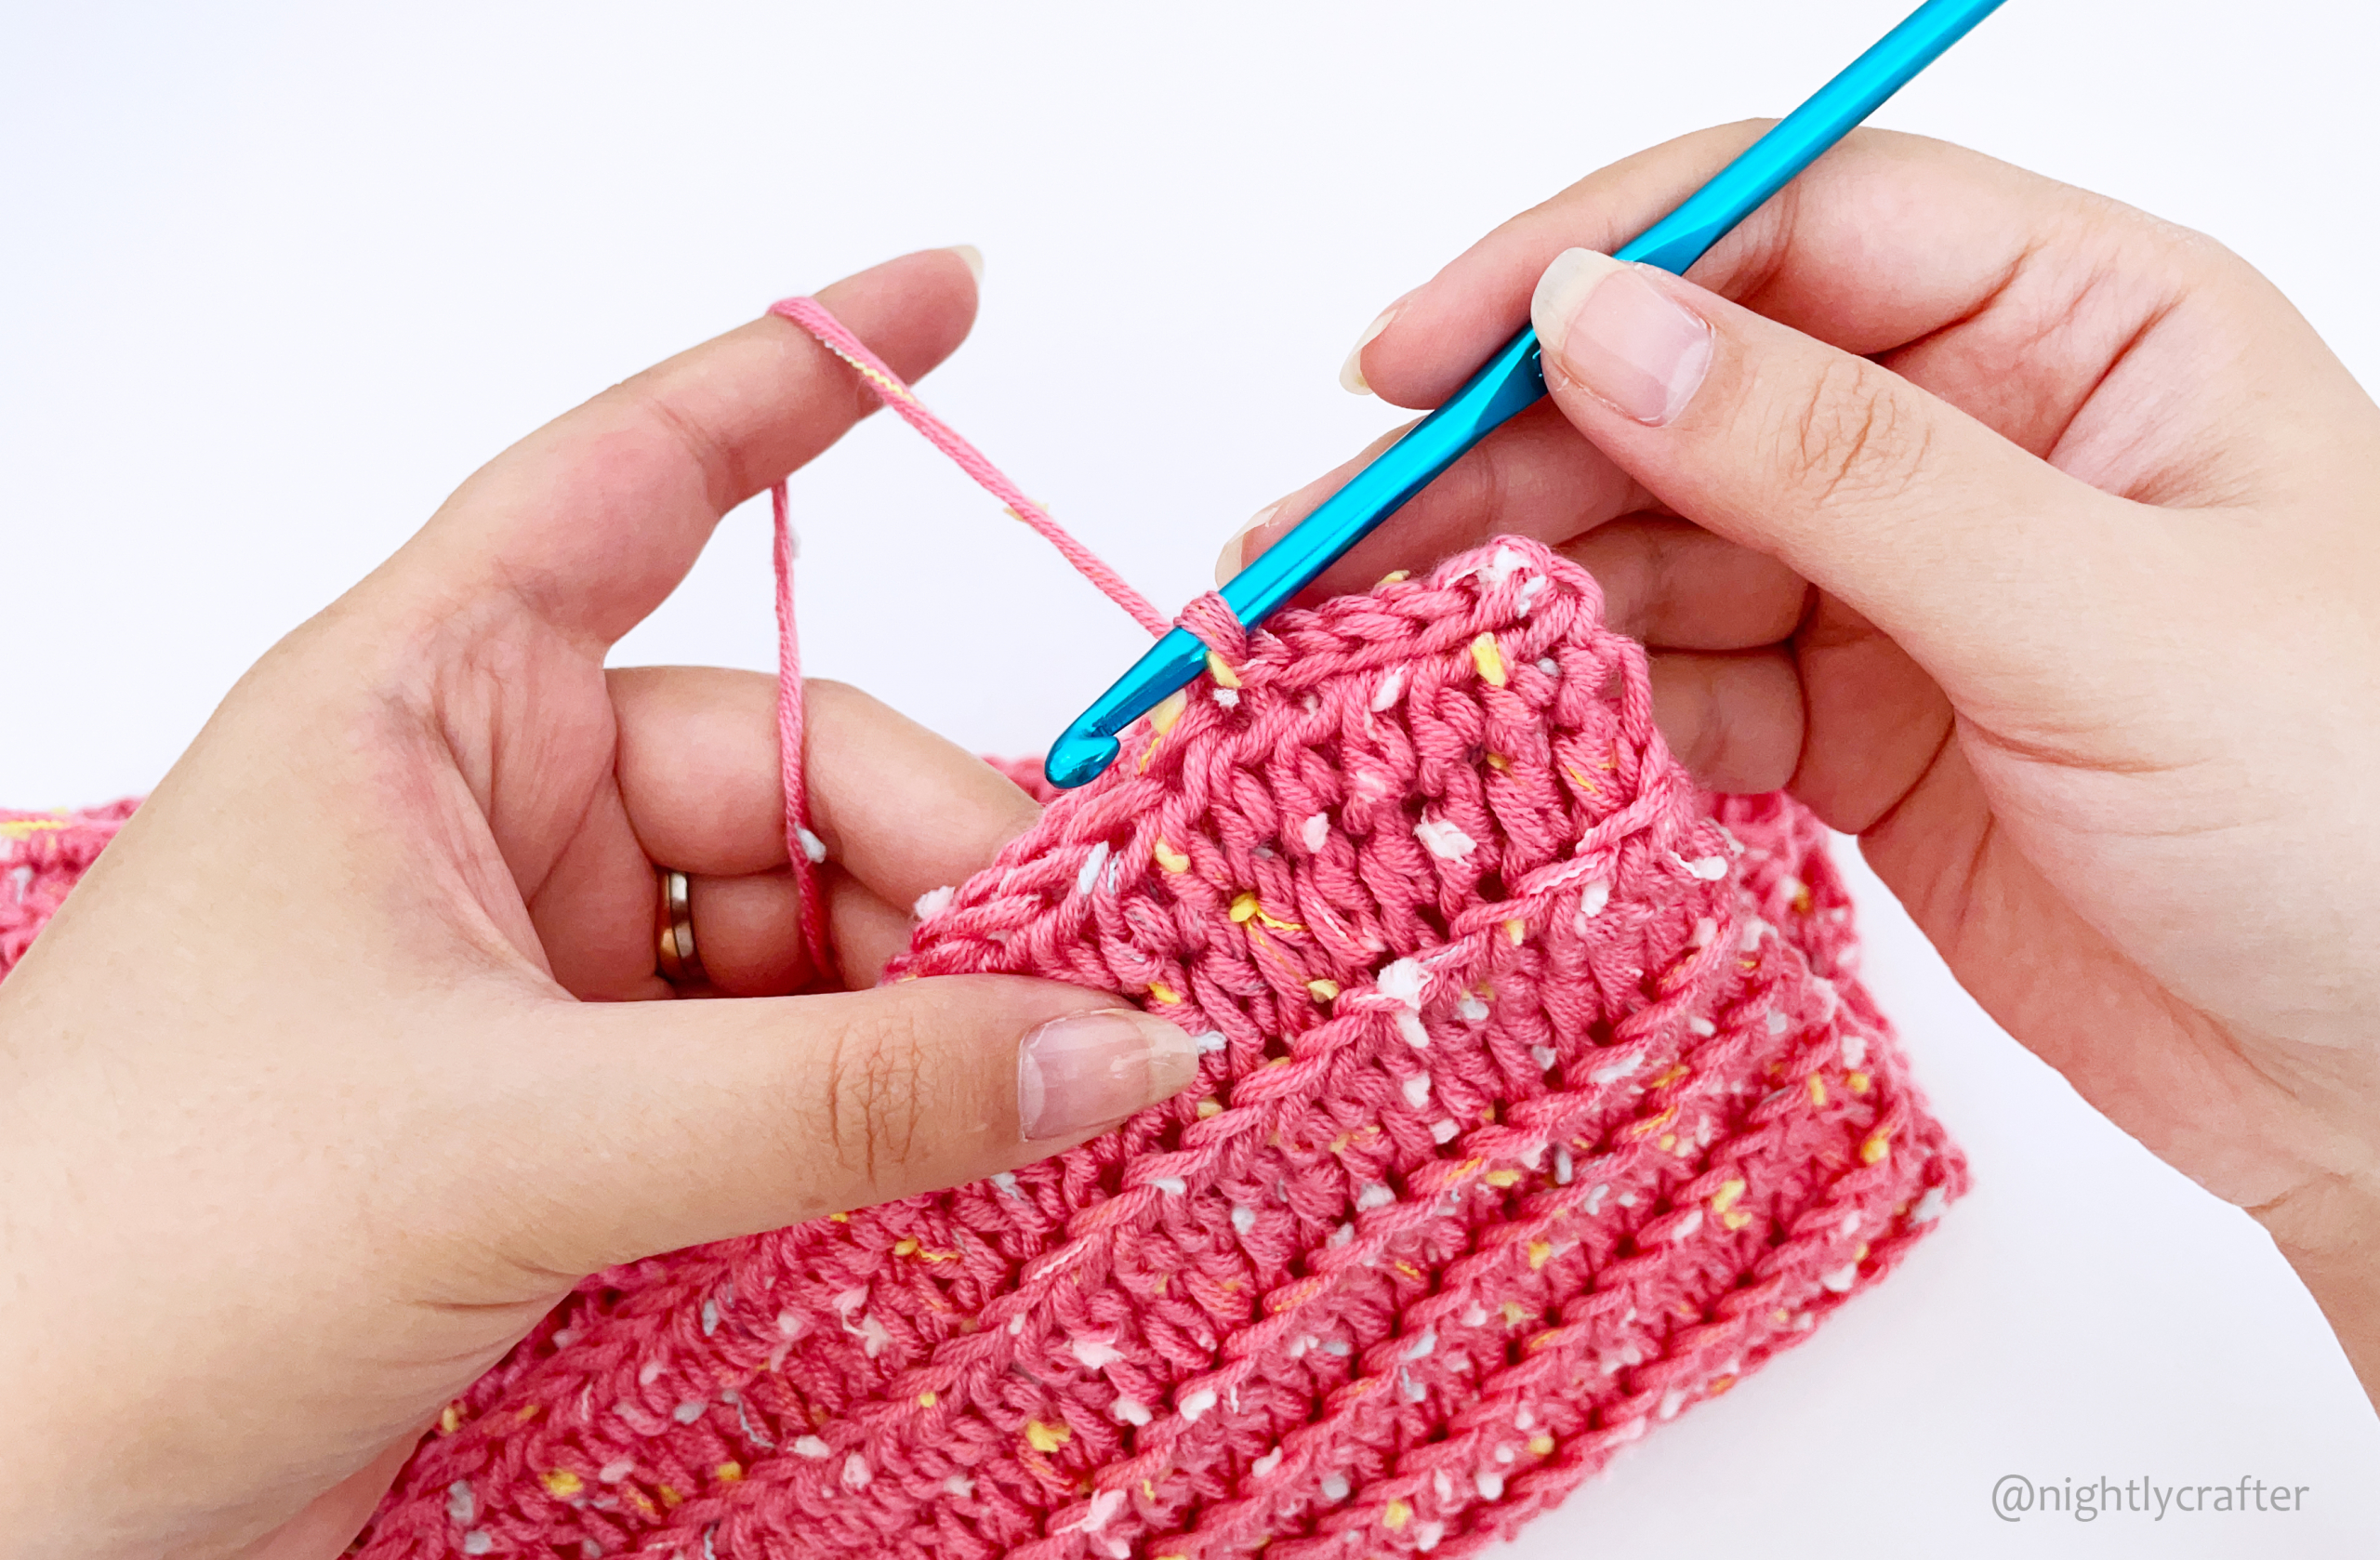
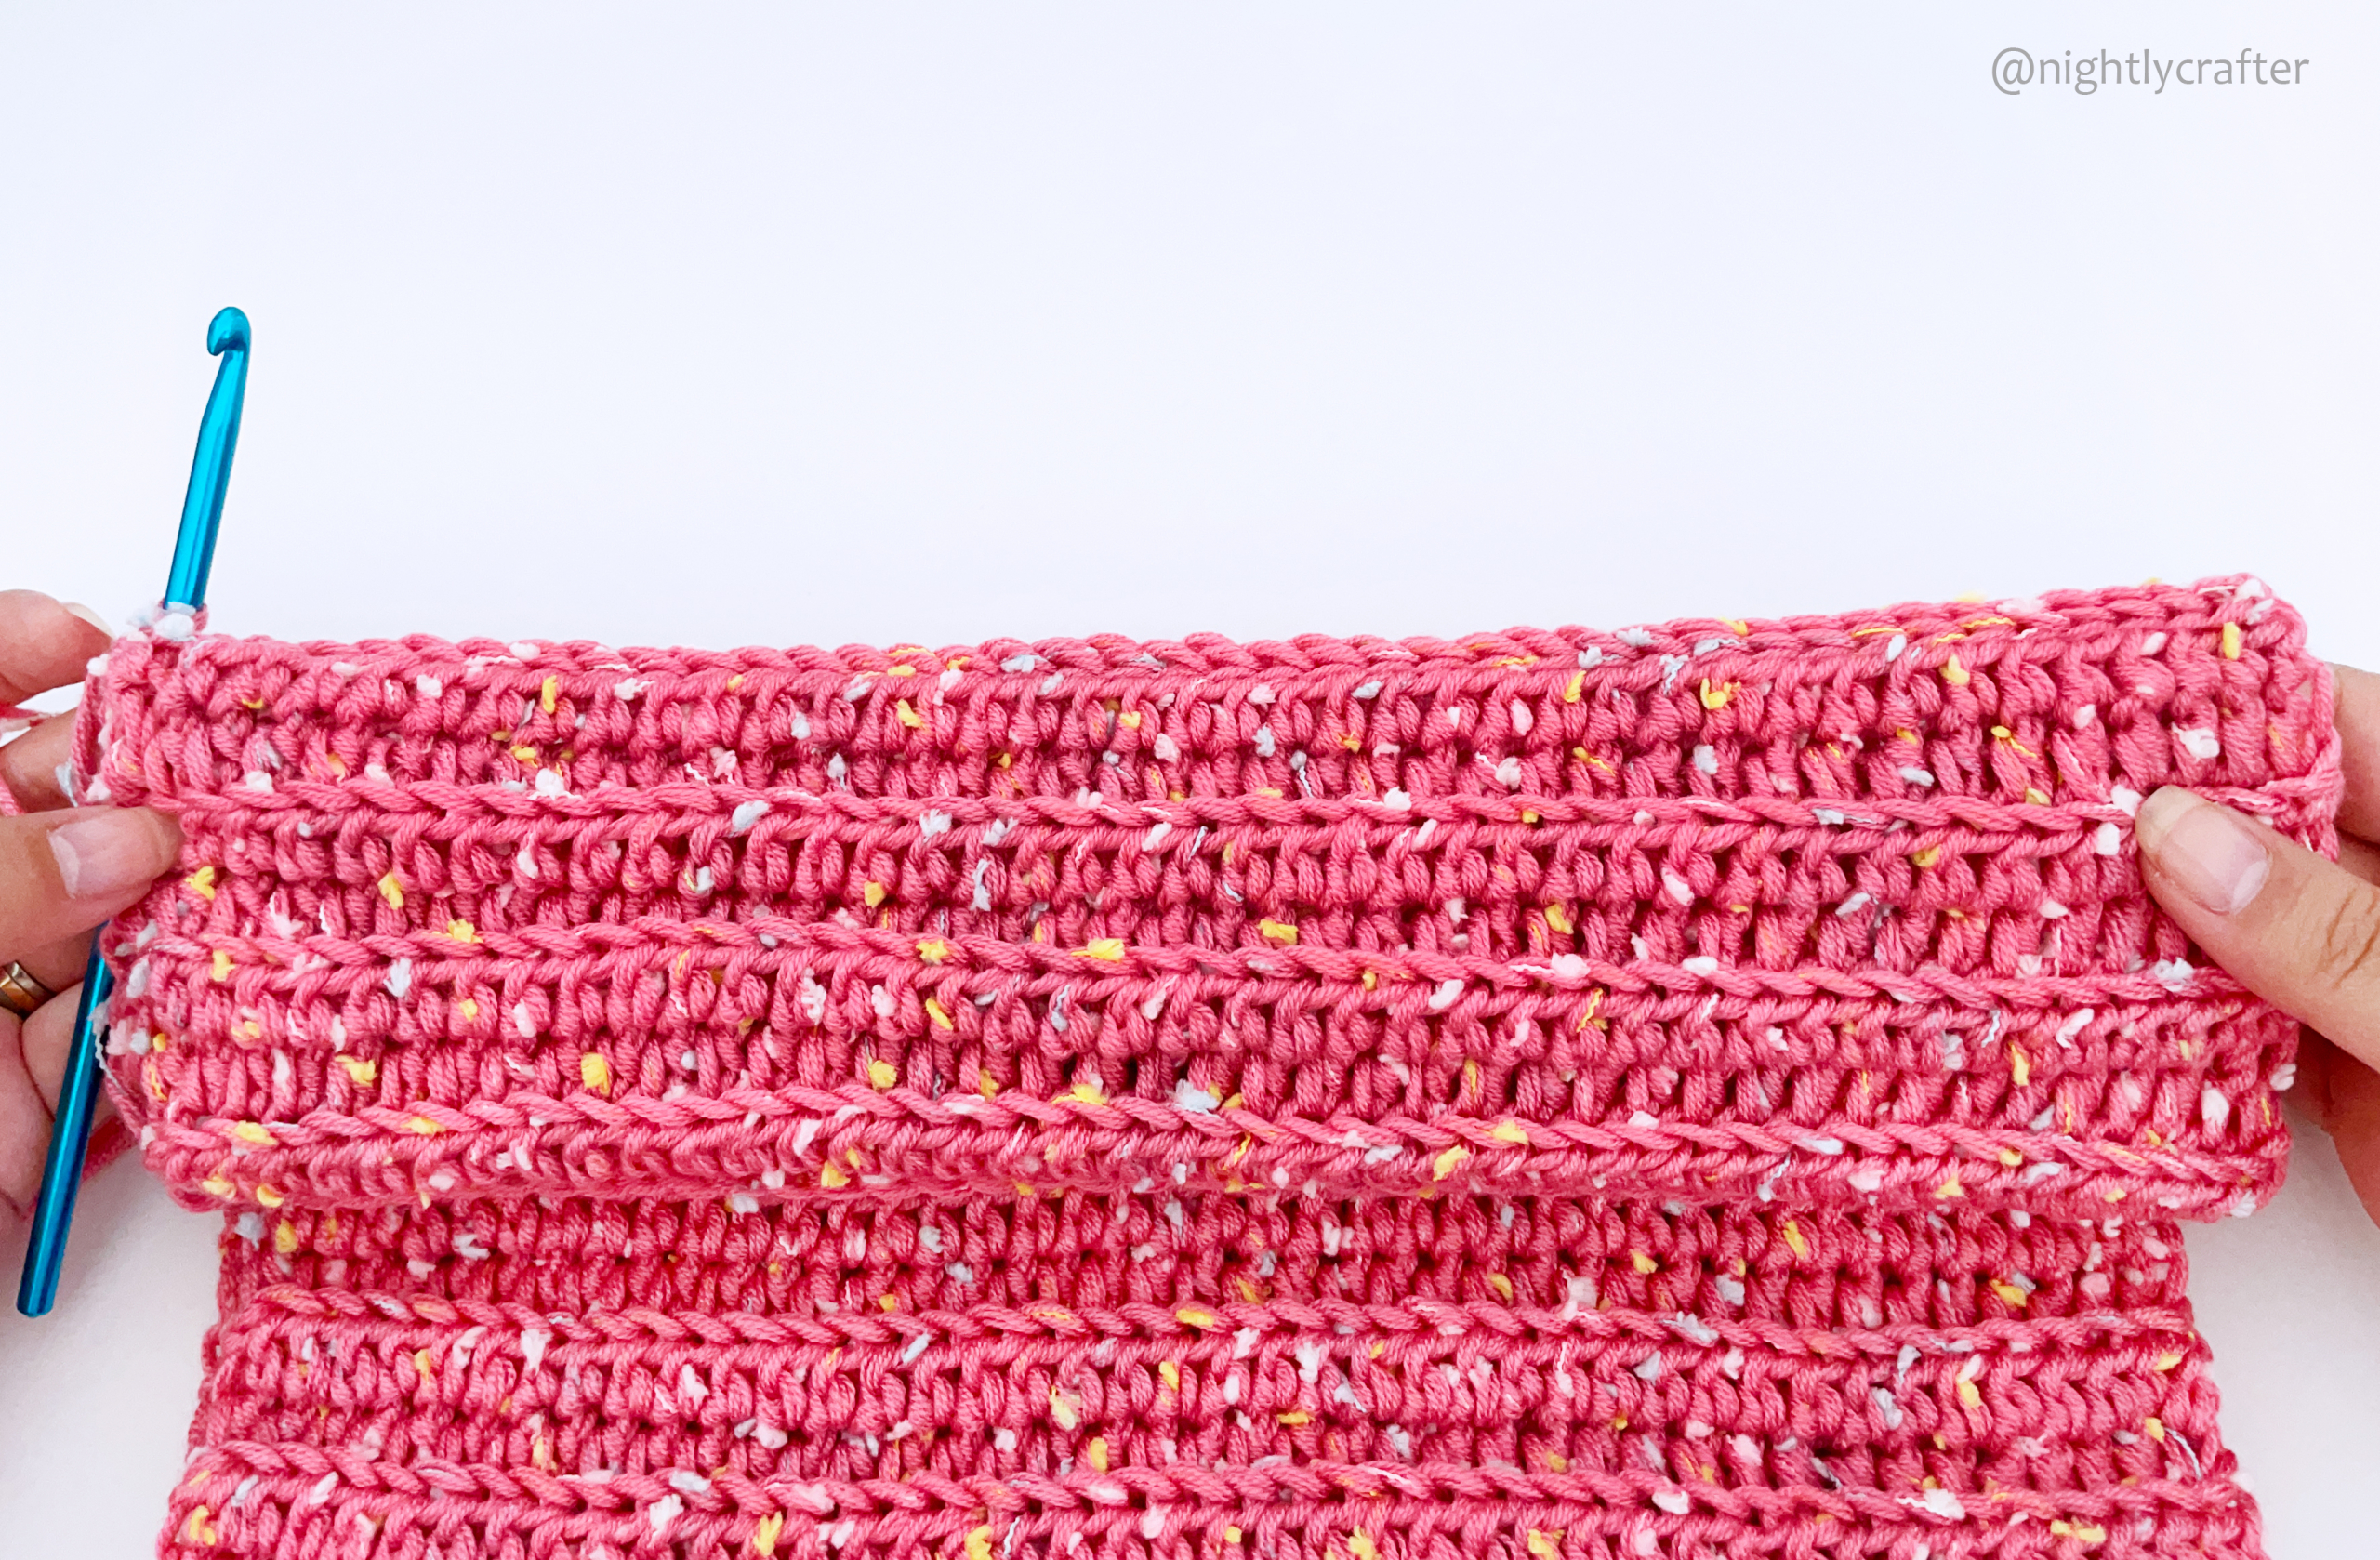
When you finish joining the initial and final row, you will have a “little lump” in your work that will show you the wrong side of your hat, so you have to turn over your work and leave the lump inside of the tube. That movement will hide the lump and your work will look seamless.
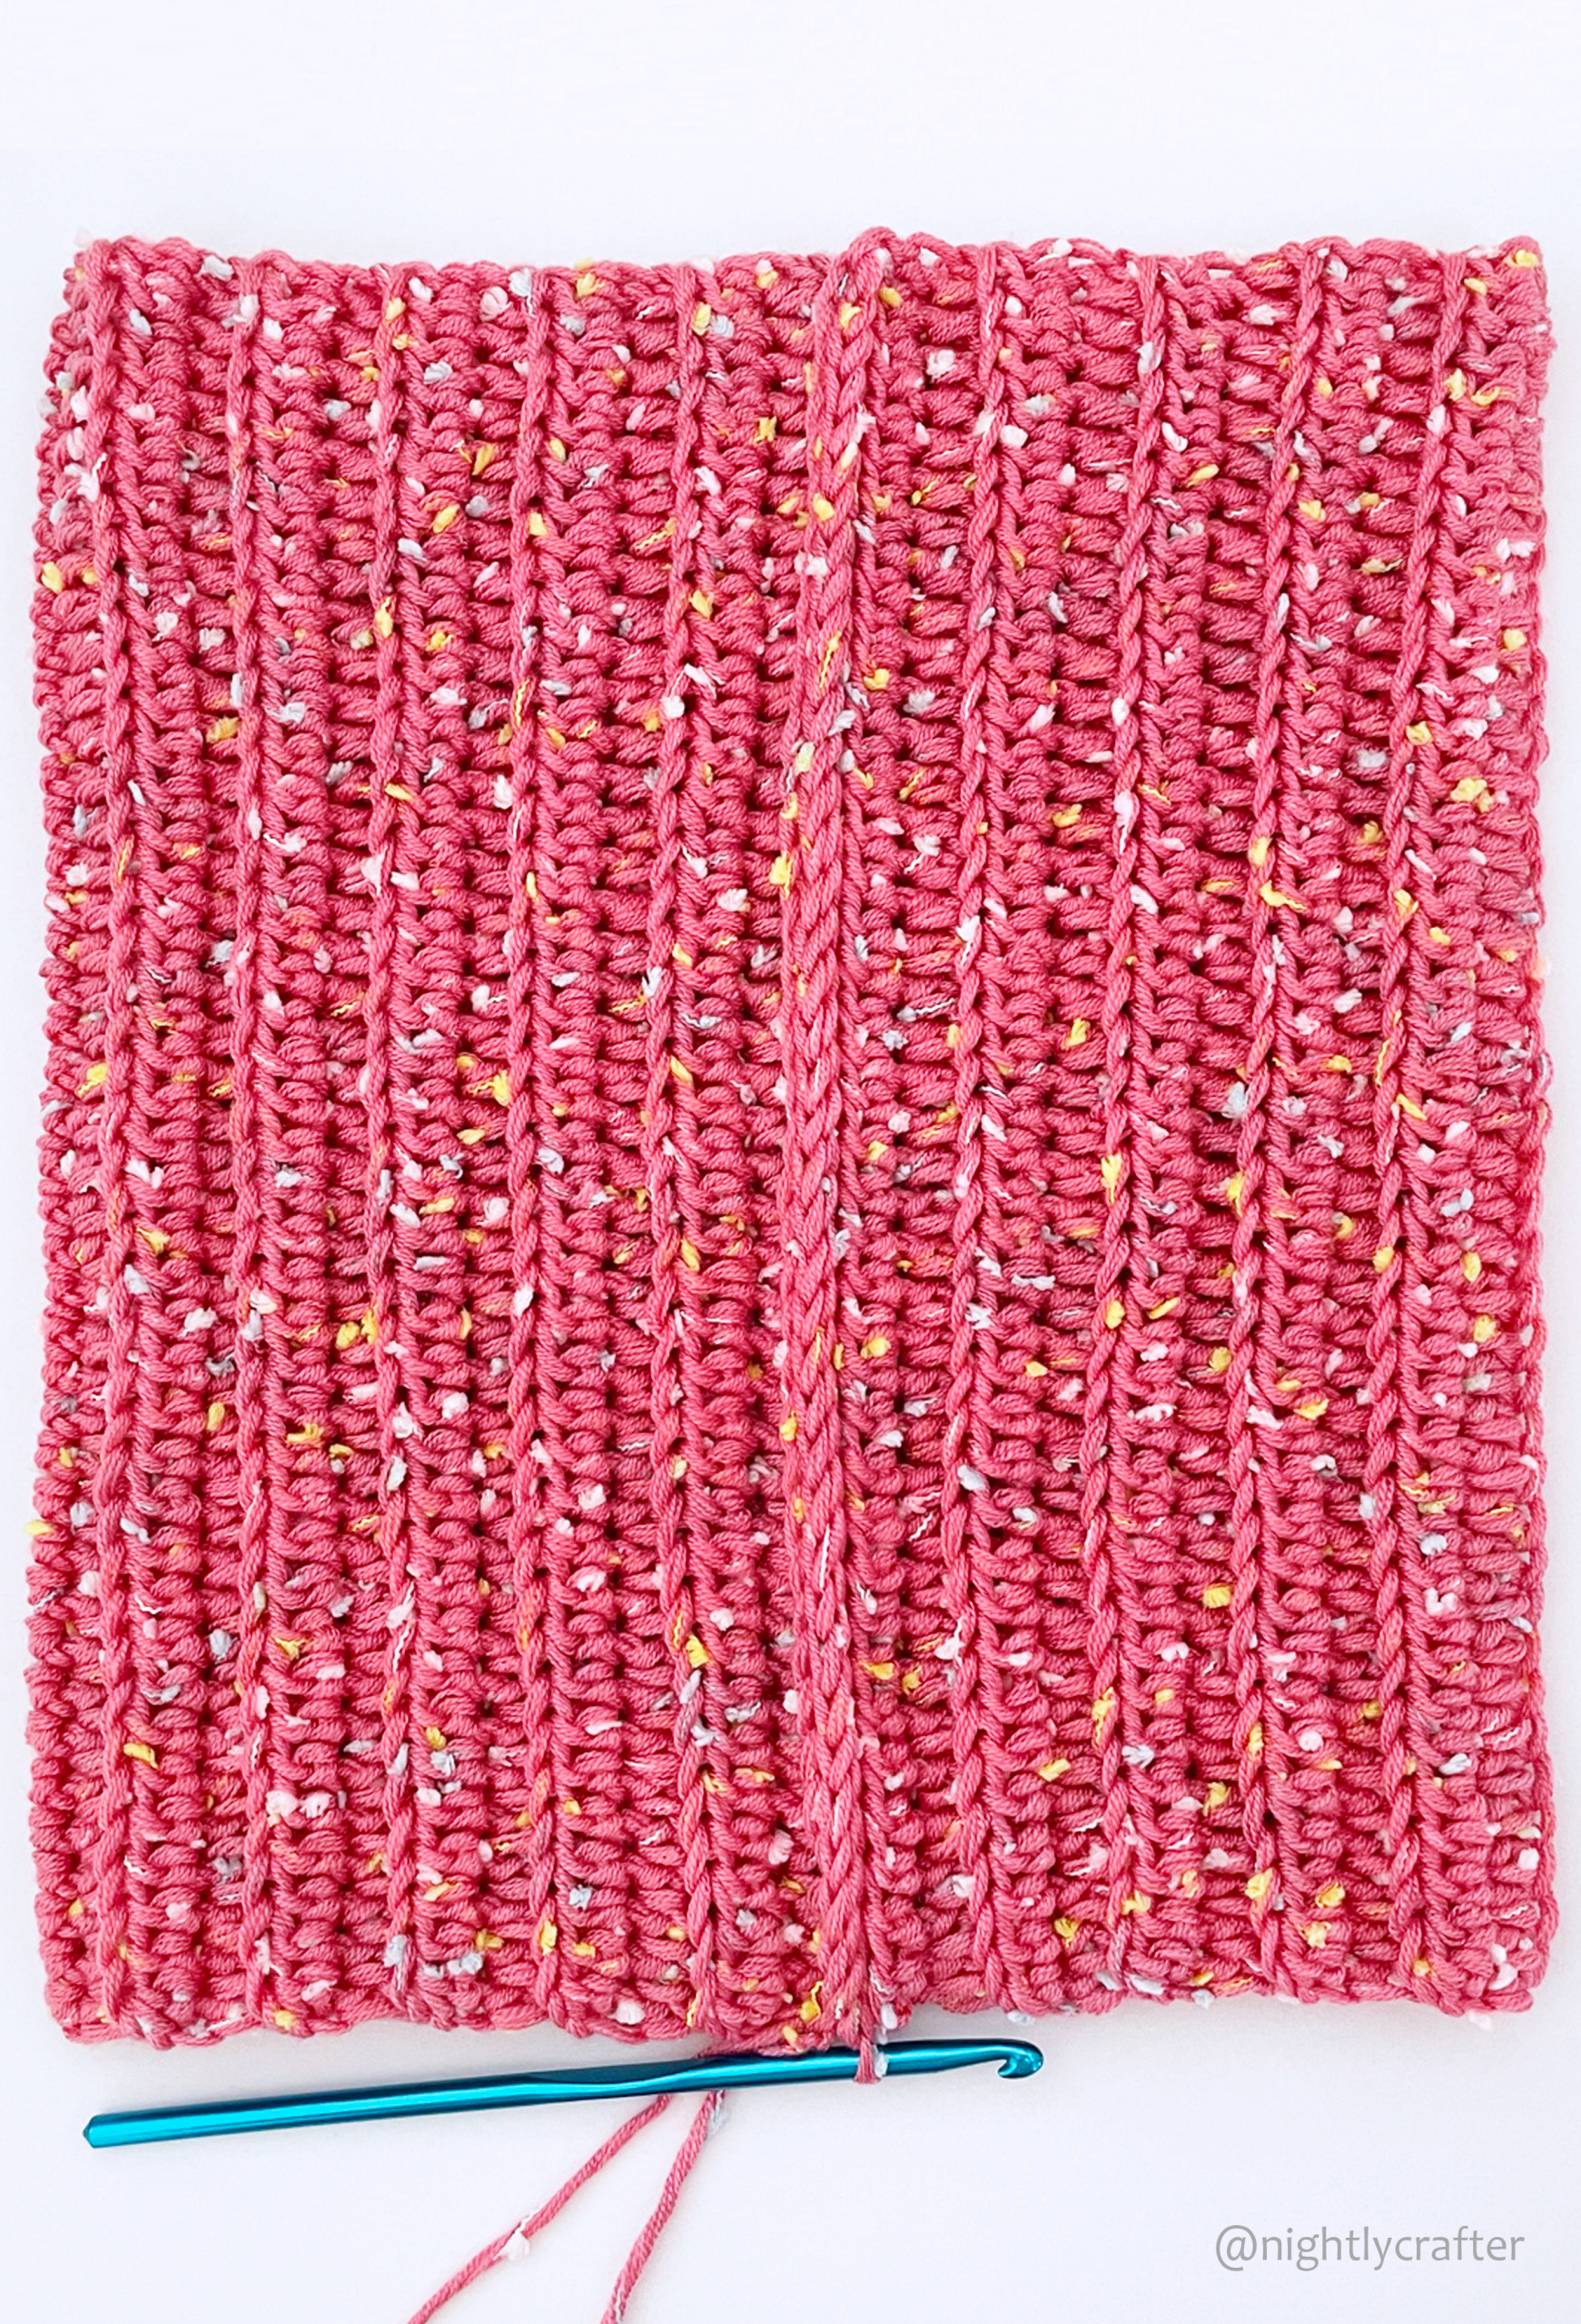
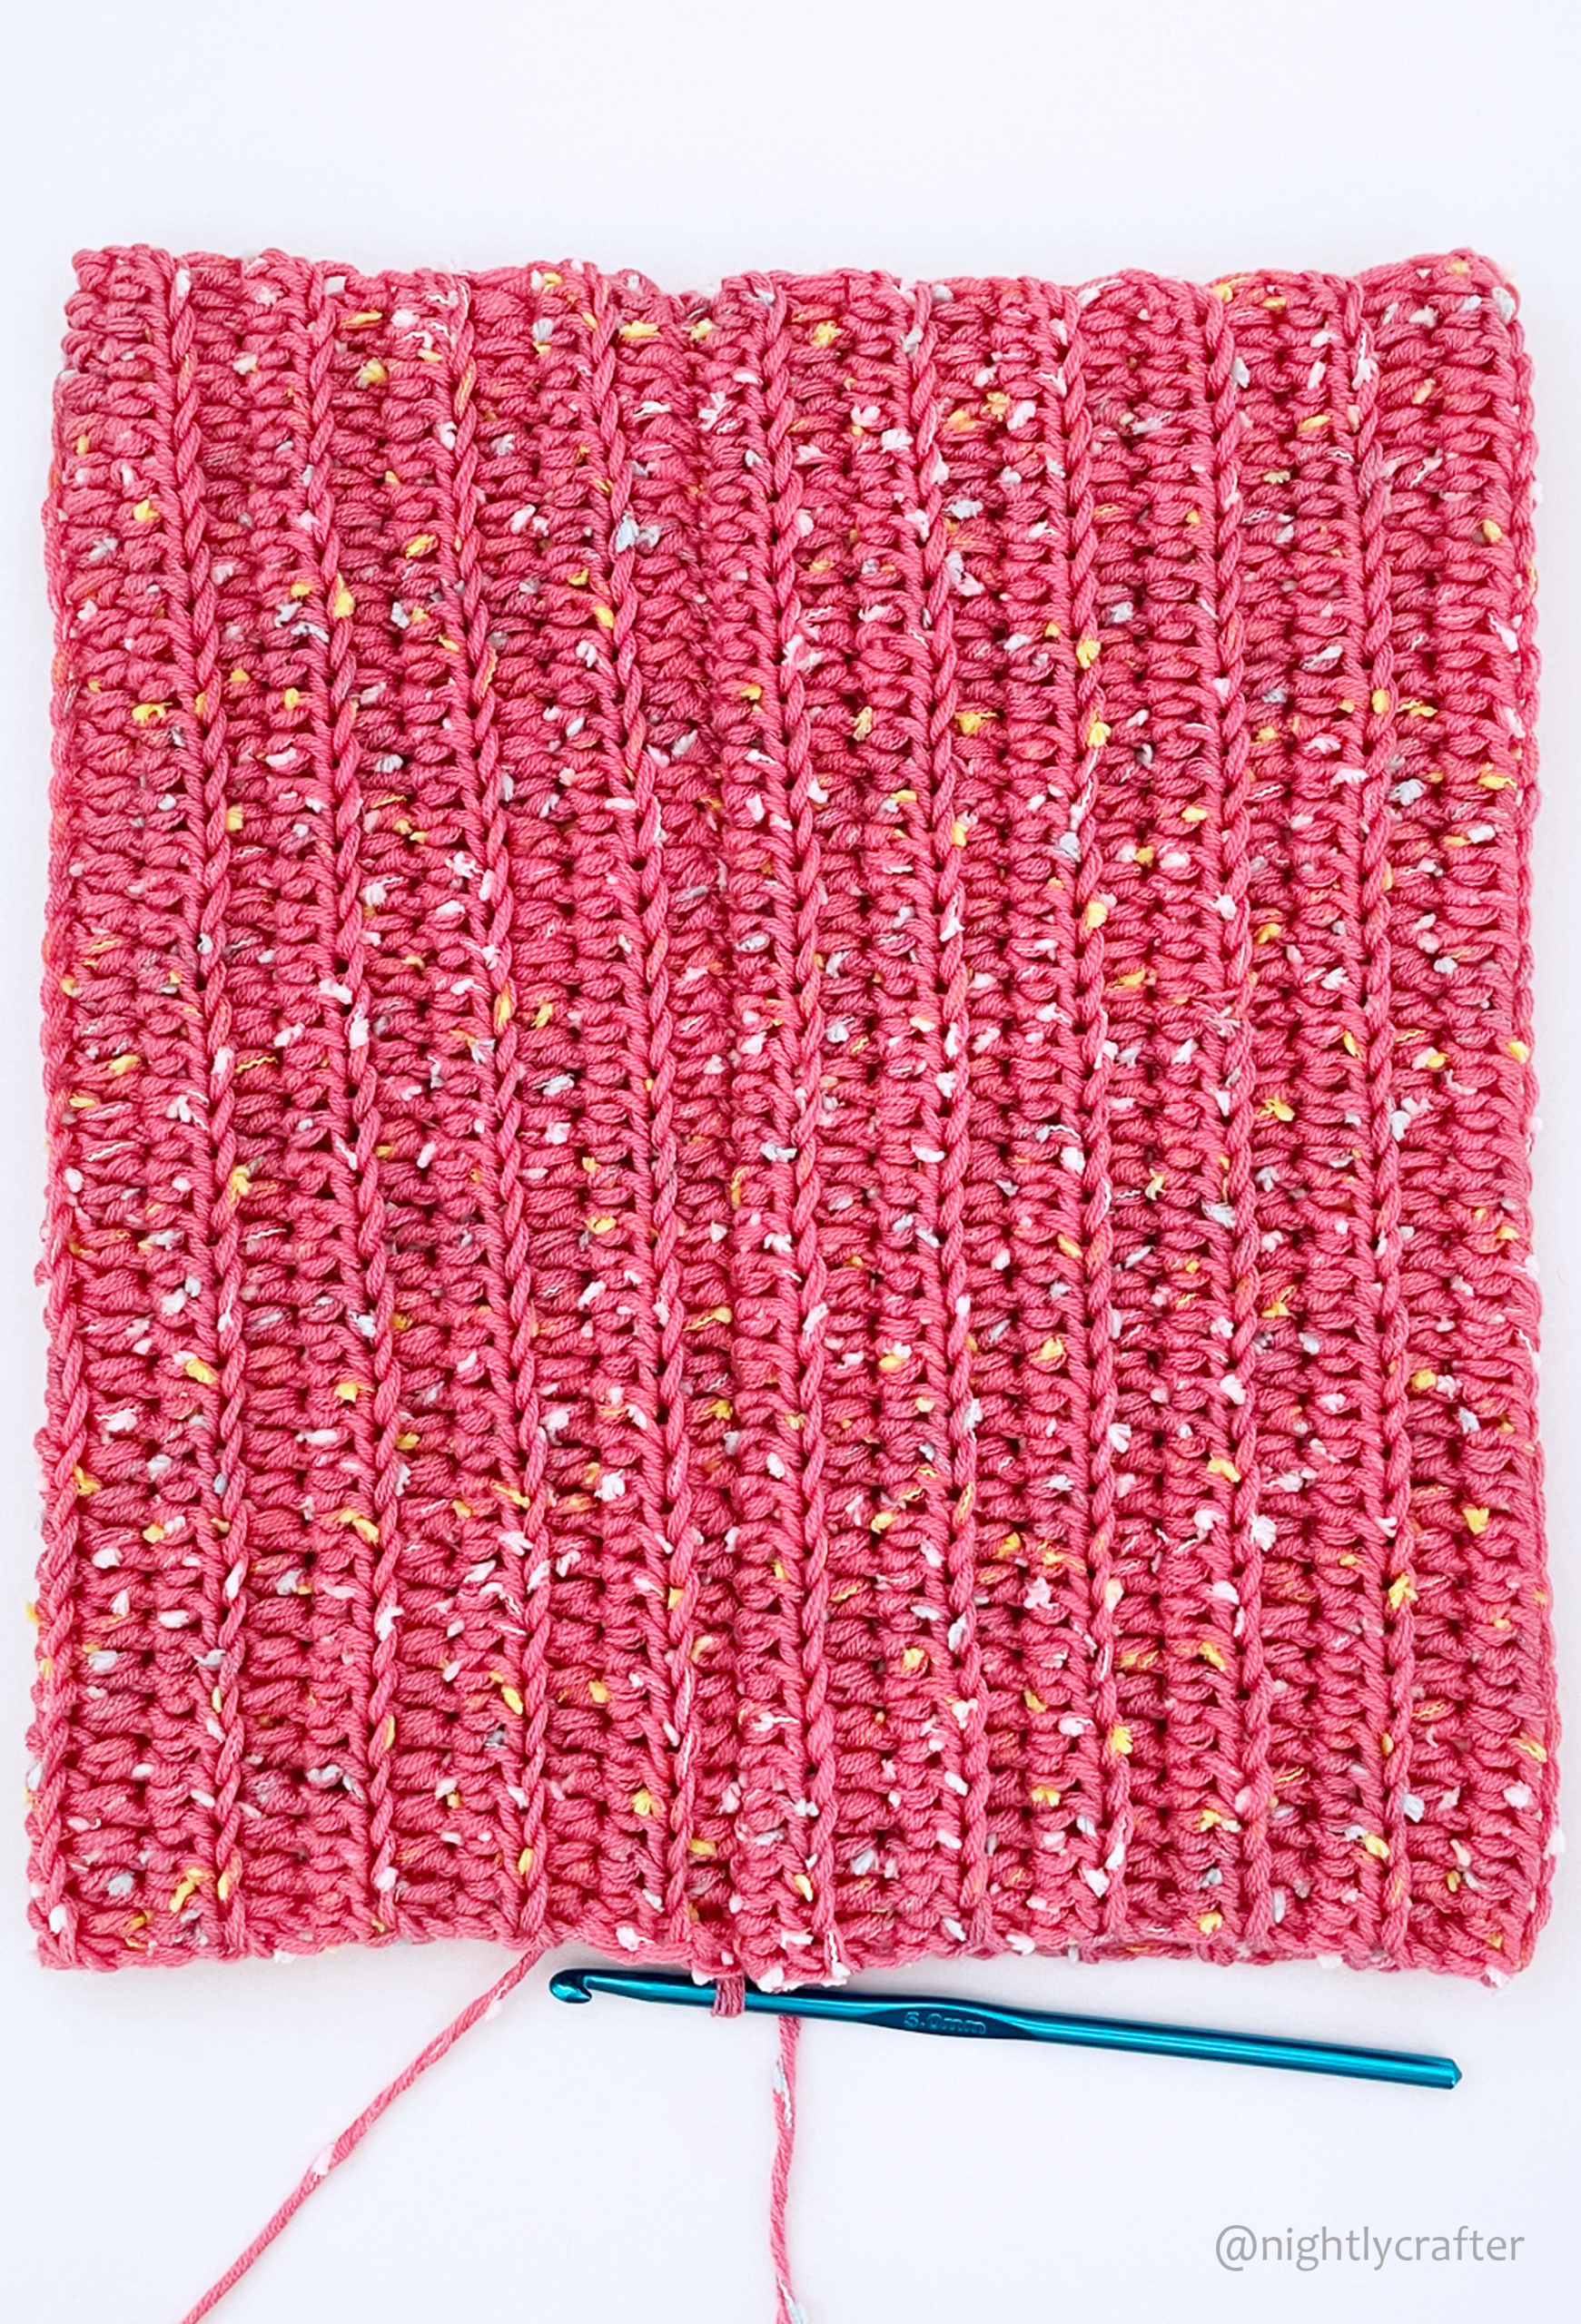
Now cut the yarn leaving a long strand, and use it for sewing the top part of the hat.
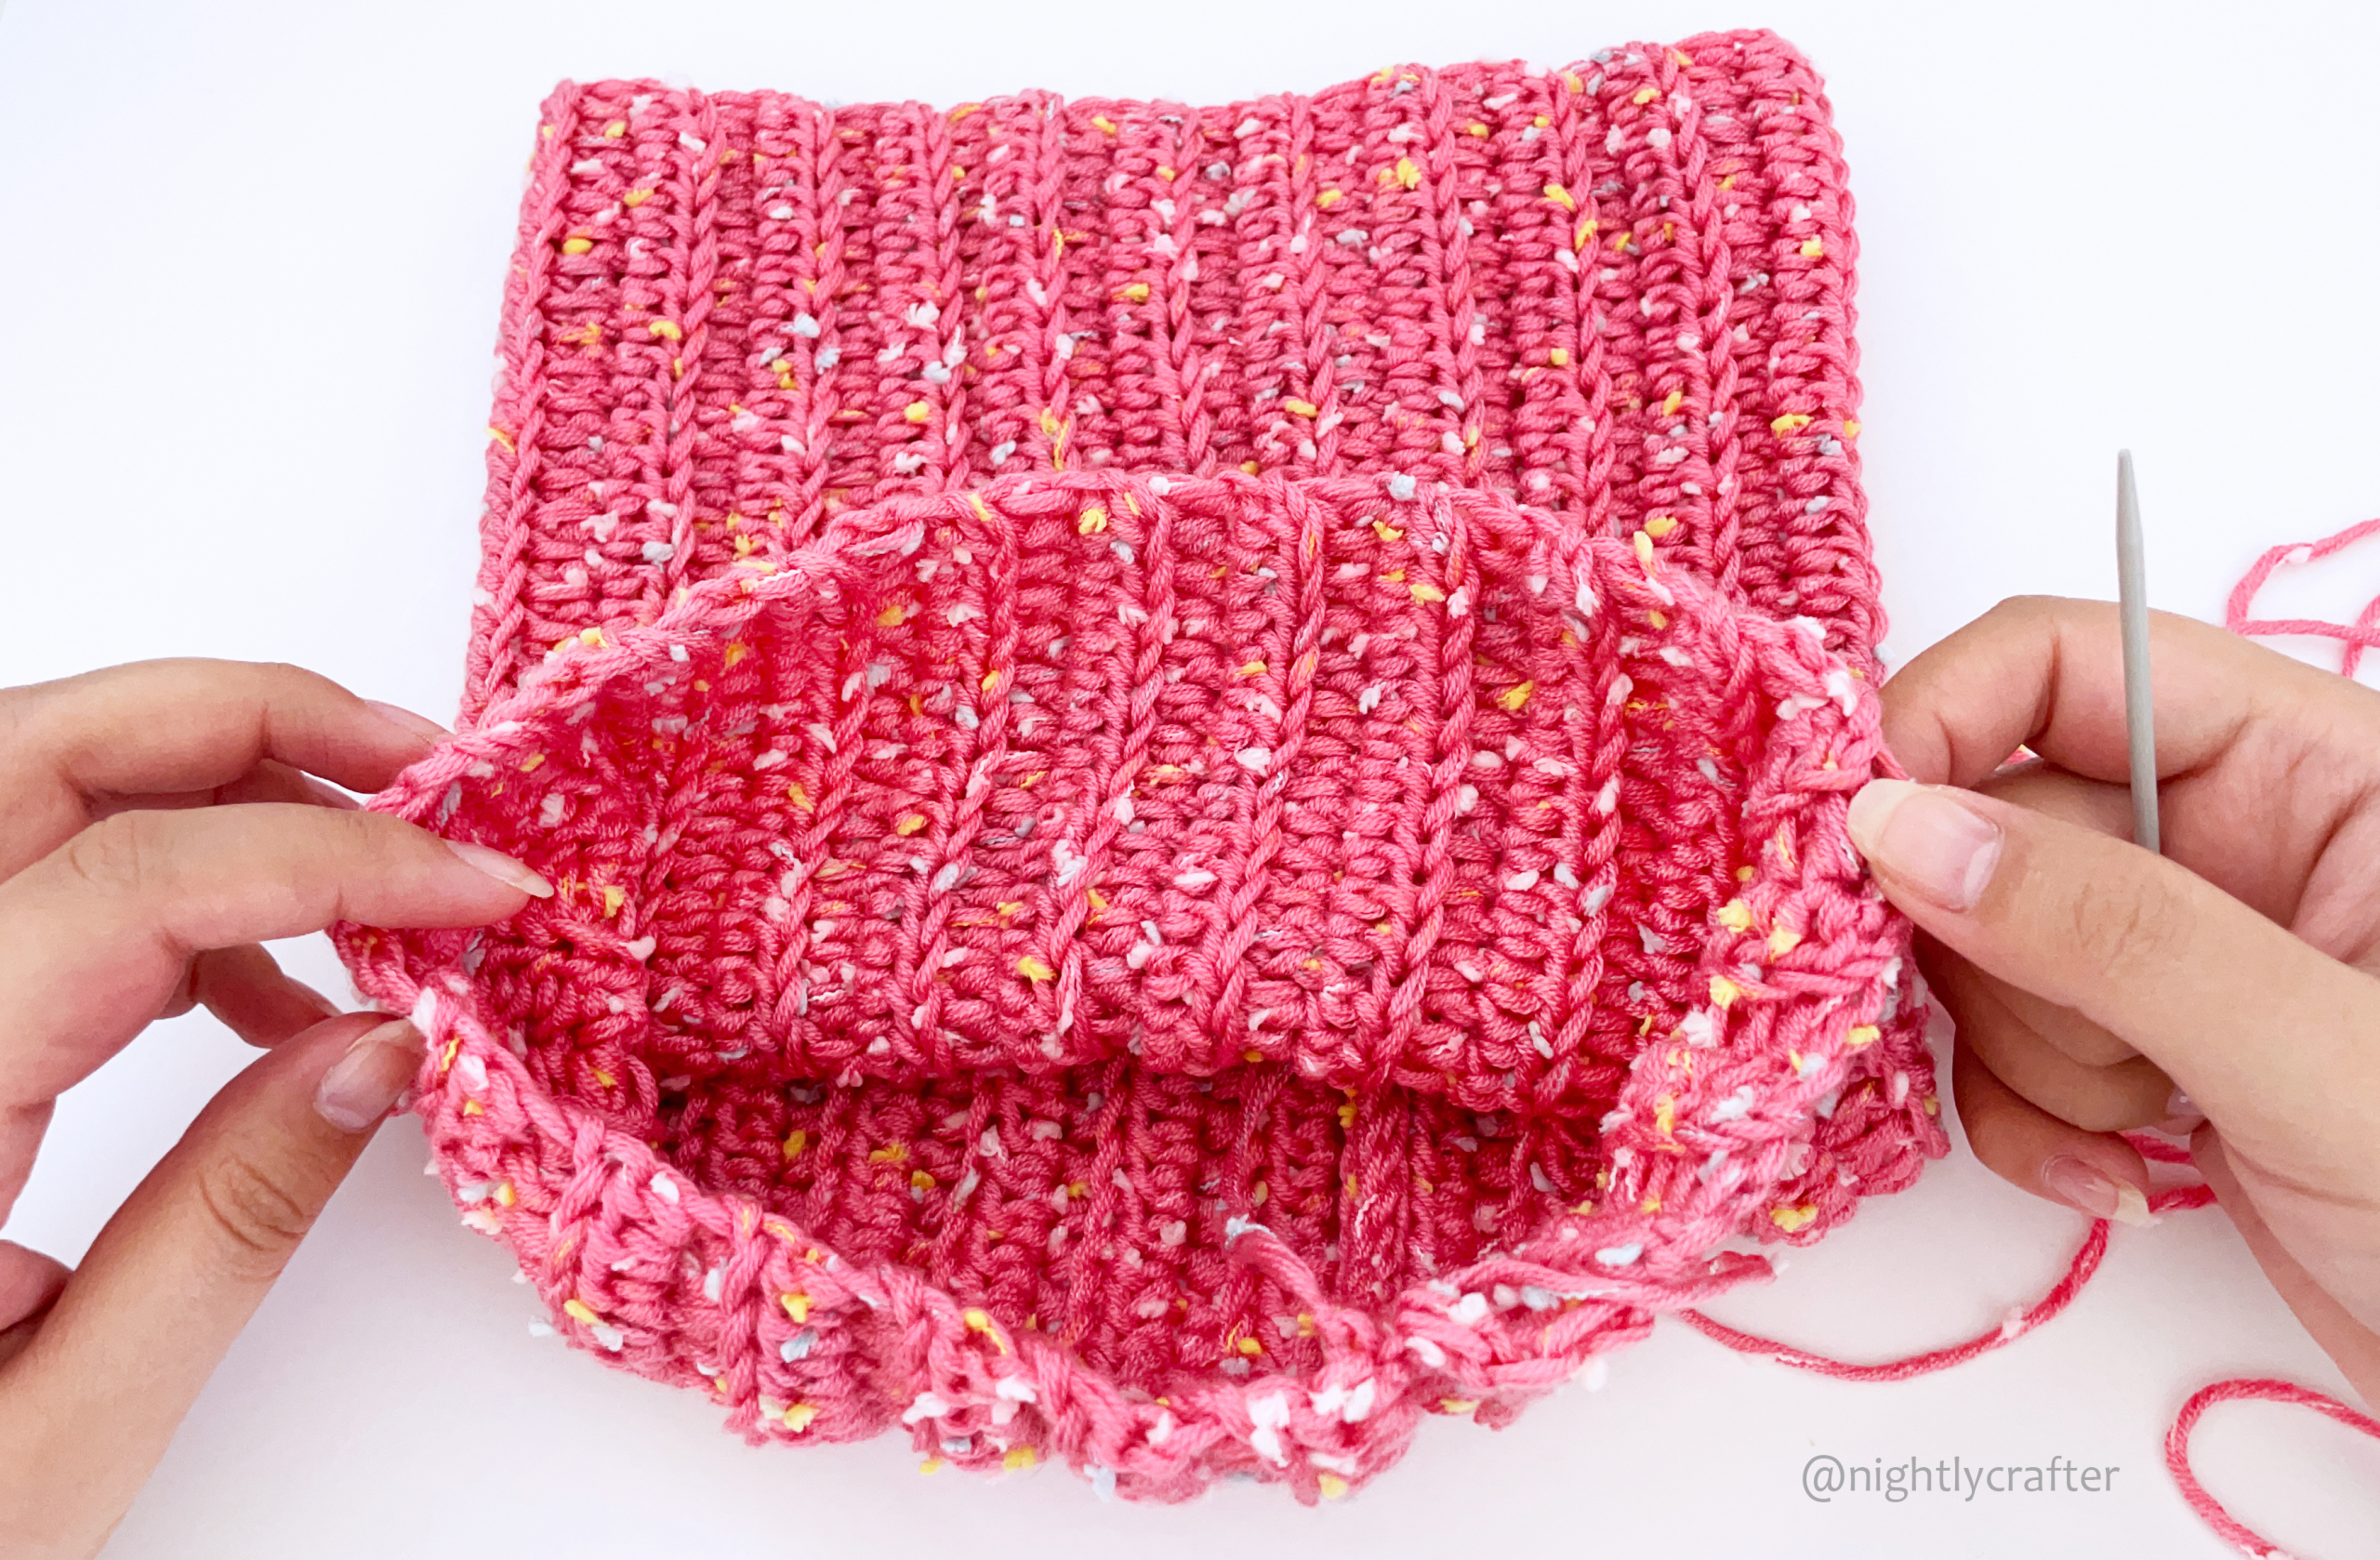
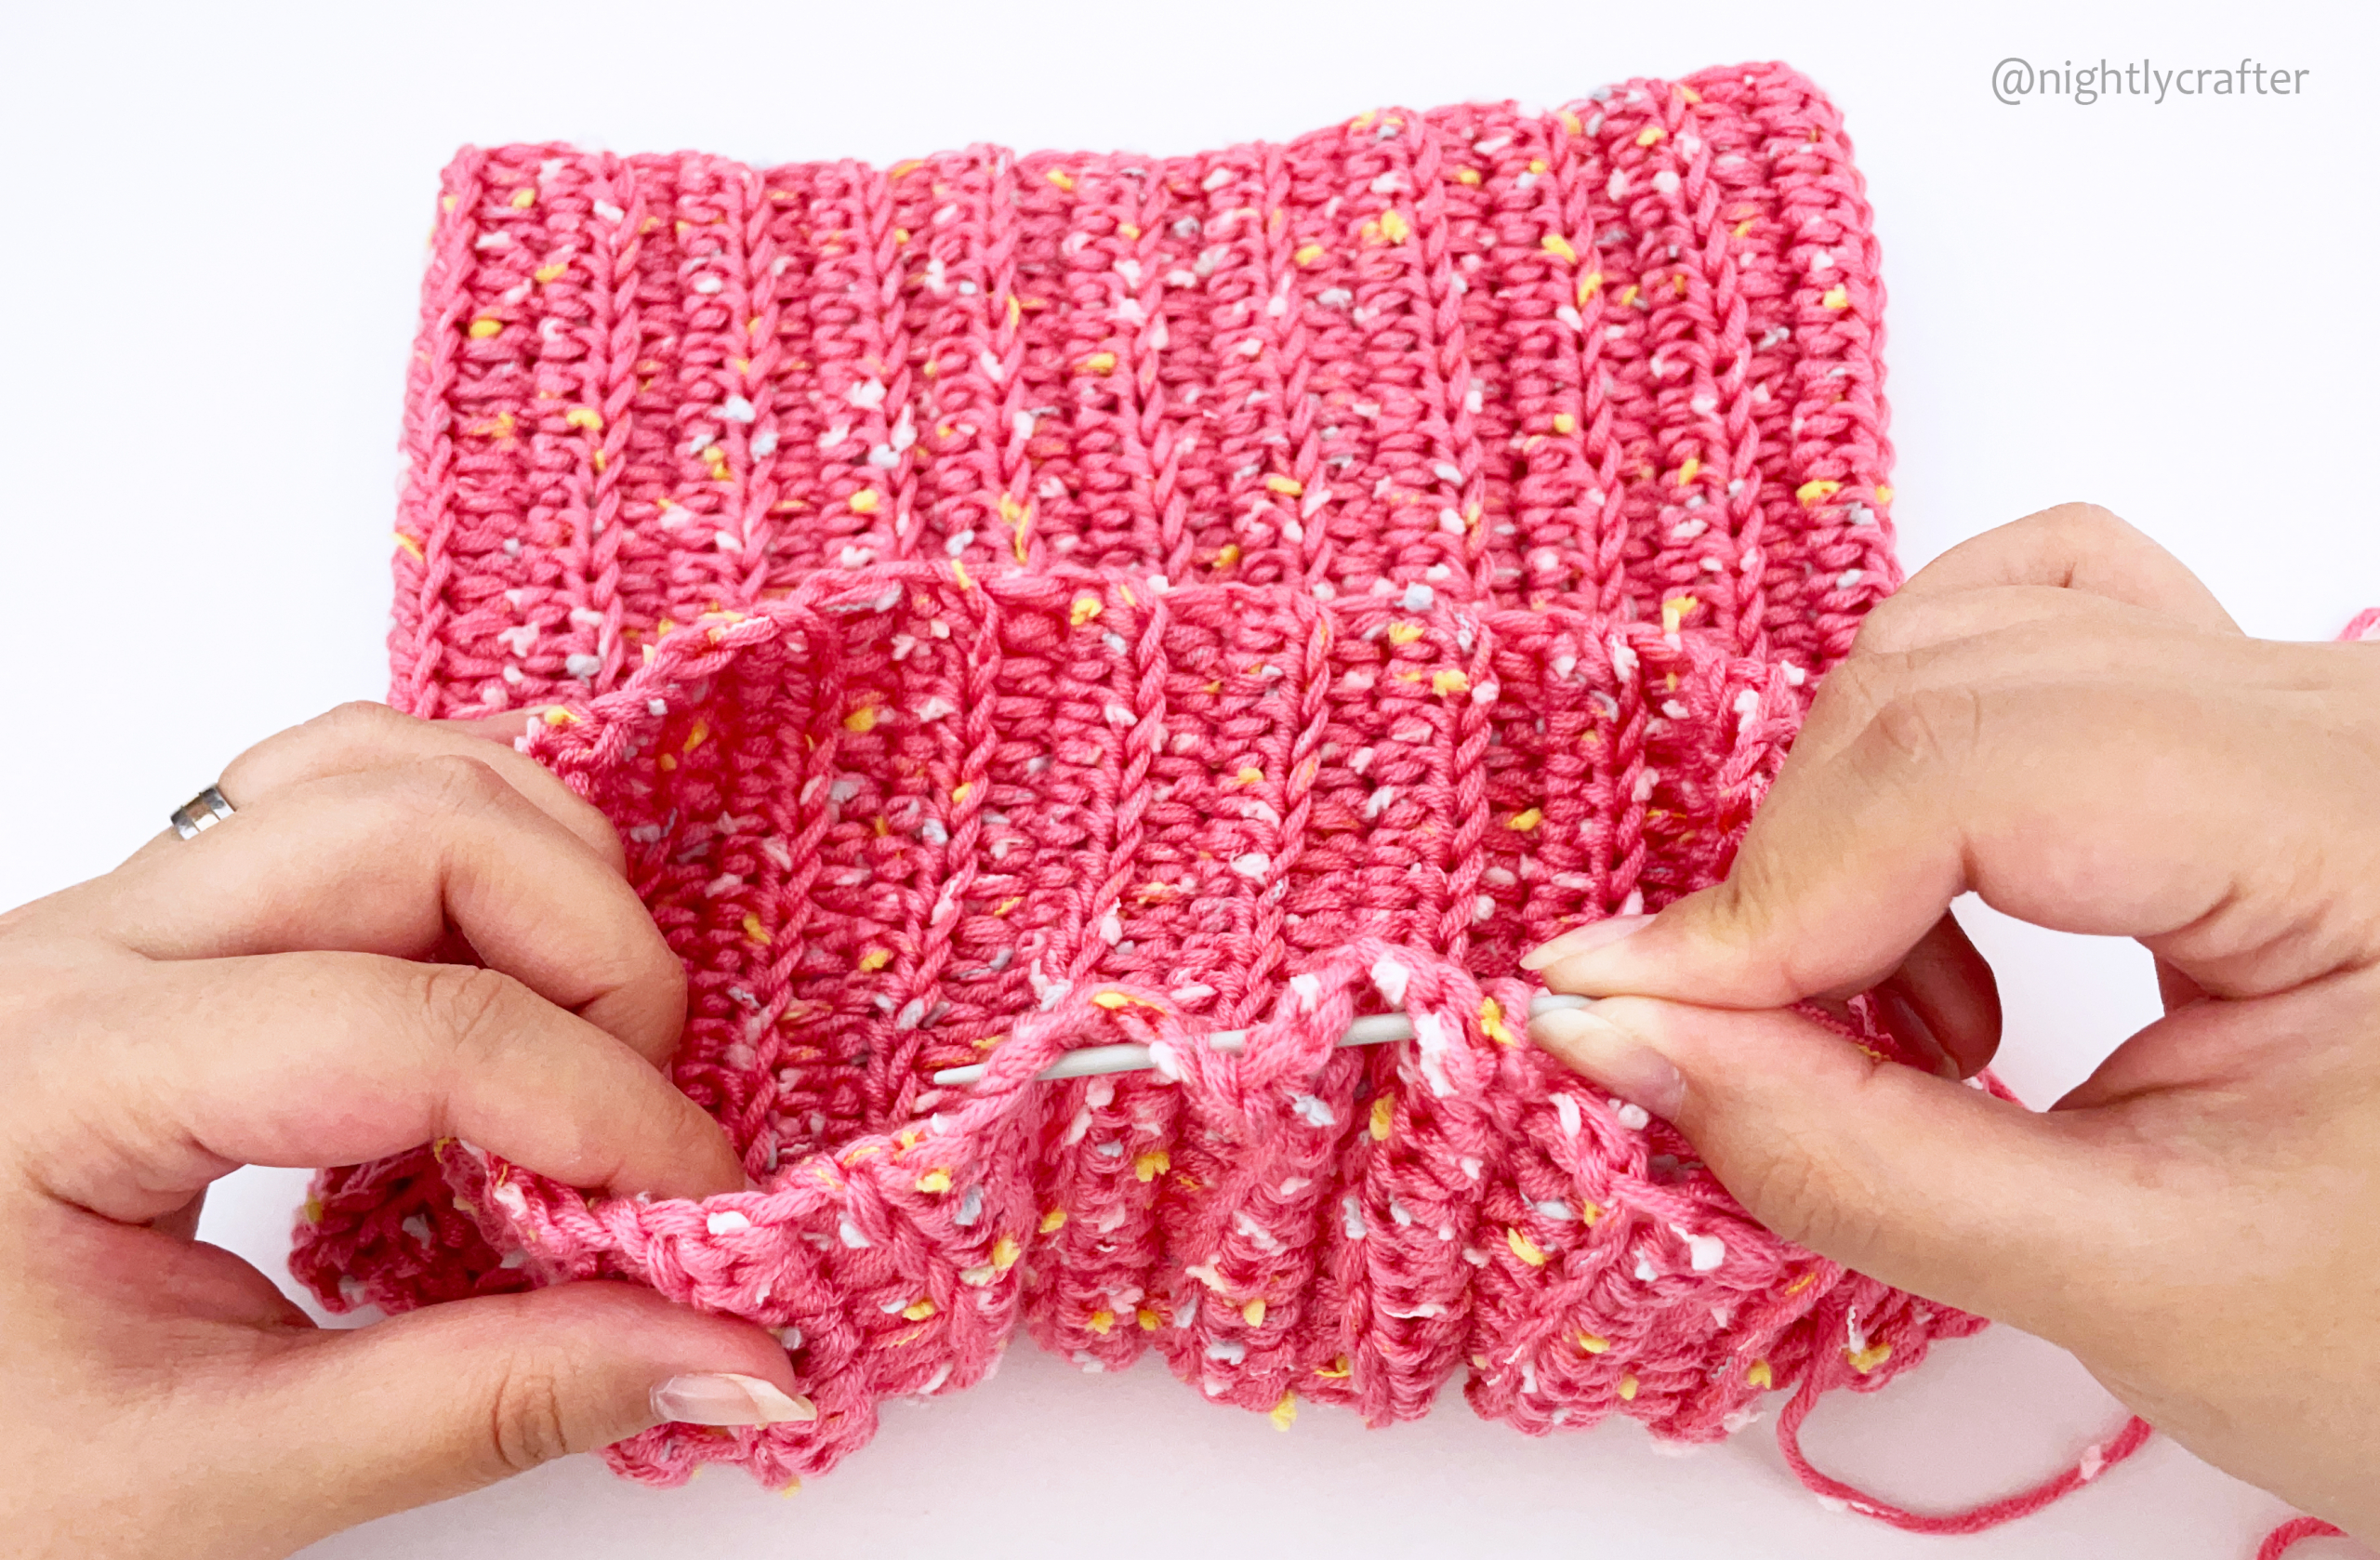
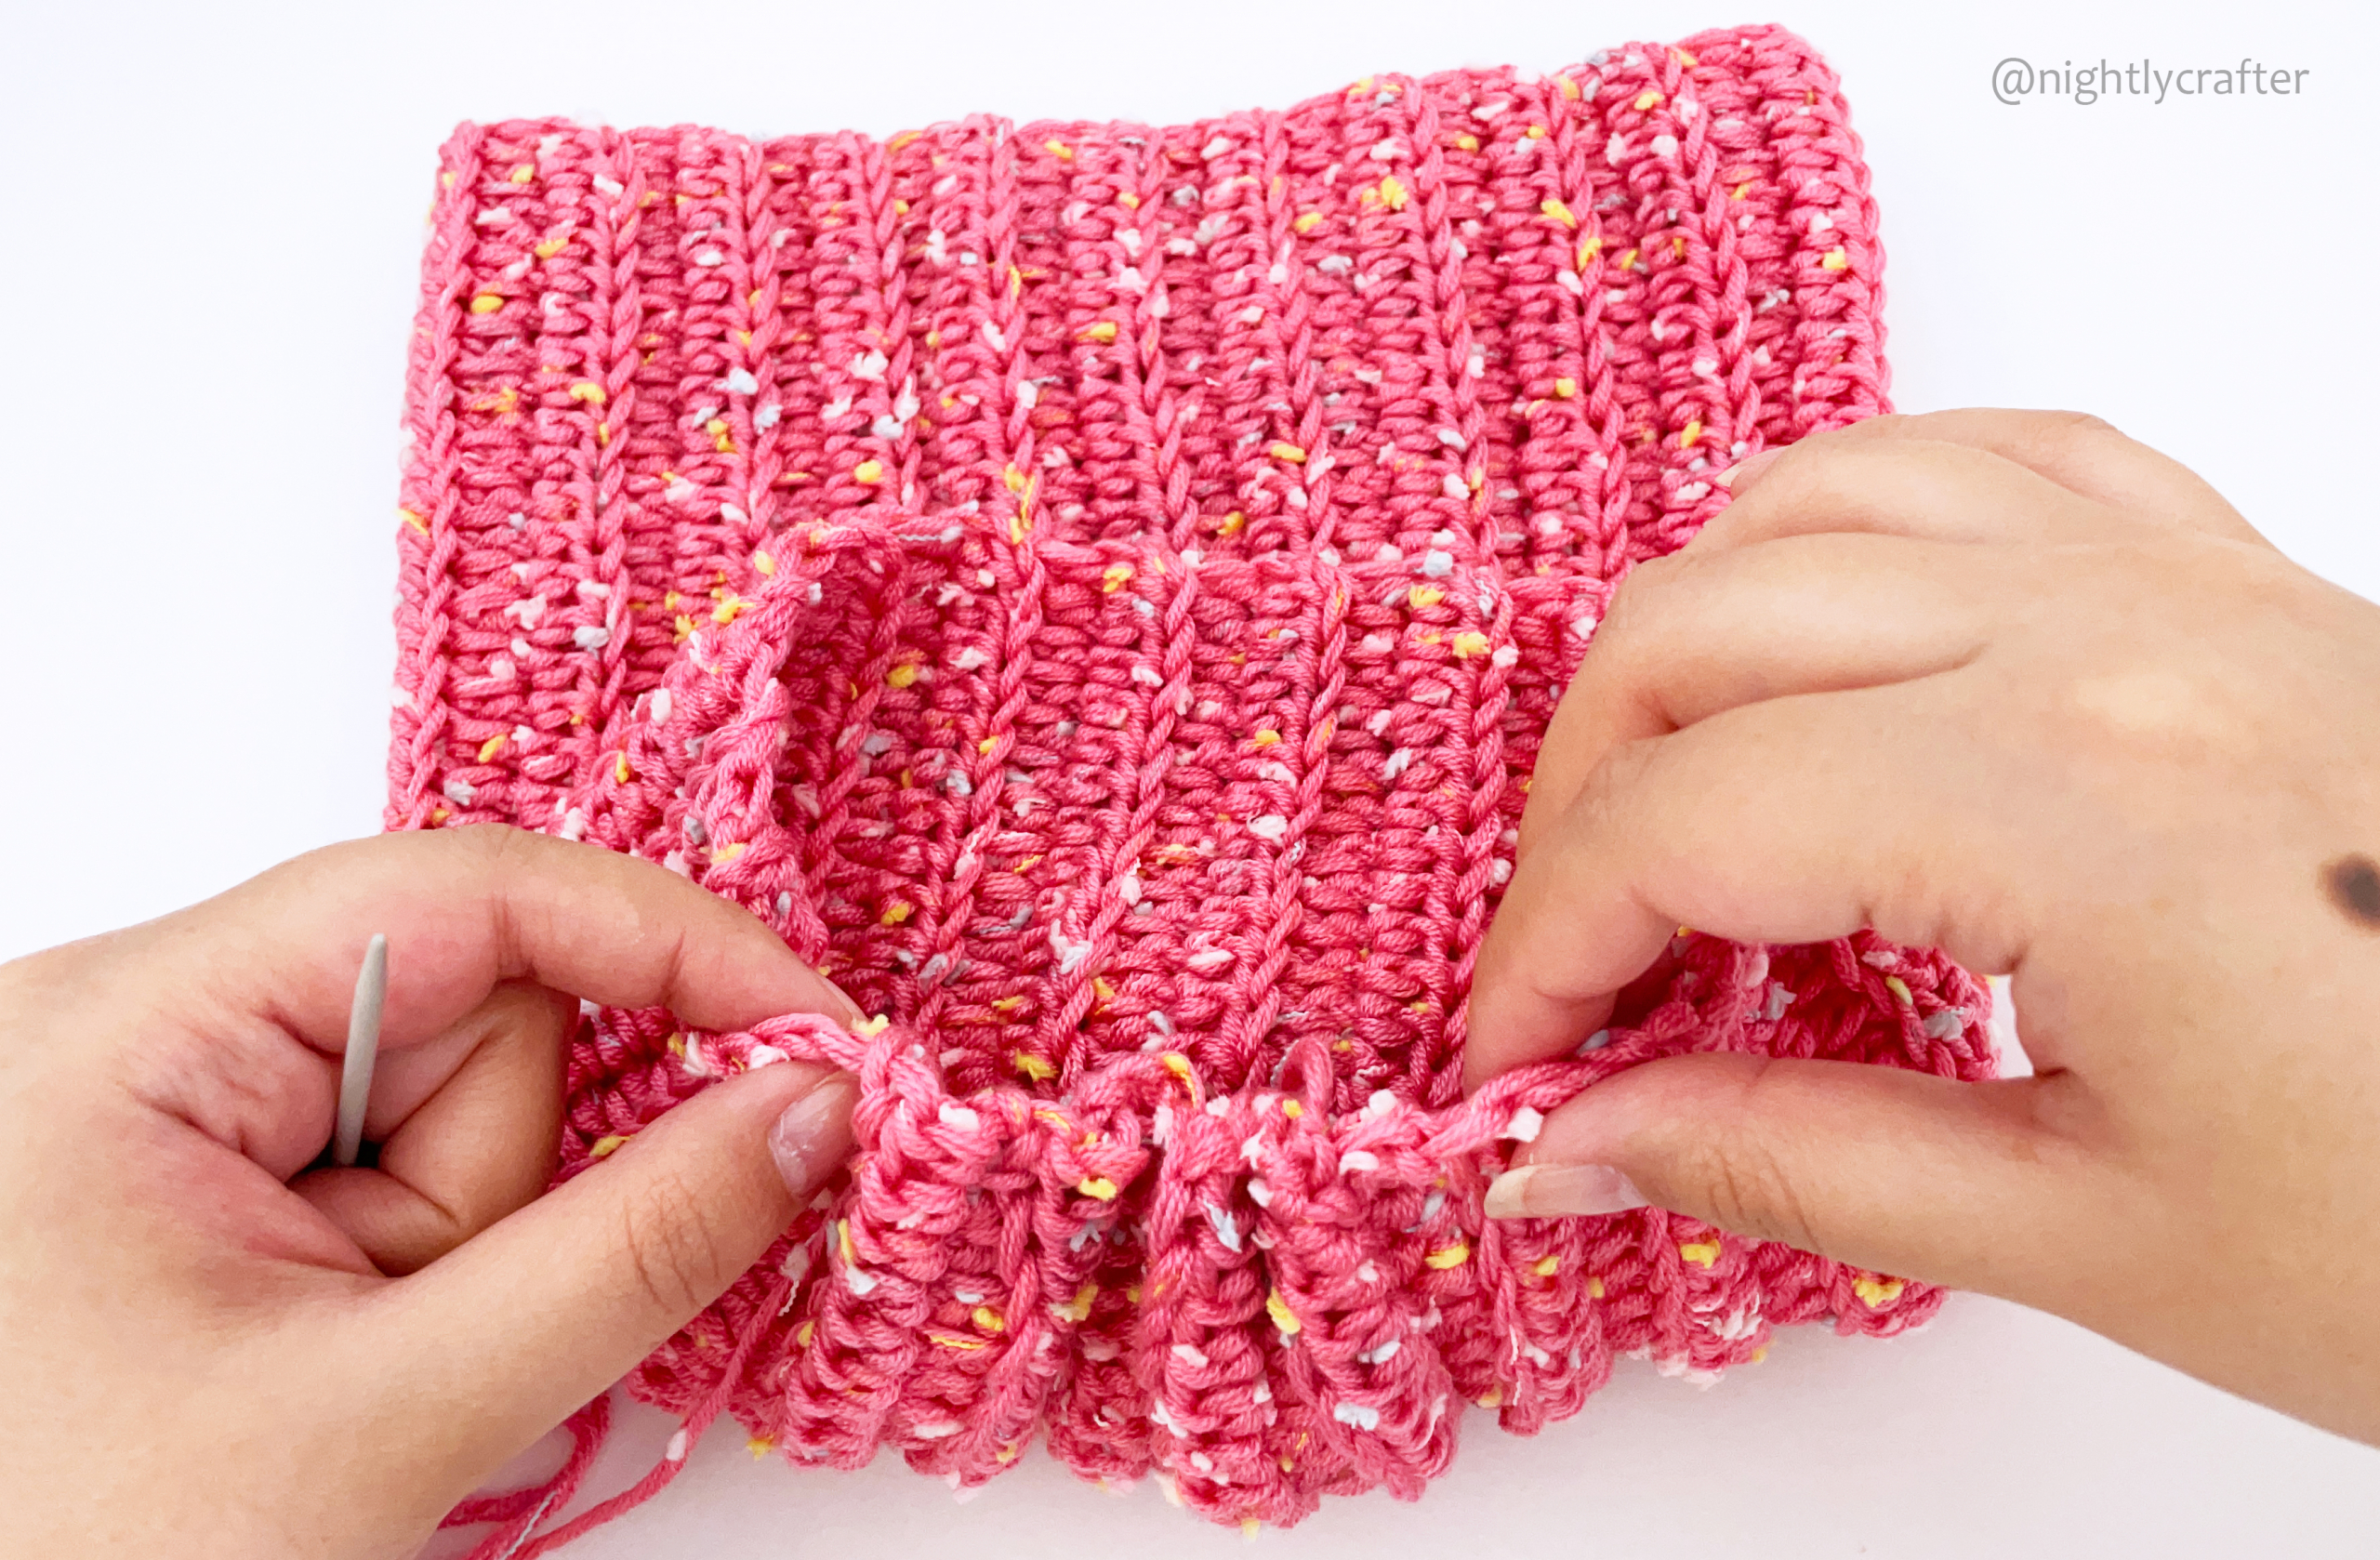
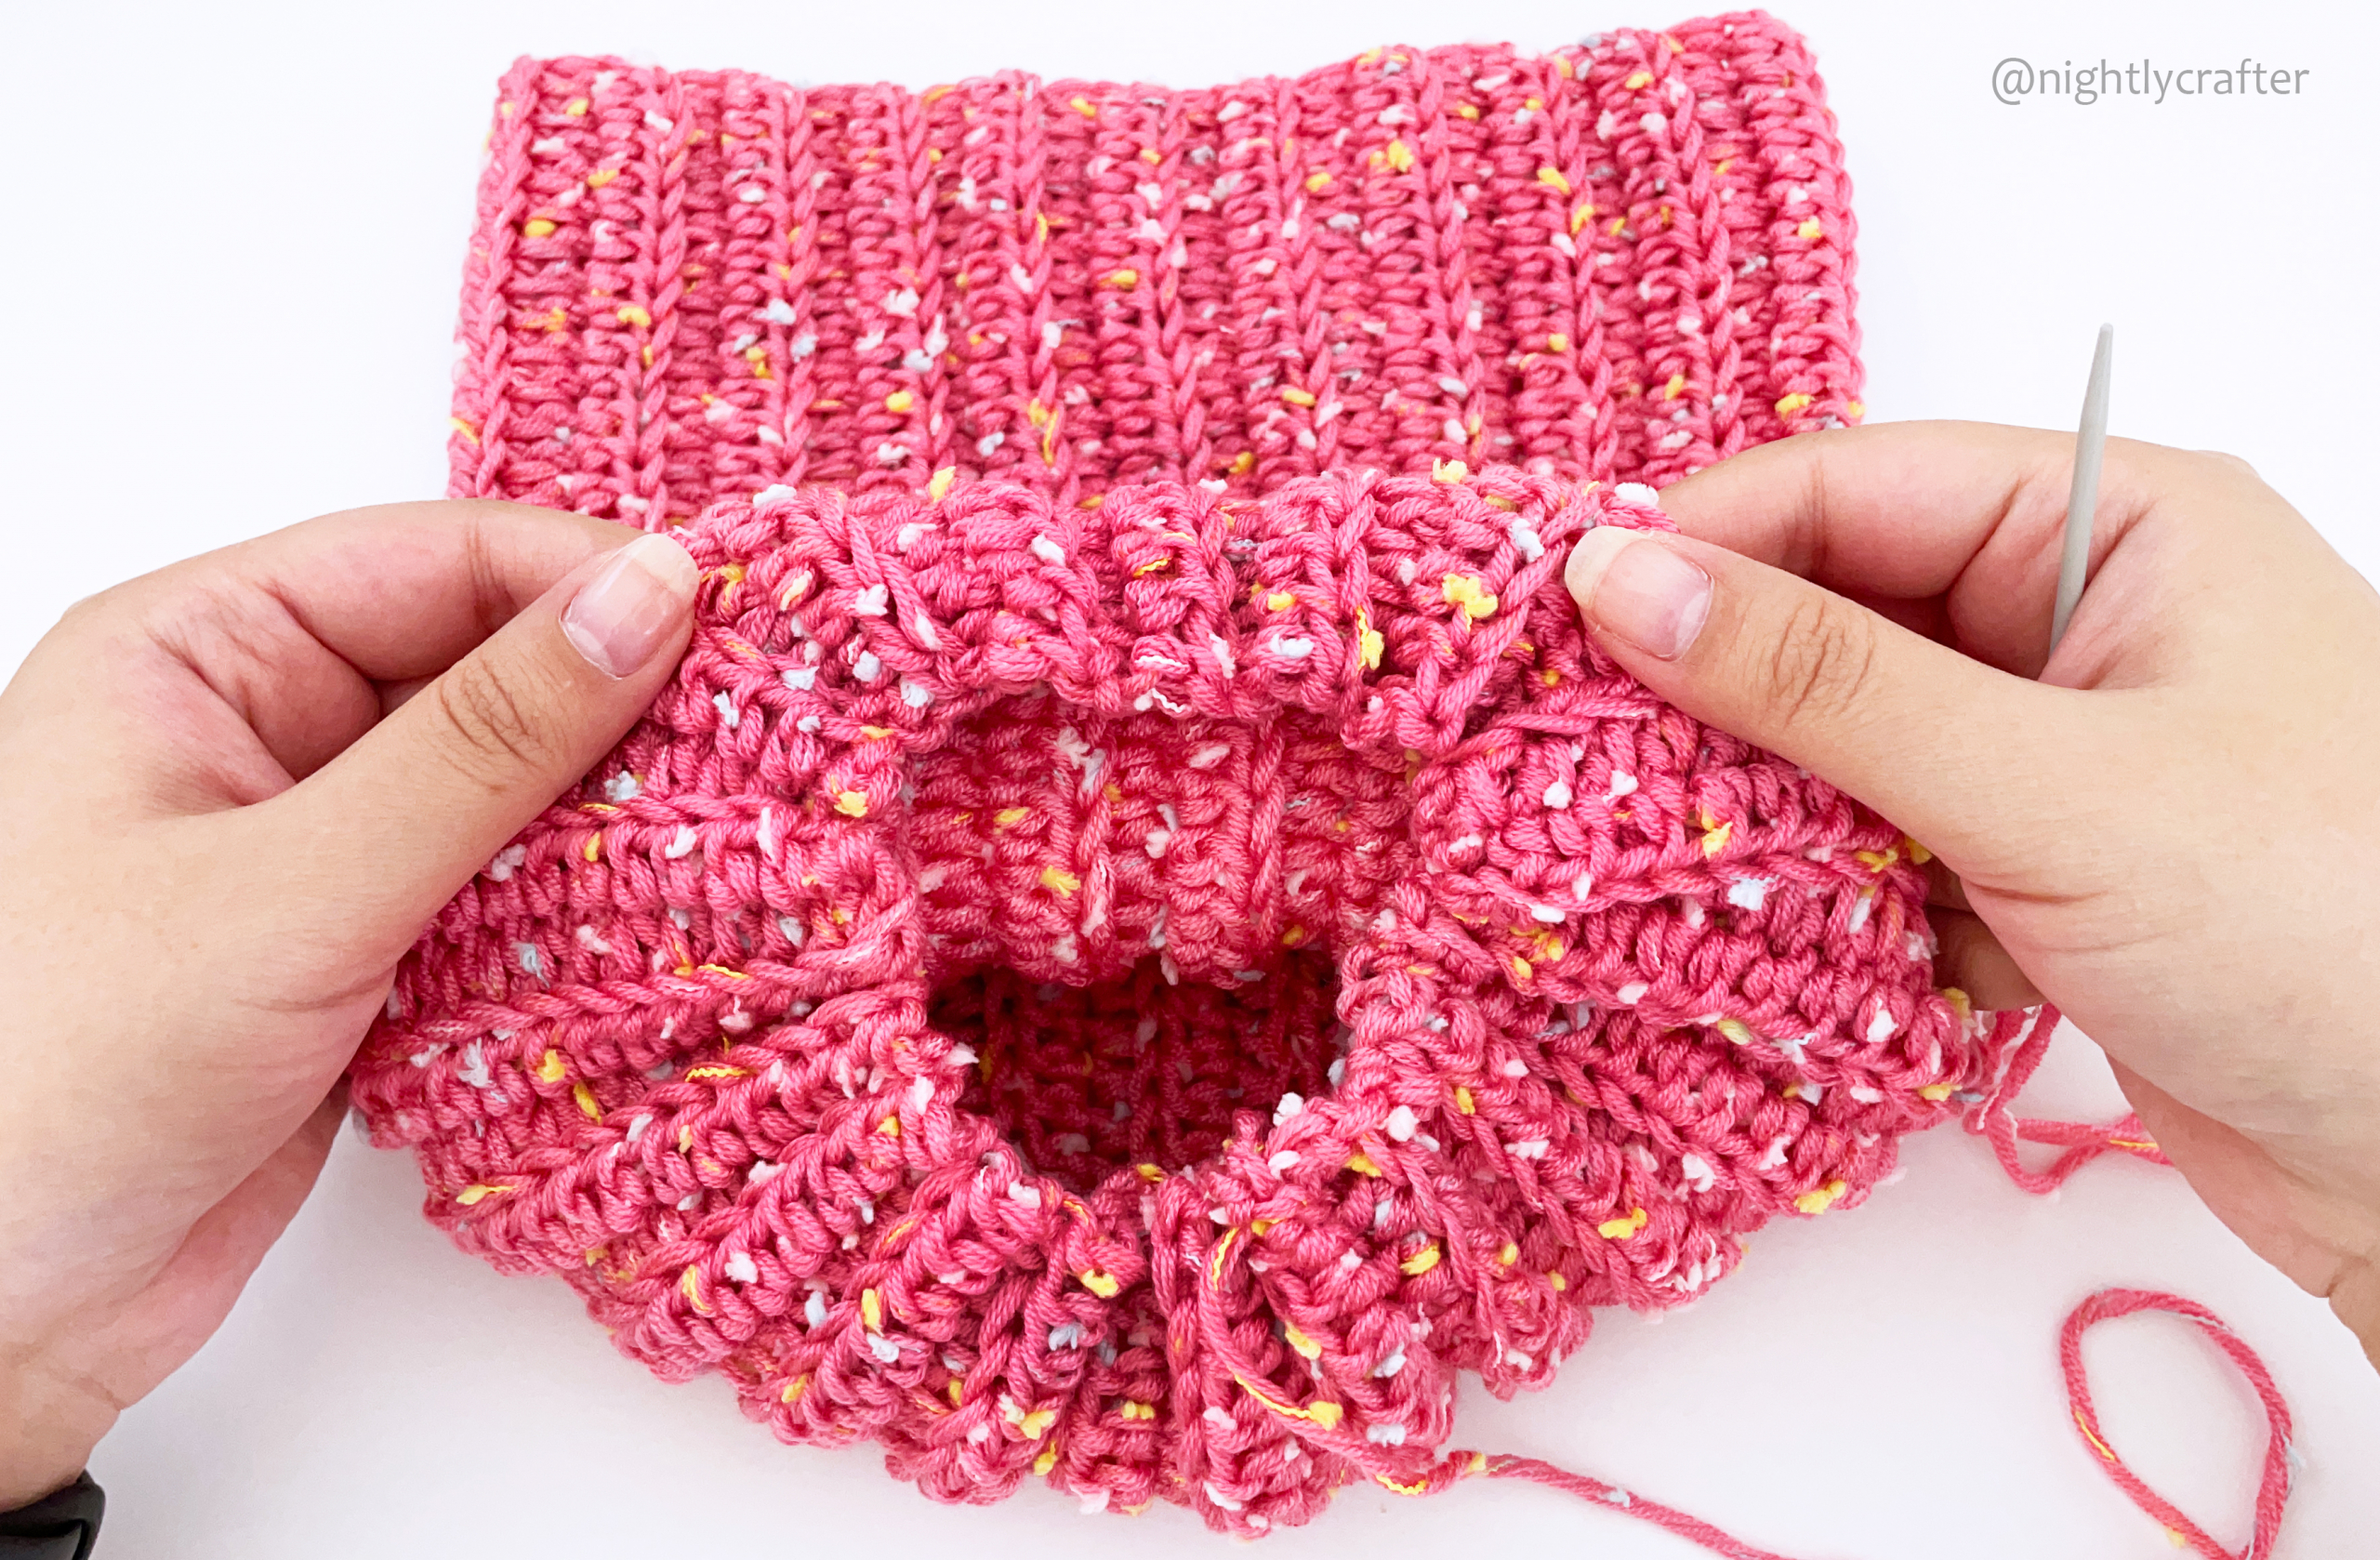
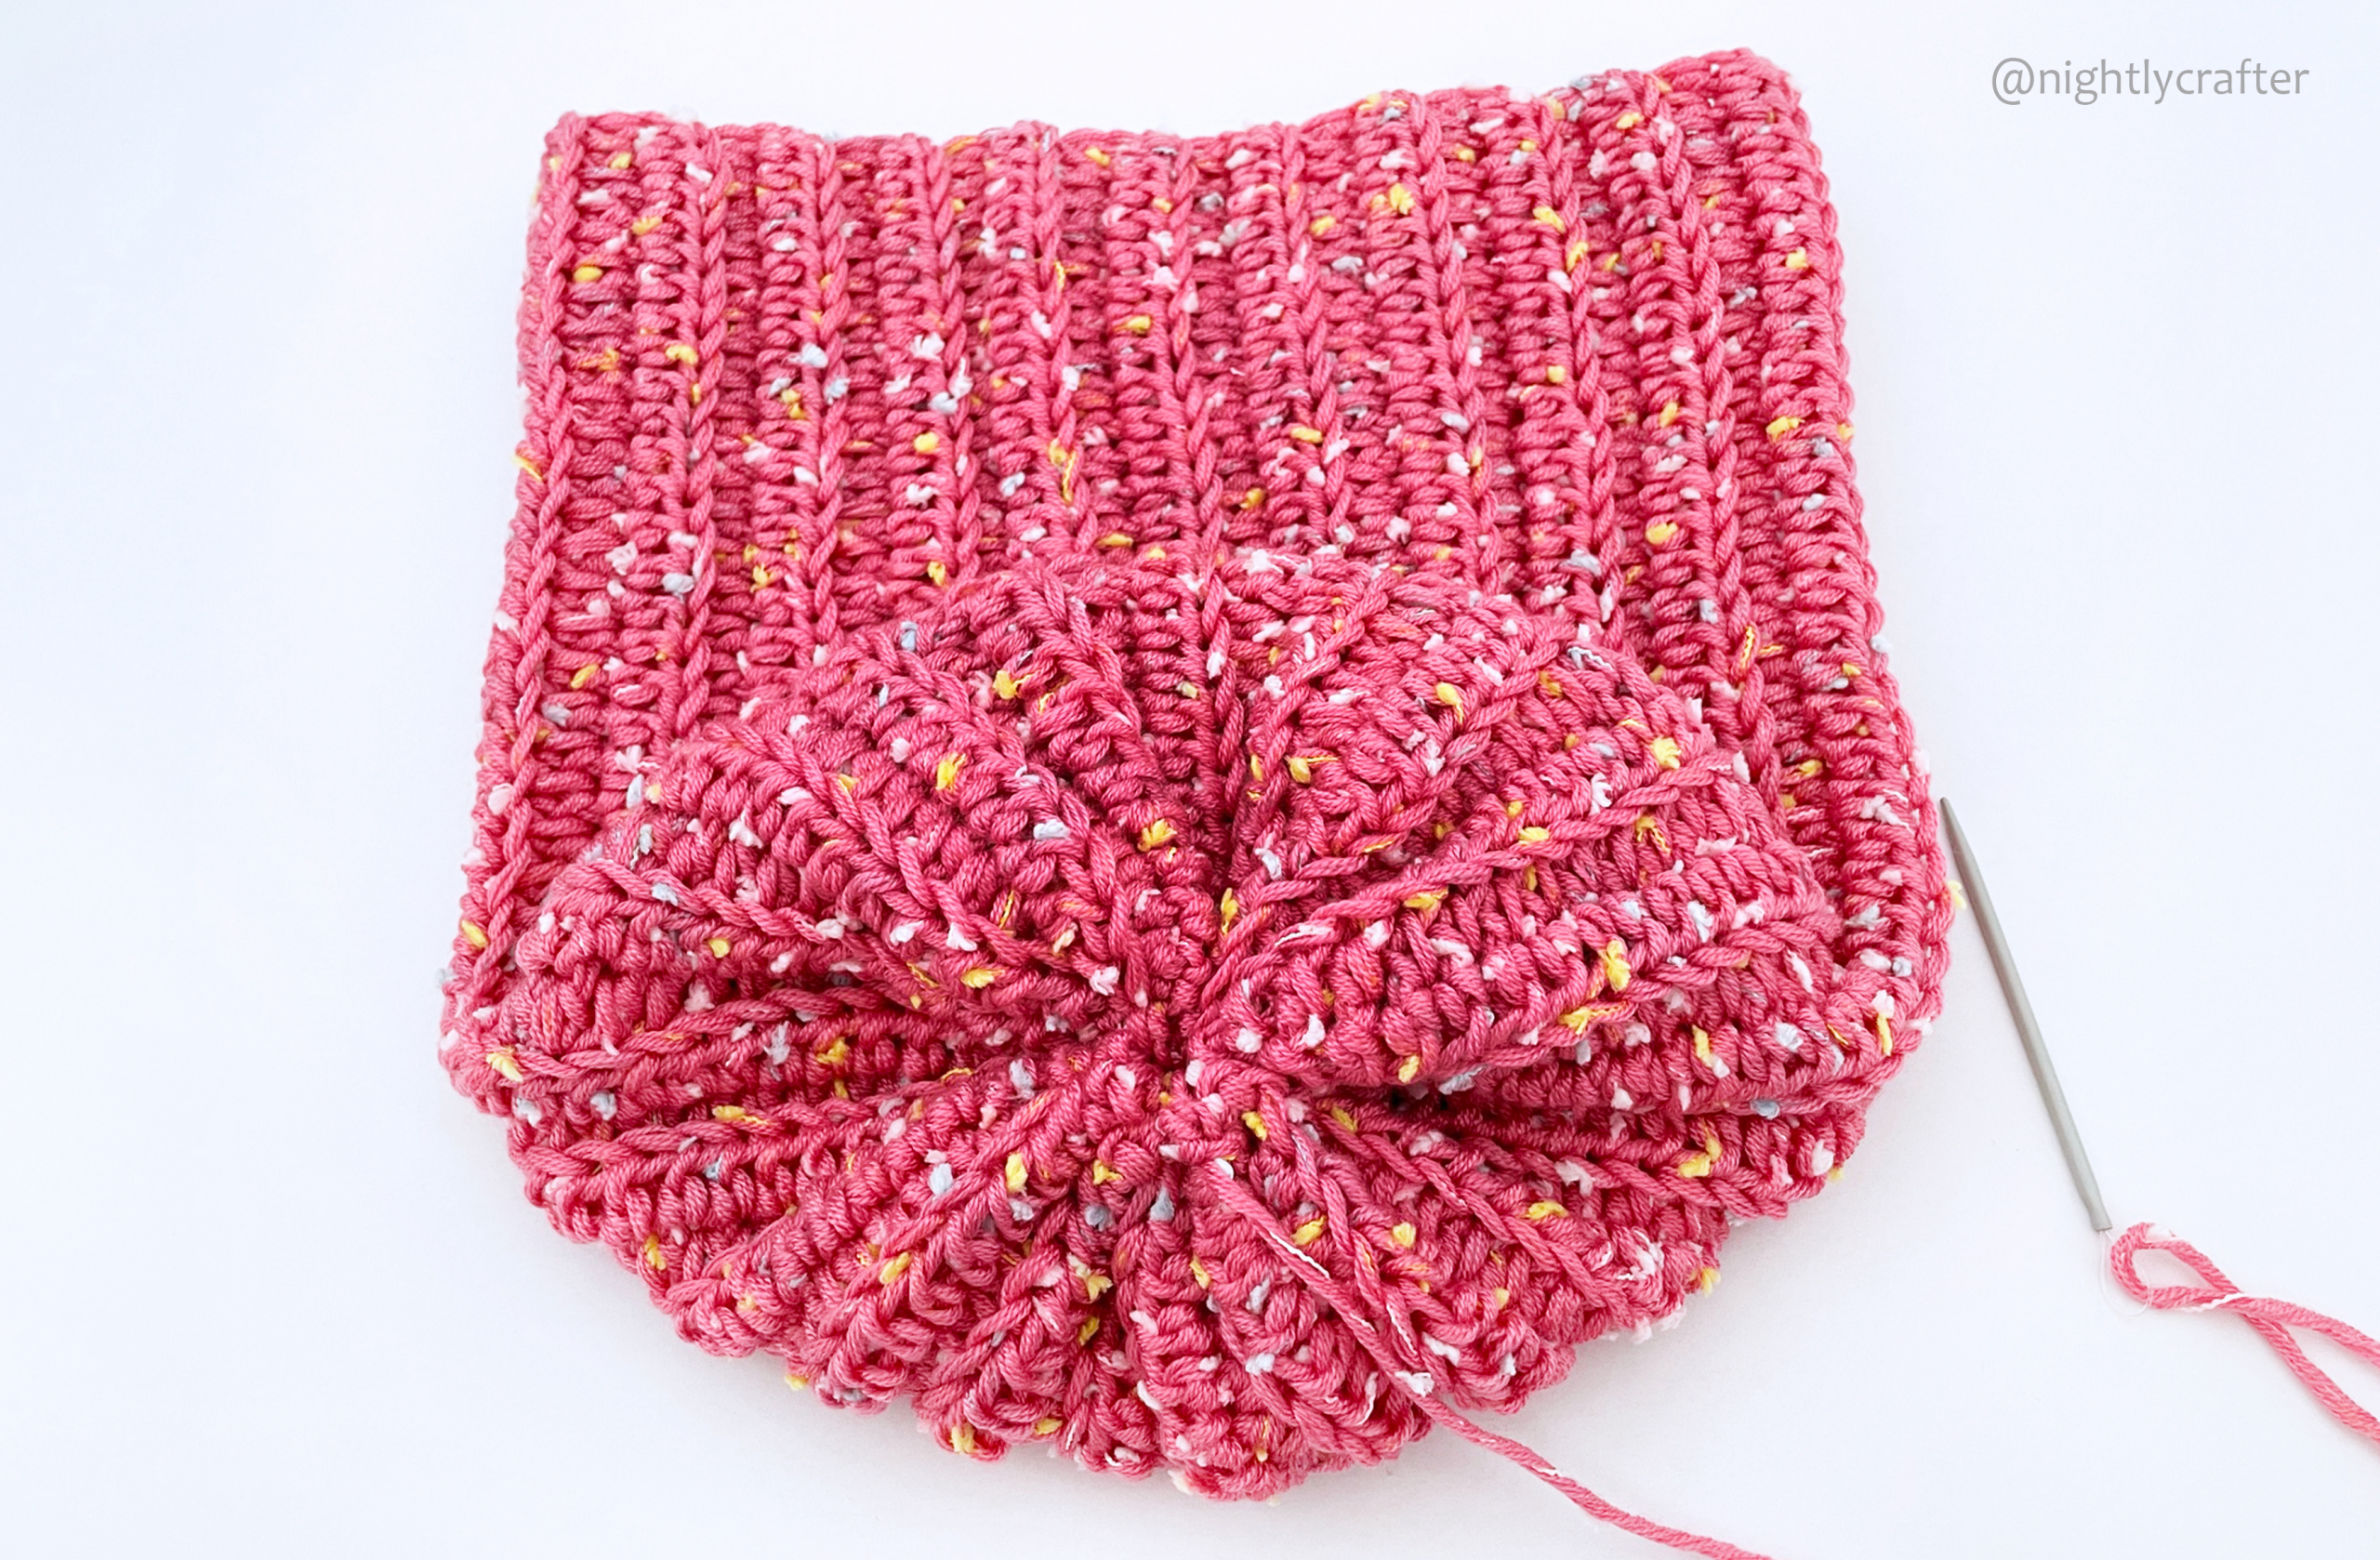
To close the hat, use a yarn needle and pass through the border of the tube doing a zig-zag movement (going inside and outside until you finish). When you reach the end of the round, pull the strand, close the hole. Secure the center doing some stitches with the same needle, and fasten off. This is a good time to hide any other free strands in your work.
Pom-Pom and Assembling
** This part is totally optional because if you don’t want a pom-pom, your hat is ready!
Now use your pom-pom maker and white yarn and make a pom-pom. For this hat, I used a machine of 2 3/8″ (85 mm) in diameter.
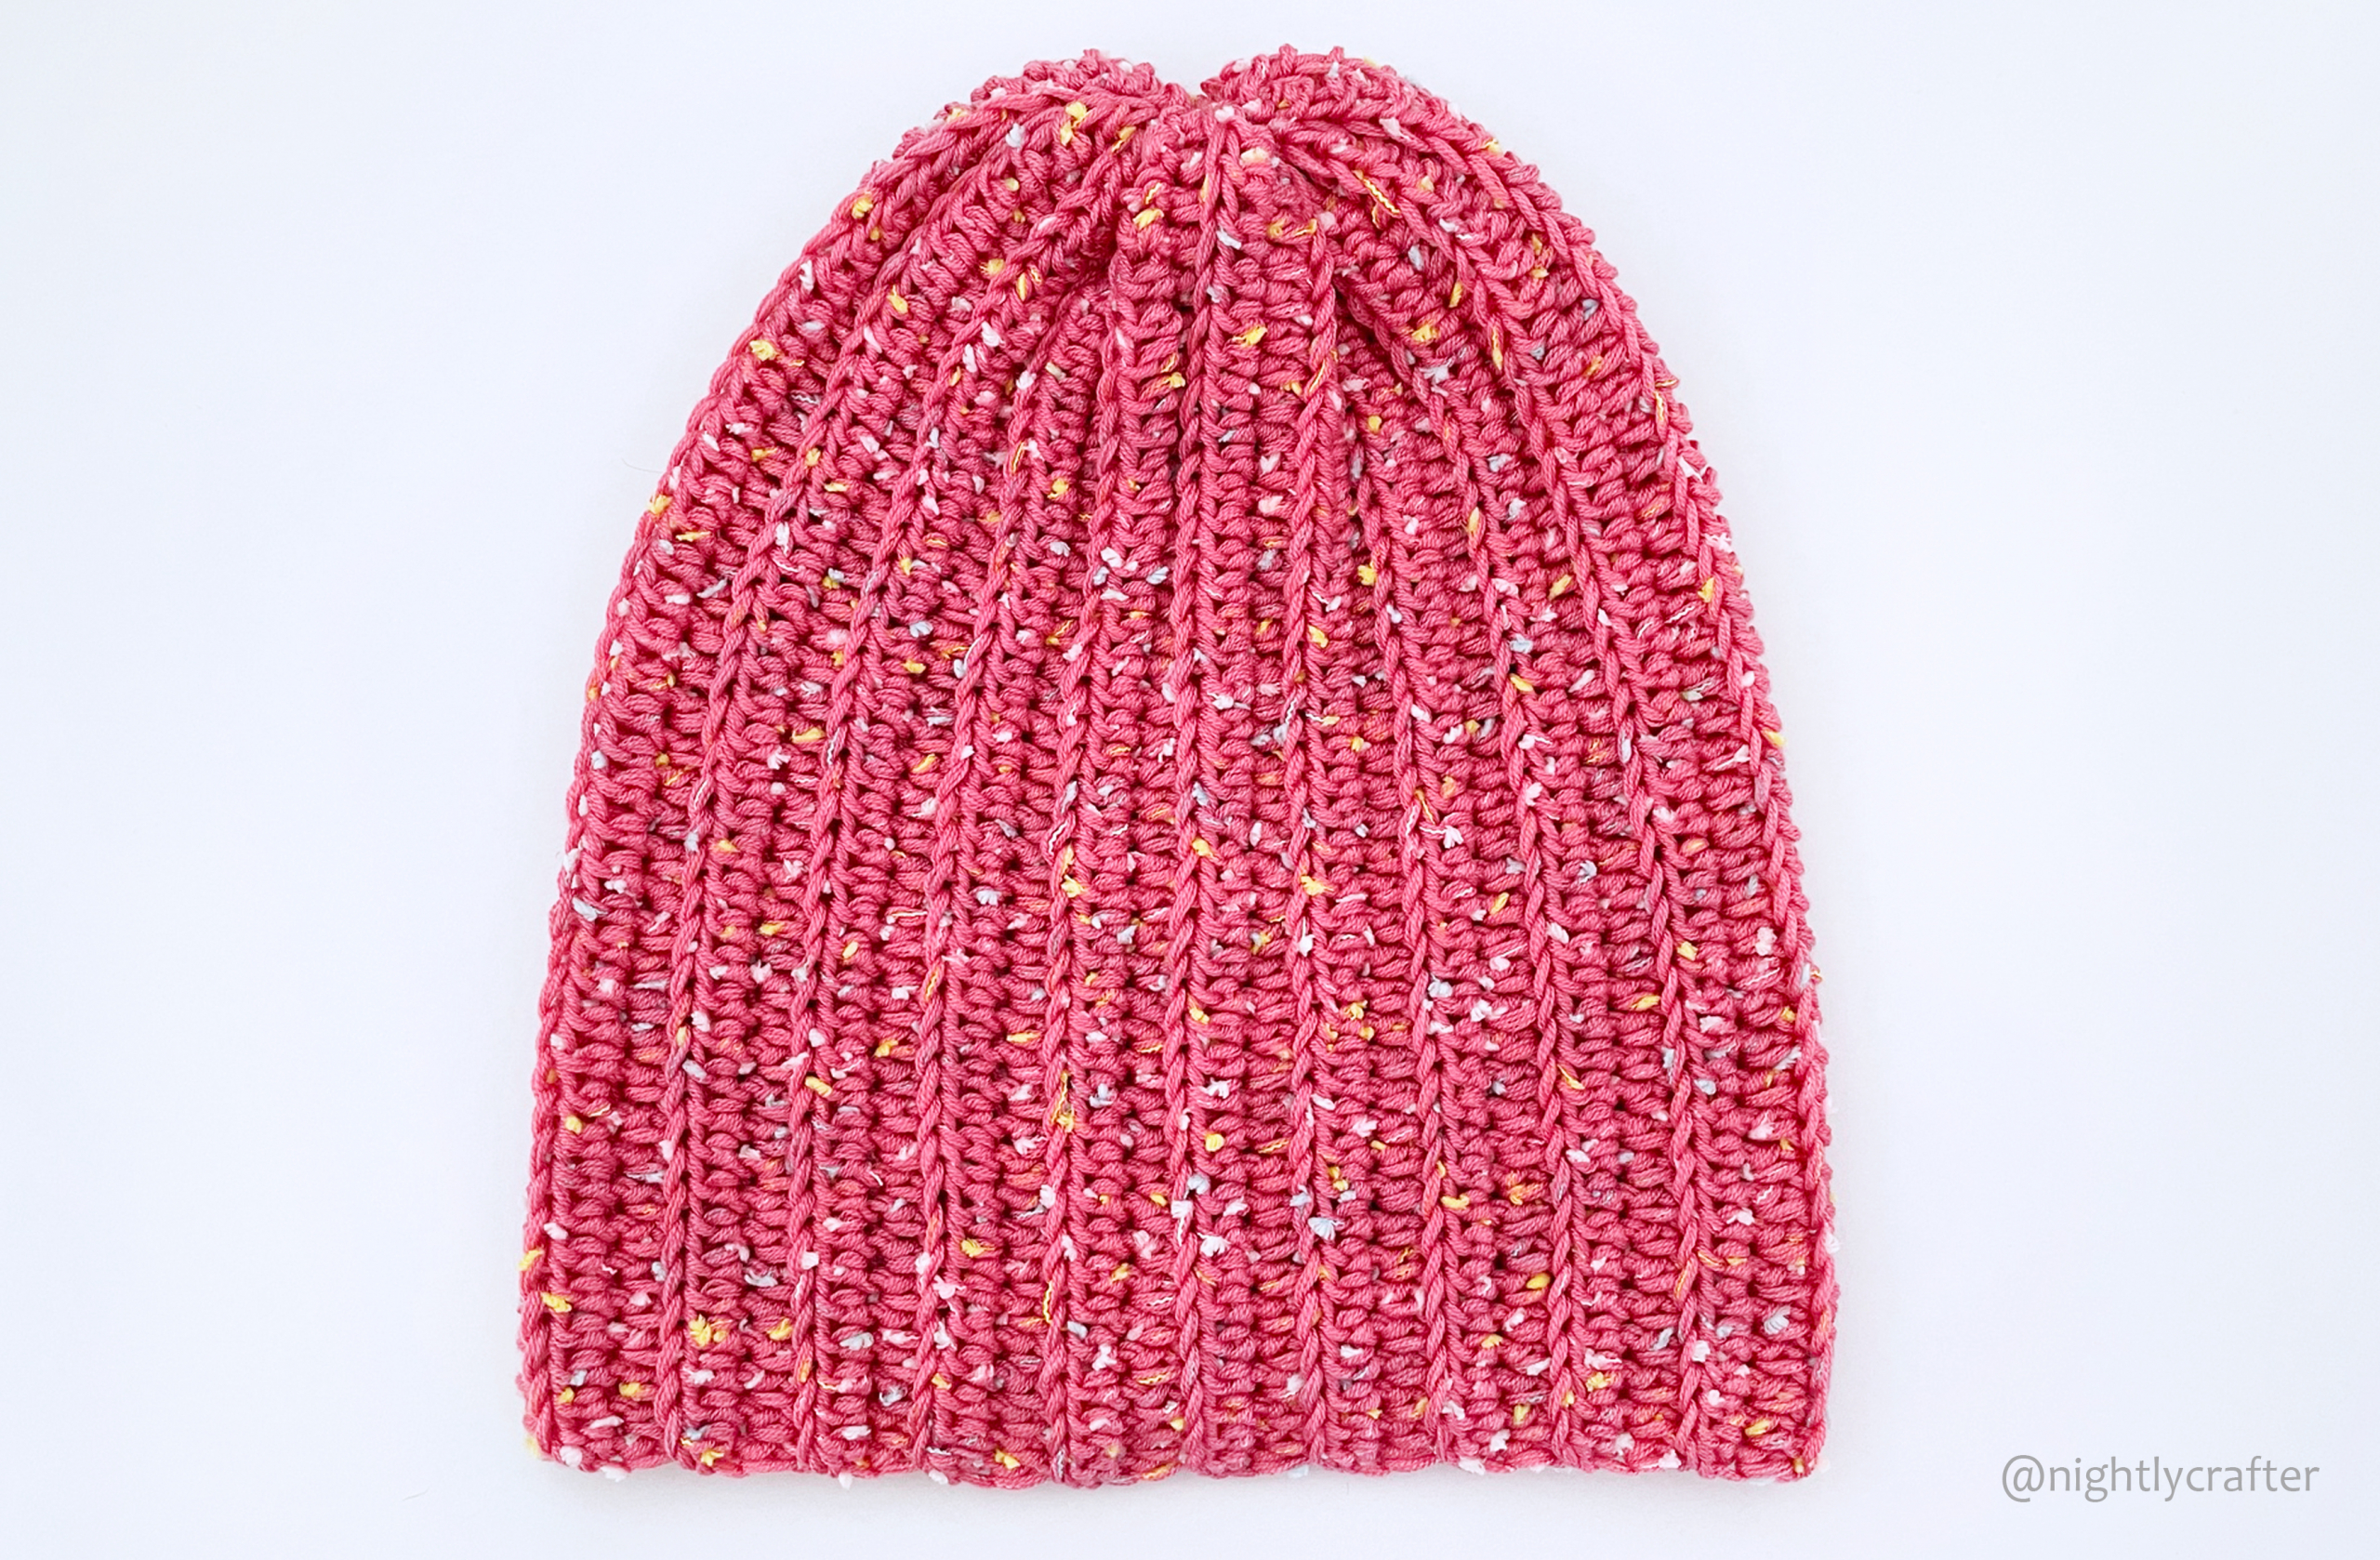
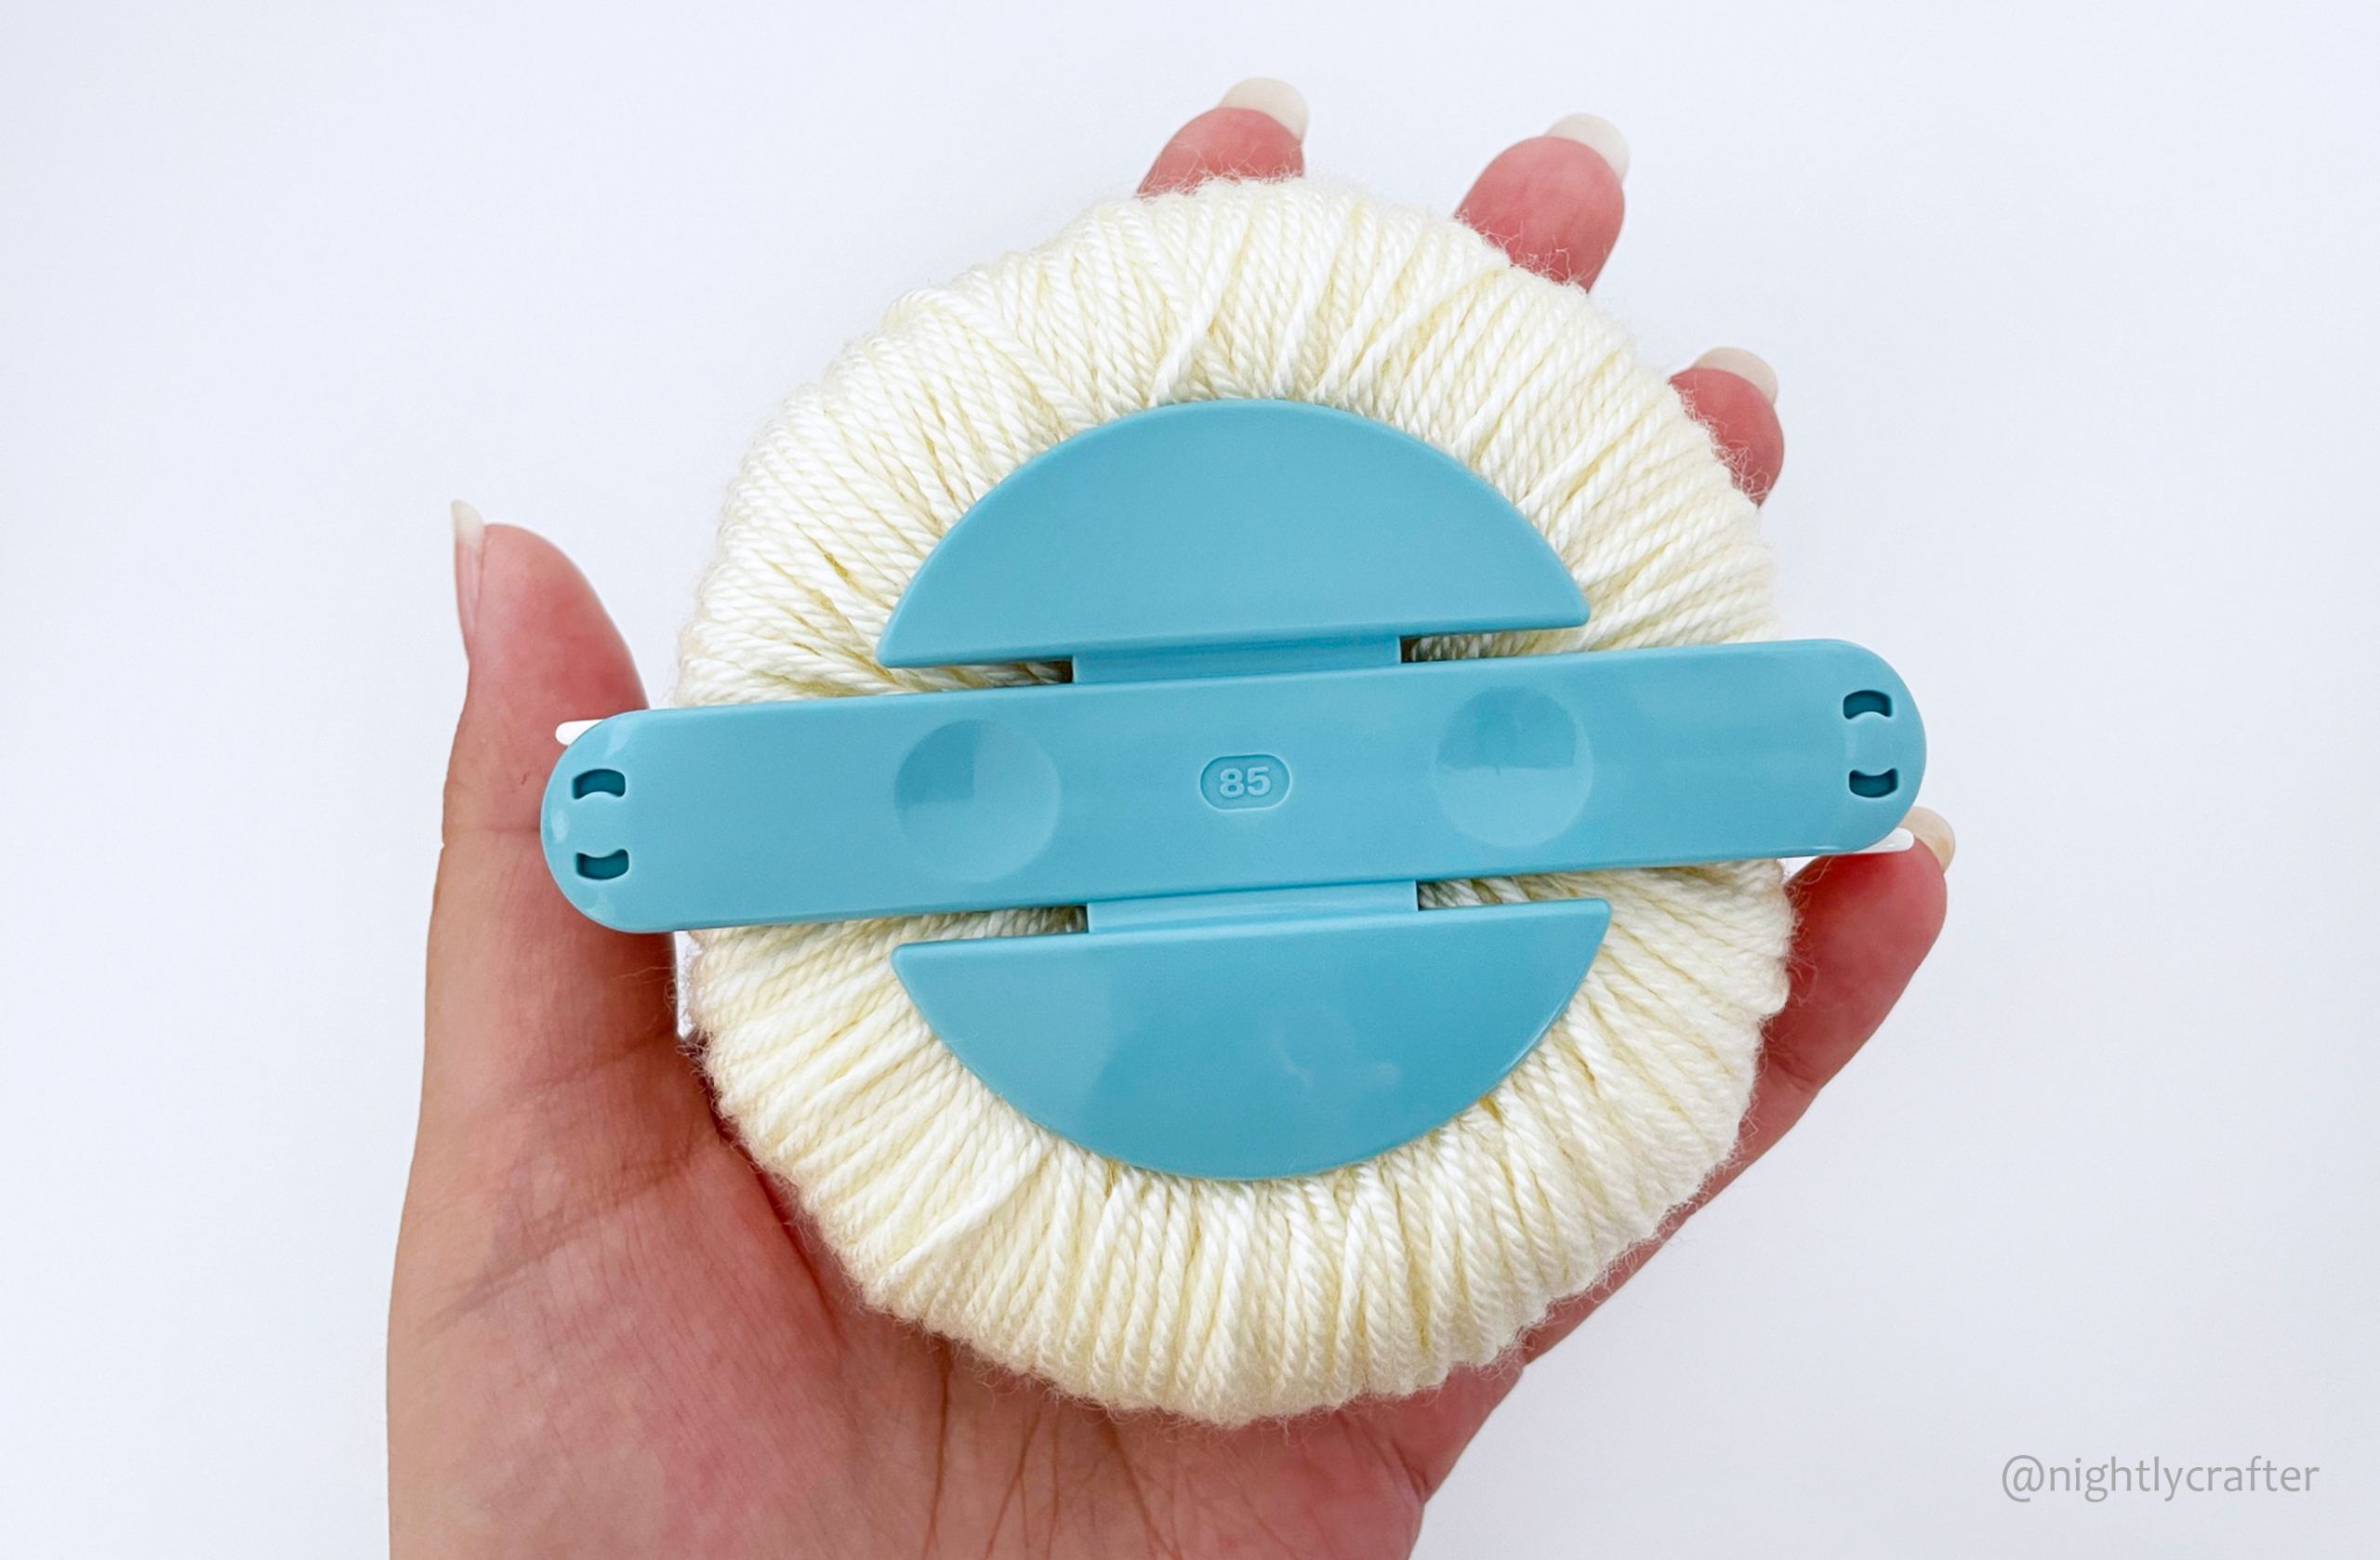

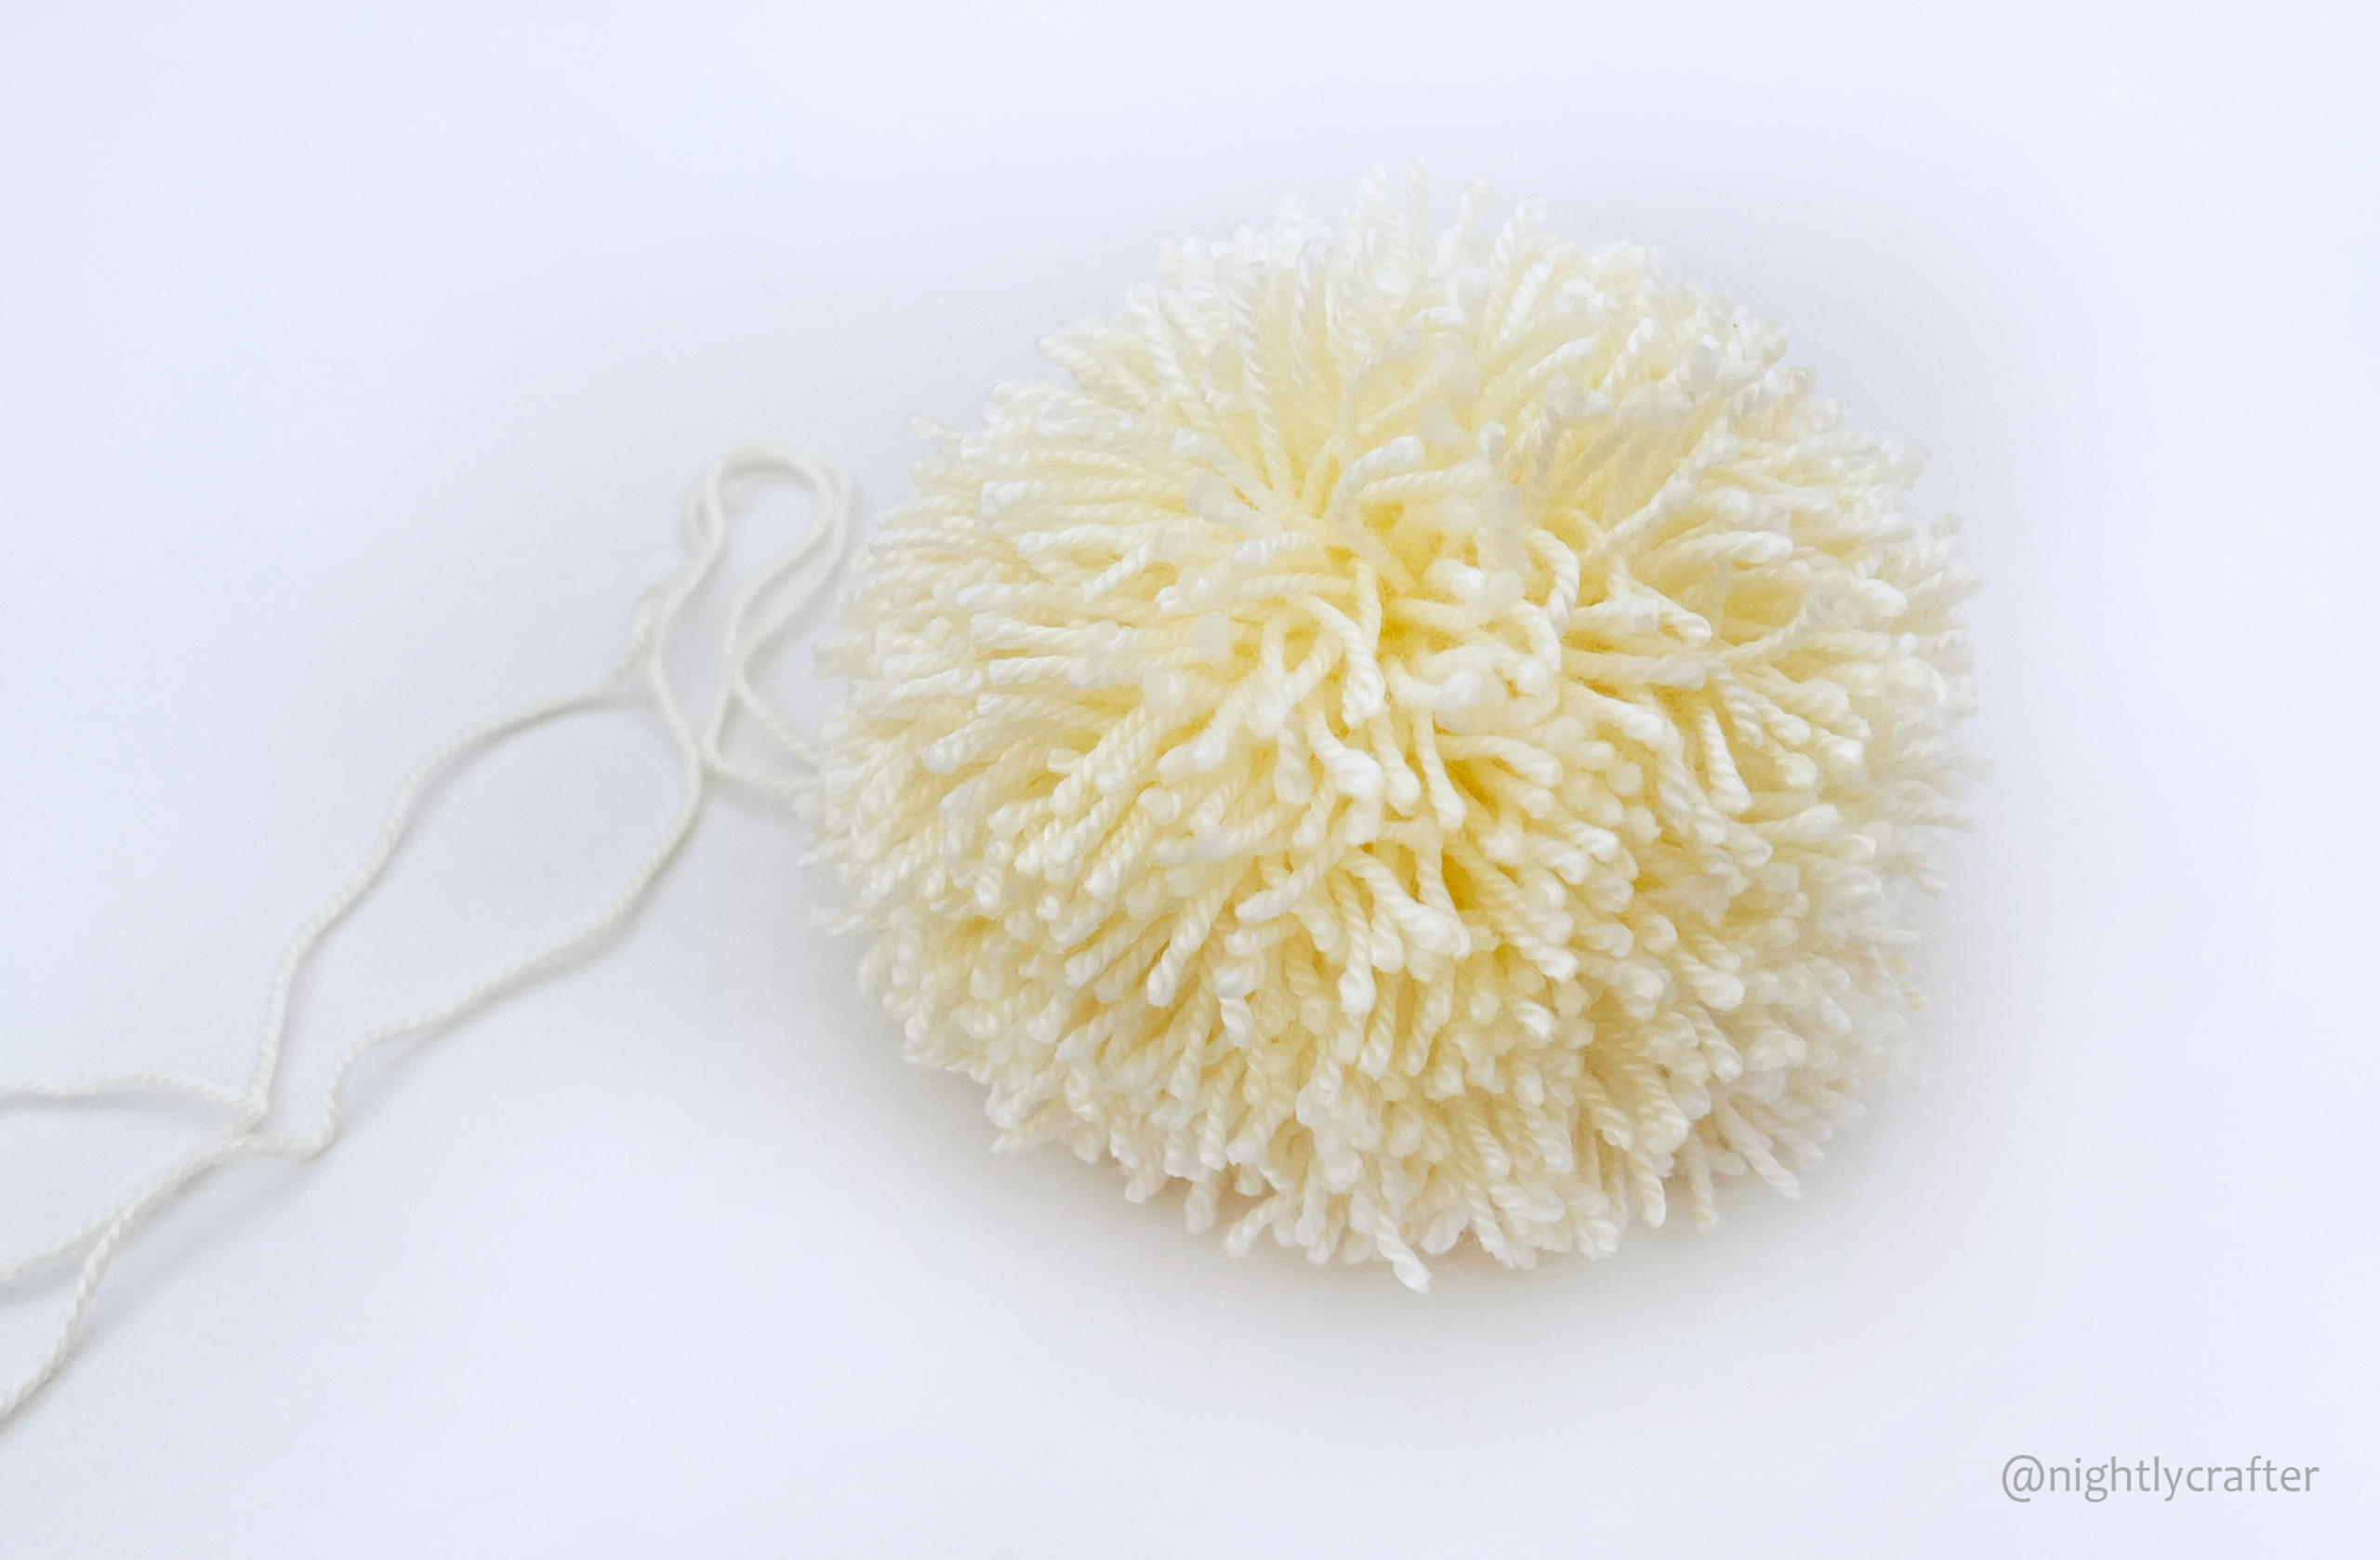
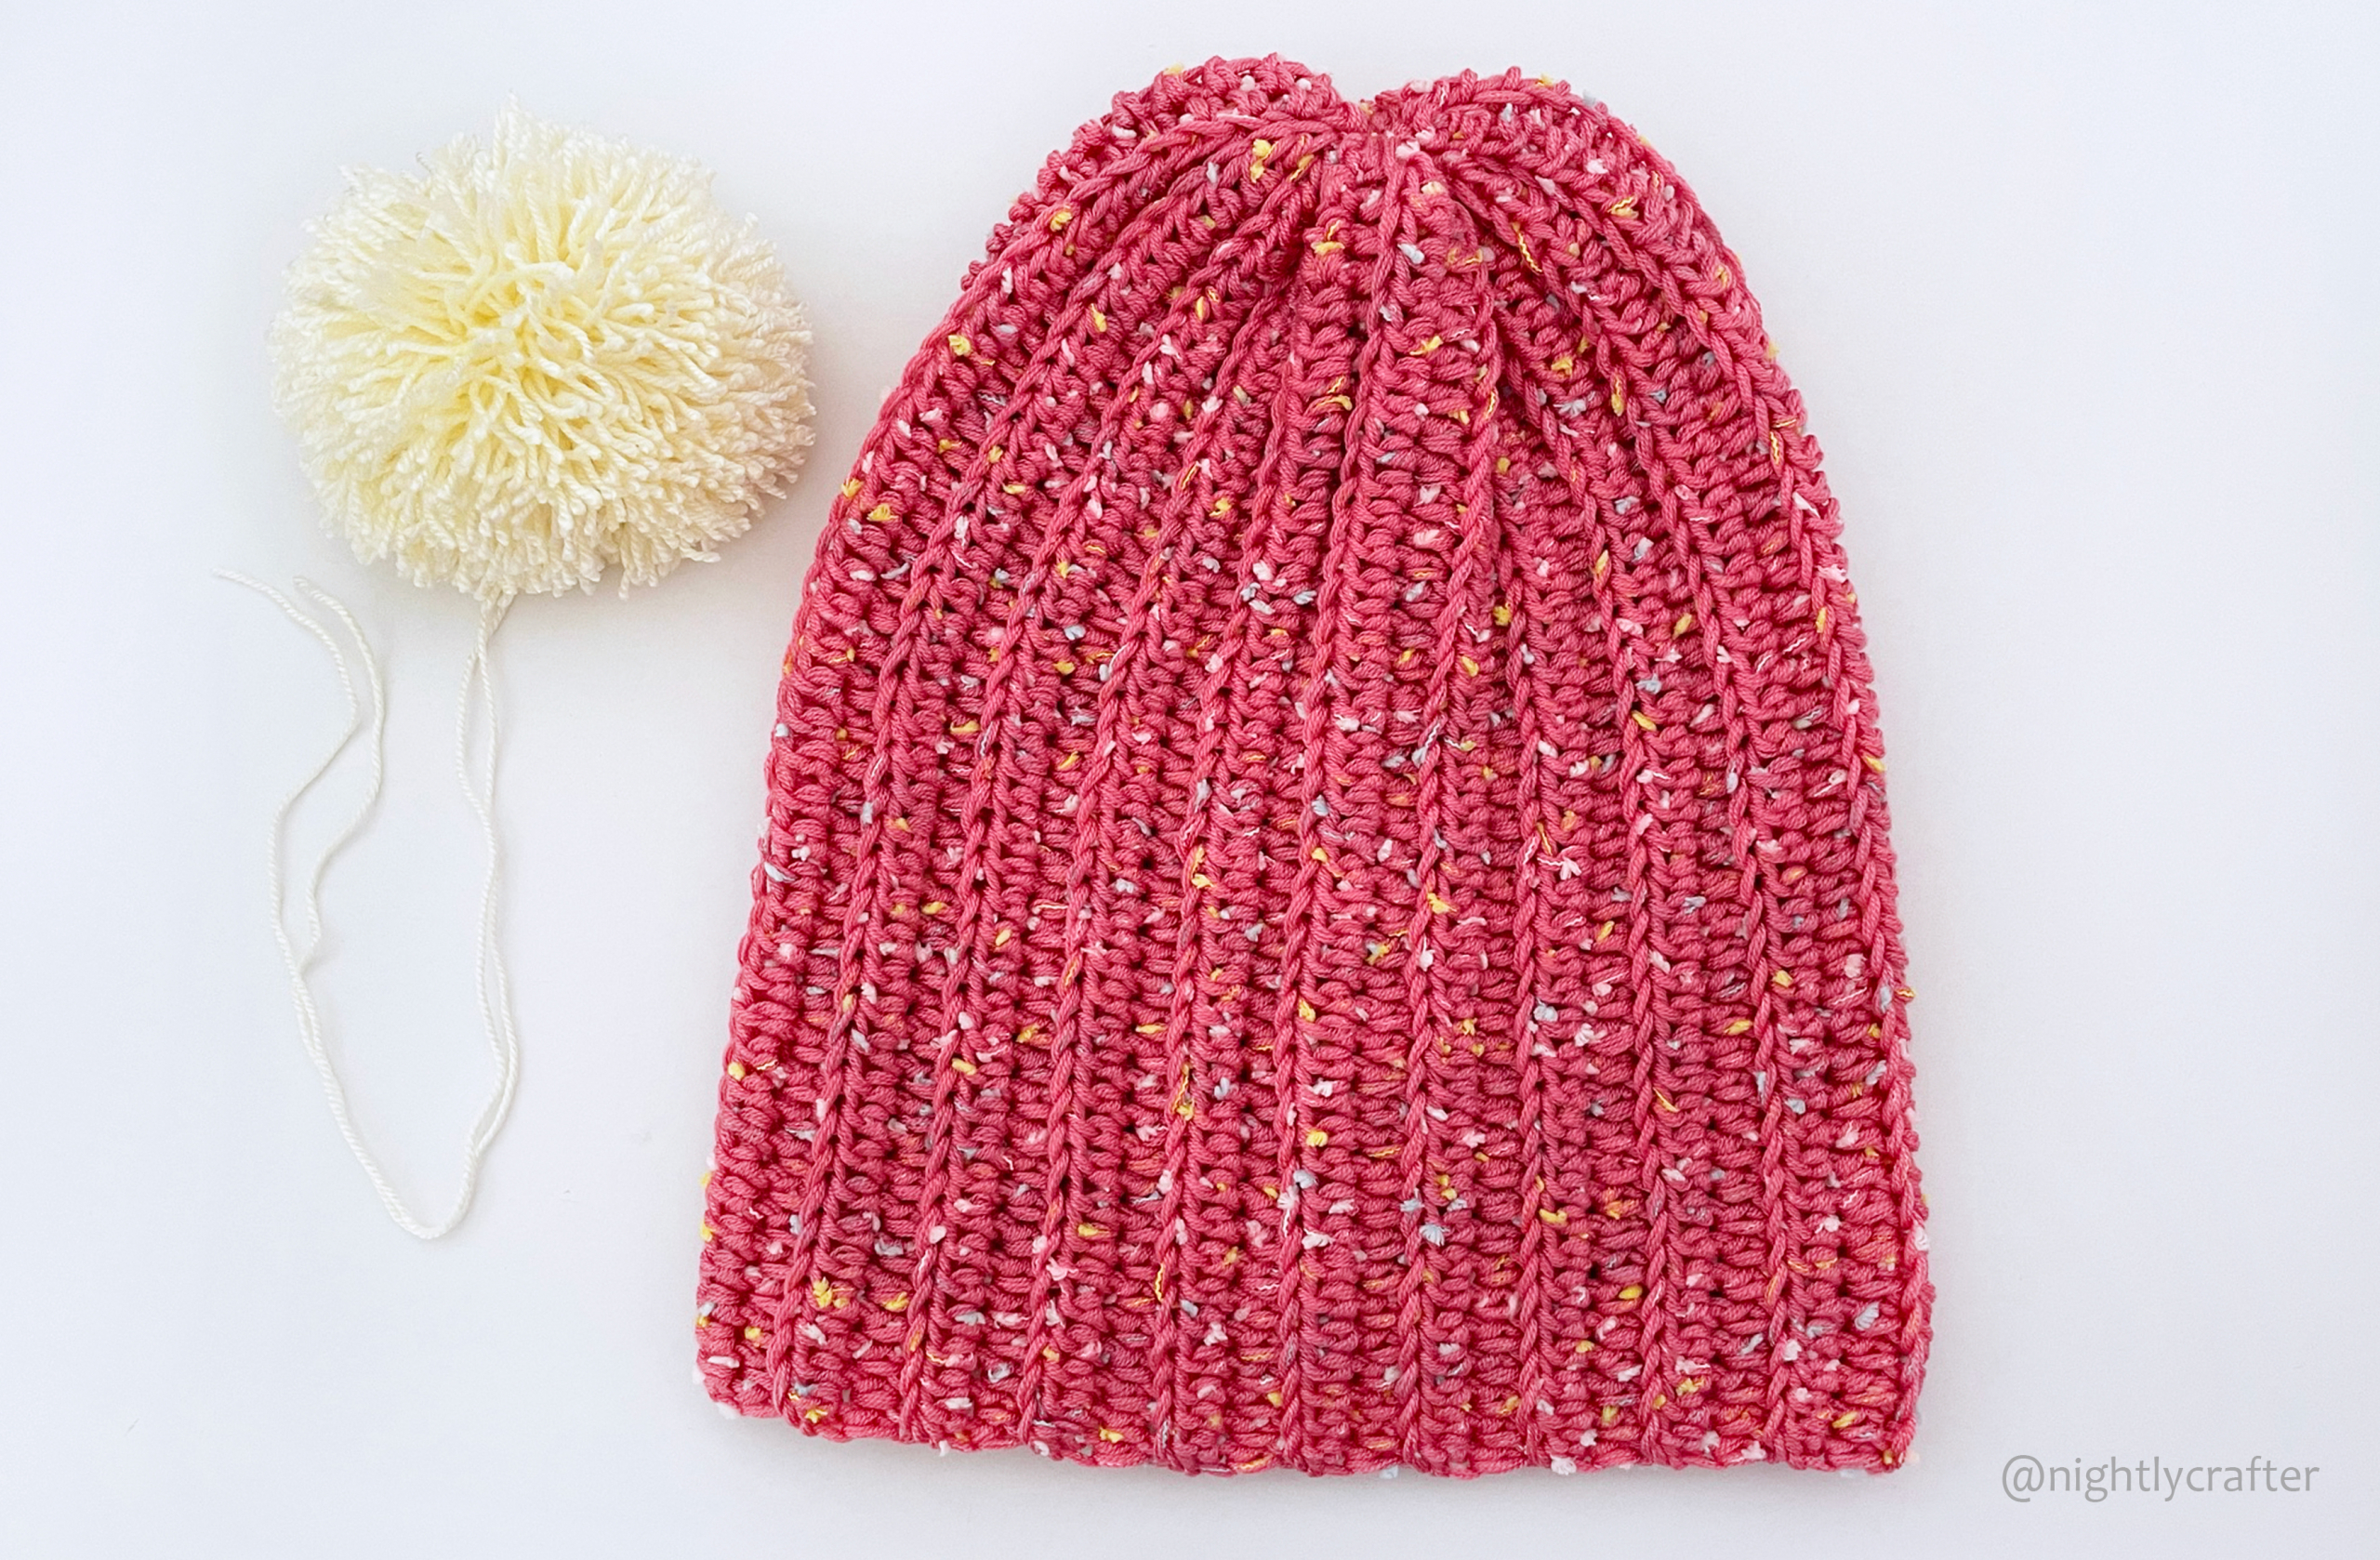
Once your pom-pom is ready, attach it to your hat’s top part and sew it using your yarn needle. Hide the leftover strand inside of the pom-pom.
And done! Your hat is ready. Remember that you can use it opened or folded.
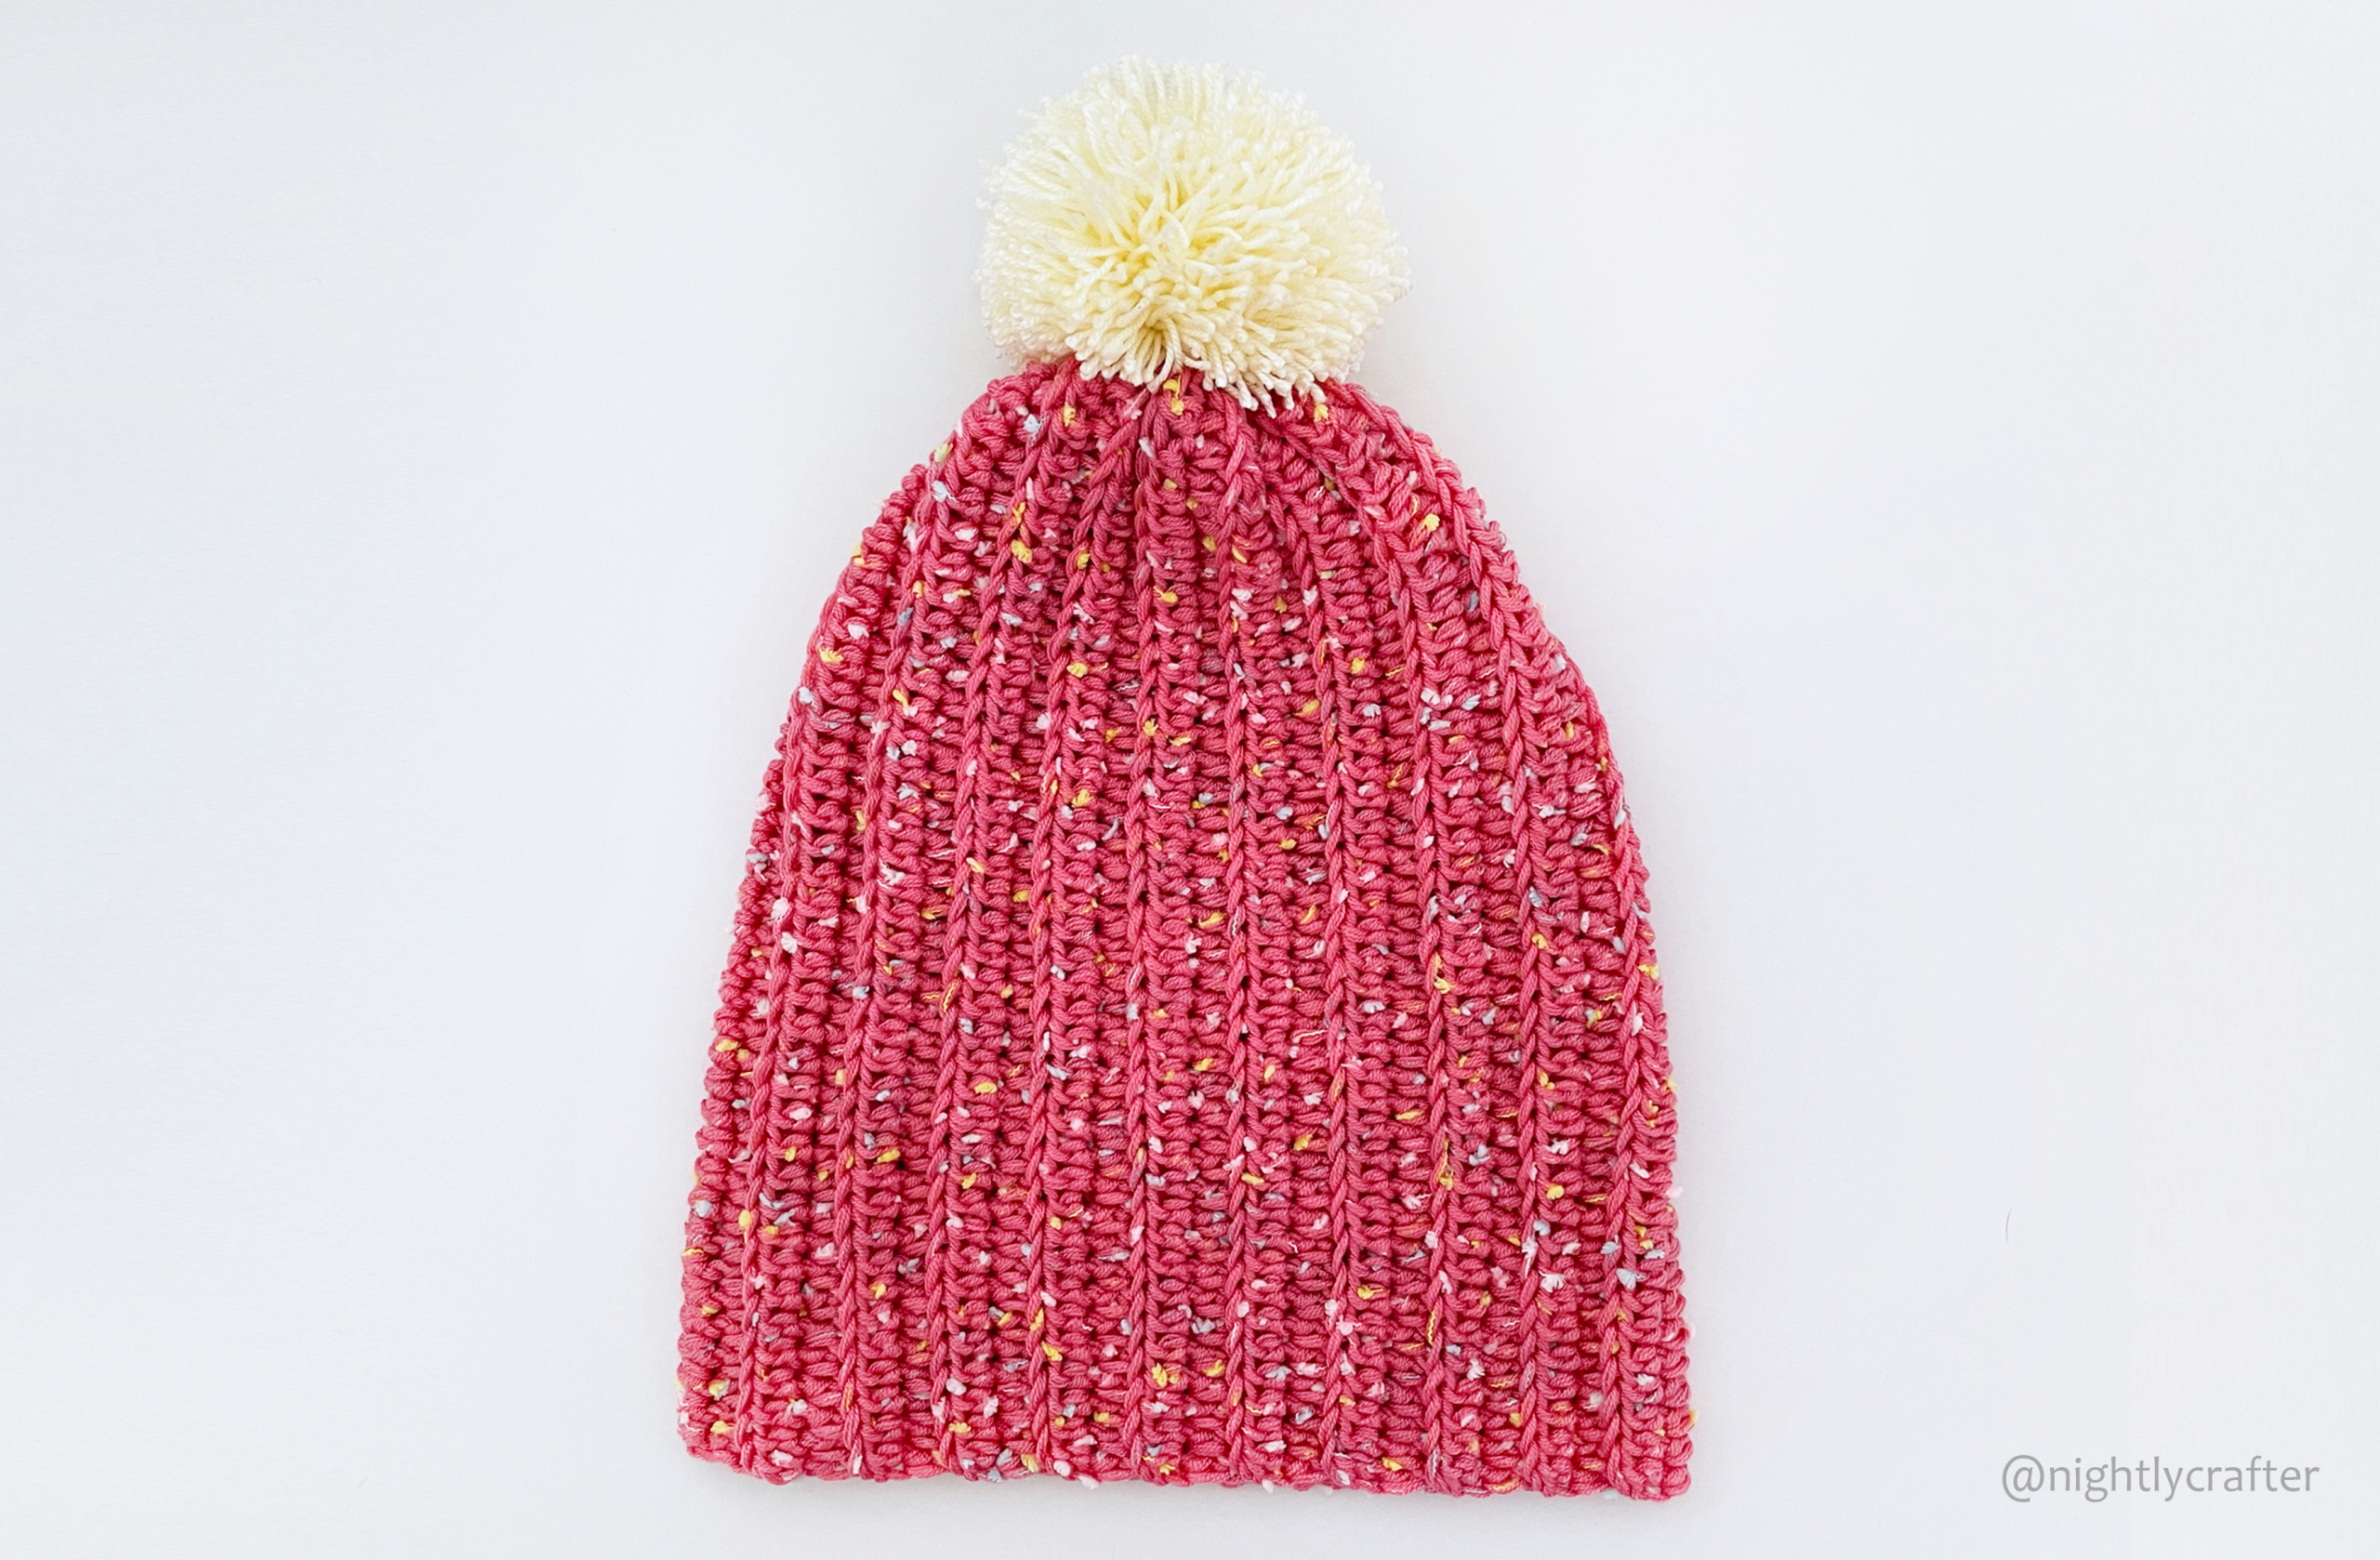
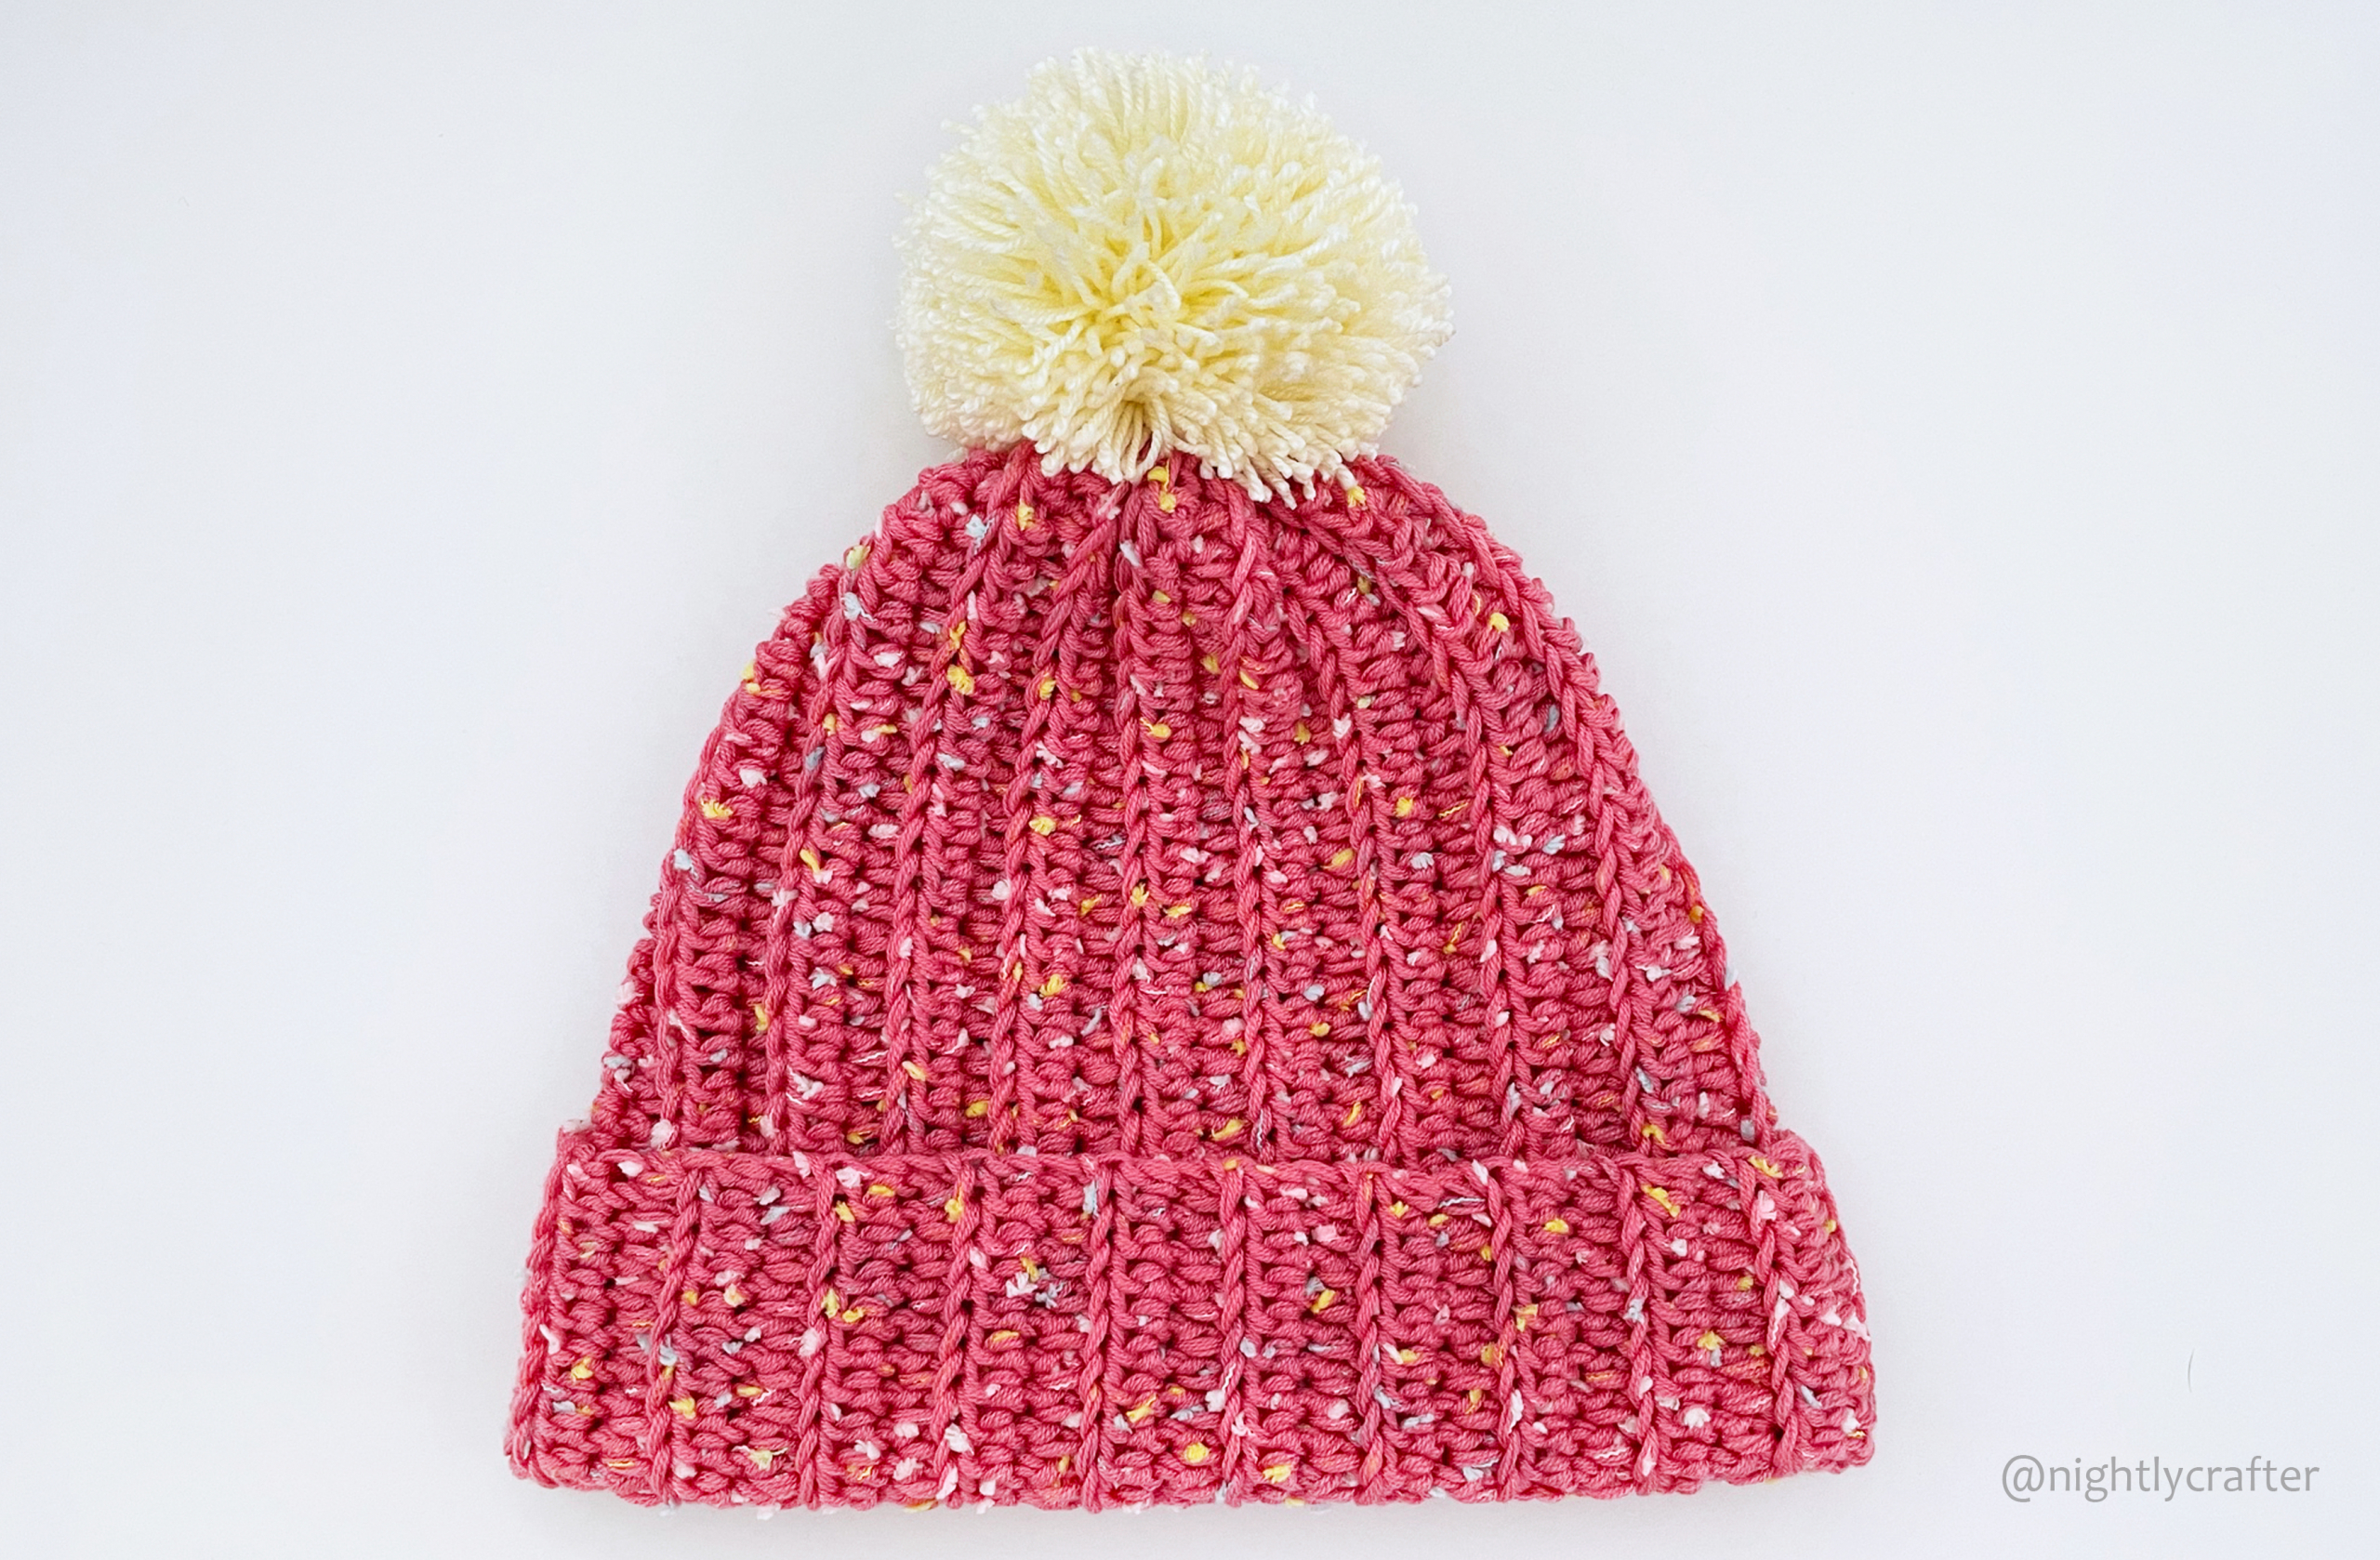
Please let me know in the comments or tag me in your photos on Instagram (@nightlycrafter) if you make his hat. I would love to see it!
Happy Crocheting!
Paula
© All rights reserved. This pattern is for personal use only; please do not copy or distribute this pattern.
You can sell finished products using this pattern, but you need to attribute design on me,
attaching the link to my blog: www.nightlycraftershop.com ,
and you must also use your own photos to represent your work.
 English
 Español
Leave a Reply